
I actually forgot to post this piece. So I am posting it today. It isn’t Super Bowl Sunday, but the bread is still makable! Enjoy, albeit a bit late.
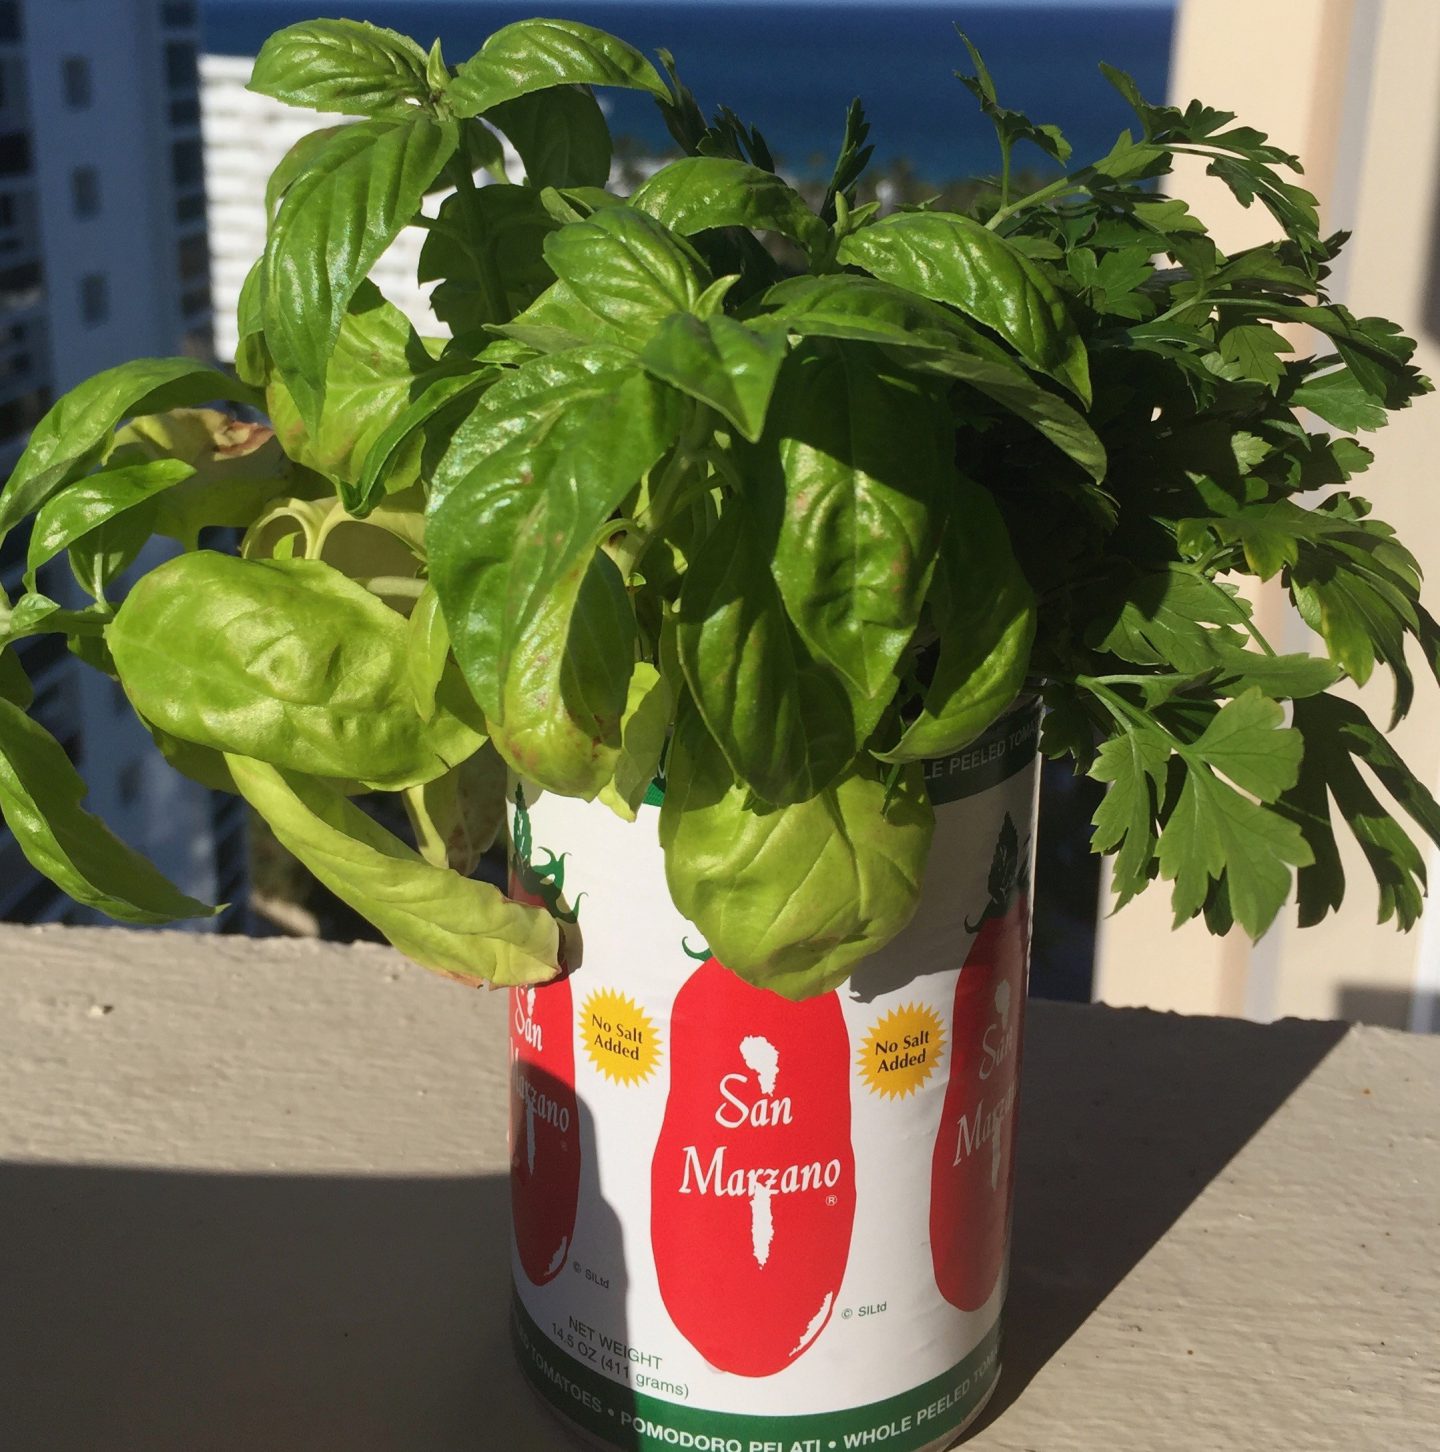
So tomorrow is Super Bowl Sunday (in addition to the hubster’s Big Big birthday and the 2 year anniversary of my retirement). I am having the usual suspects for the day and had planned on getting an large Italian hero (kind of like the hubster) as part of the menu. It just seemed like too much of too much which is something I am a star at doing, but then I remembered that my brother makes Prosciutto Bread at the drop of a hat so I consulted with him and between his (read mommy’s) recipe and my insistence of jazzing up every recipe I see, I decided to give it a try. After all, the ingredients can be found in any Italian deli and are generally added to every hero worthy of the name. Plus it has the added benefit of not having all the hams and such drop out of the sandwich with every bite. One more added benefit, if the meats are not your thing, just use the cheese, peppers and olives and give it your own spin! If you are still stumped on what to bring or serve at your Super Bowl gig, try this.
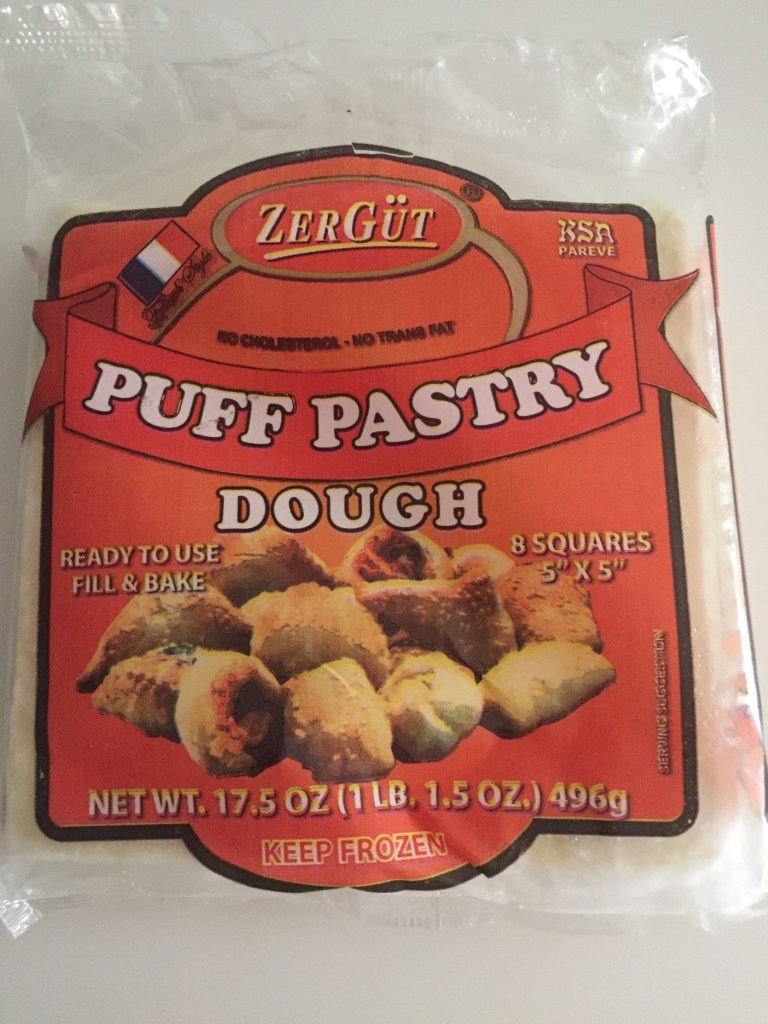
I am using a basic bread dough recipe that works for me, use whichever you are comfortable. In addition, you can certainly go to your local market and purchase pre made dough. However, your ingredients will not rise with the bread so keep that in mind when making. Just fold them in when you are ready to add. I have 1/4 pound prosciutto, 1/4 pound capicollo, 1/4 pound provolone, some homemade roasted peppers and some chopped green pimento stuffed olives. Understand that this is what I am using. If you want to change up the items, please do. More or less of one or the other is ok. Just don’t overload because too much of anything is overwhelming and also makes the bread very salty. Be mindful of using too much cheese as it may leak out and burn. For finishing, you will need an egg beaten with some water and some grated Parmigiano Reggiano to sprinkle on top. The egg will give gloss. The cheese will give crunch. You can also sprinkle, albeit very lightly, some flaky sea salt

To start, chop the meats into small pieces. I used the food processor and pulsed a few times. If you have purchased the provolone in a piece, grate it, if in slices, do the same as the meats. Chop or process the olives and leave the peppers in slices but dry as much as possible. Set all aside. Assemble the bread ingredients according to your recipe. **Directions for store bought dough will be down the page.**
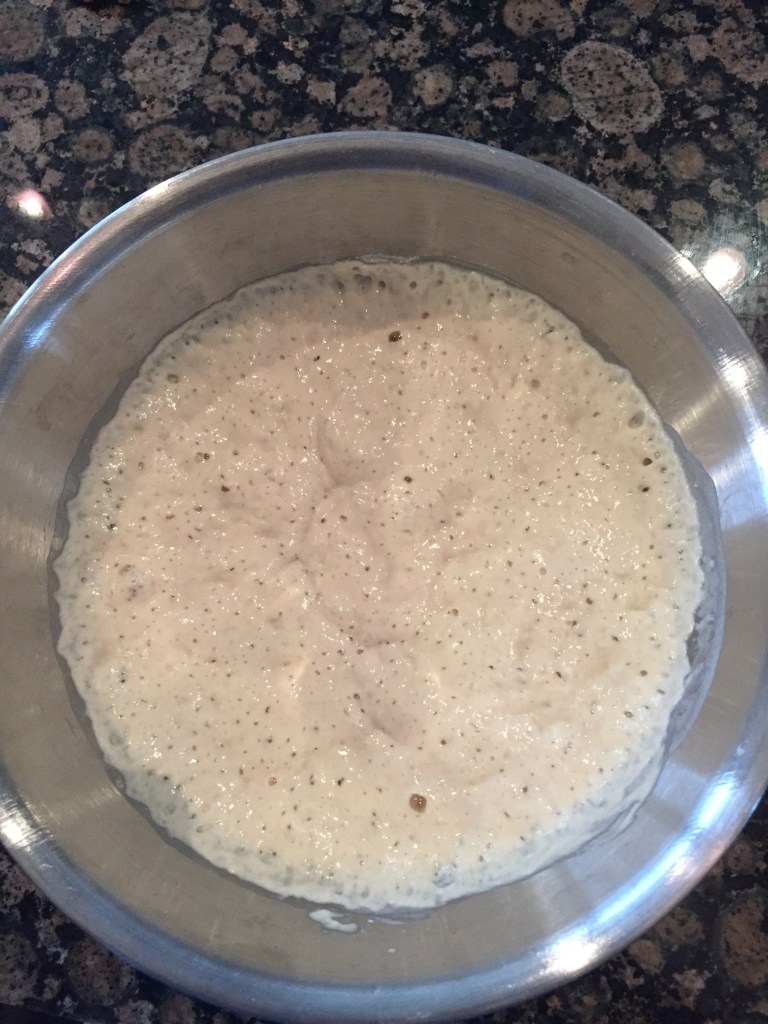
If using a machine with a dough hook, drop the meat, the cheese, and the olives along with the flour and knead all together until fully incorporated. If using a food processor, proceed the same way. If doing by hand, God bless you, just work all into the dough as you knead. DO NOT ADD THE PEPPERS. Set dough aside to proof according to your recipe (generally 1 1/2-2 hours). Trick on when dough ready-touch the side, if indention remains, dough proofed. Punch dough down, knead slightly, and set aside again for about an hour for a second rise.

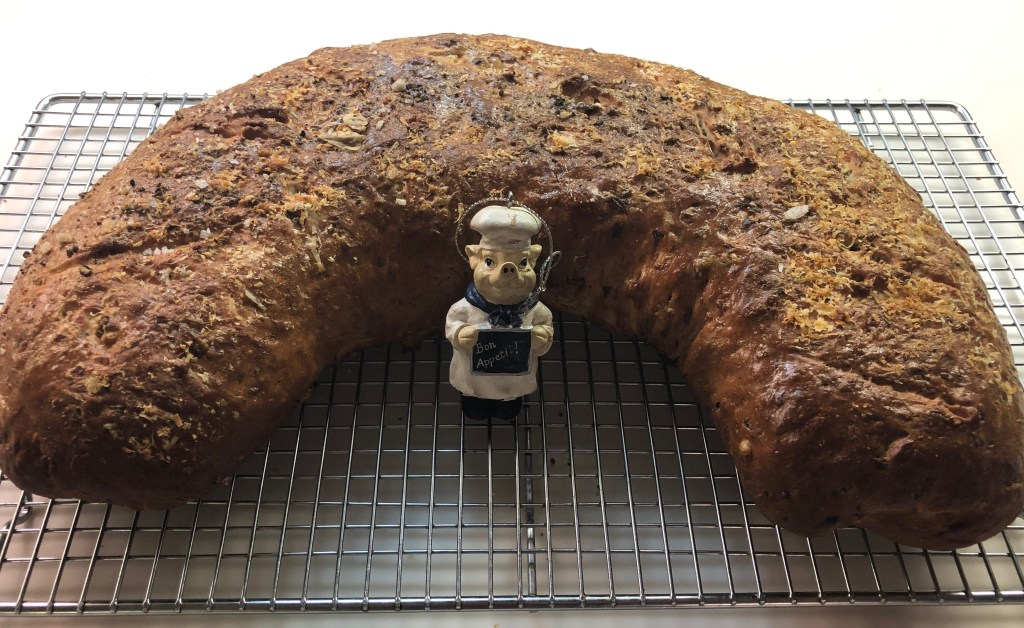
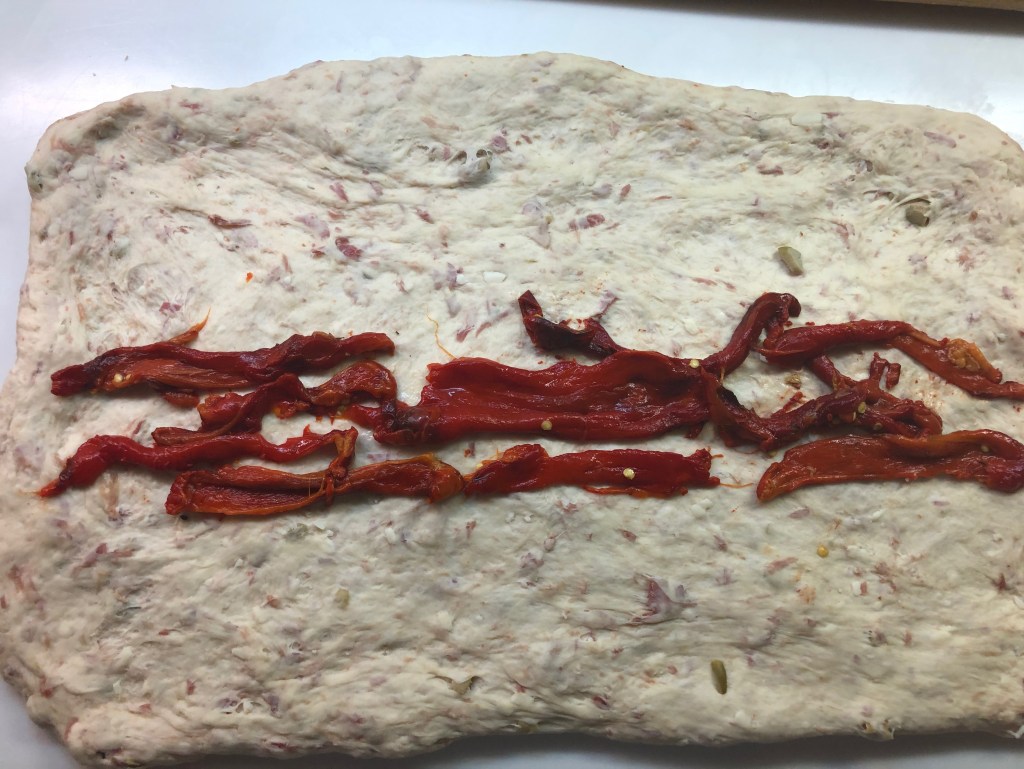
Now you are ready to form. You can either make a ring or just a loaf depending on what your mood is. **Flatten the dough into a rectangle. If you are using store bought dough, this is when you add your meats, cheese, olives and peppers. If you have made your dough, this is when you add your roasted peppers. With the long side of the dough facing you, place your peppers (meats, cheese,olives) along the middle of the dough piece. Fold the top third of the dough down towards the center and encase the ingredient(s) that you are adding. Then fold the bottom of the dough up covering all. Roll the loaf over so that the seam side is on the bottom. Now form into the shape you want. Place on a parchment or Silpat lined sheet pan, cover with a towel and allow to rest for 20 minutes.
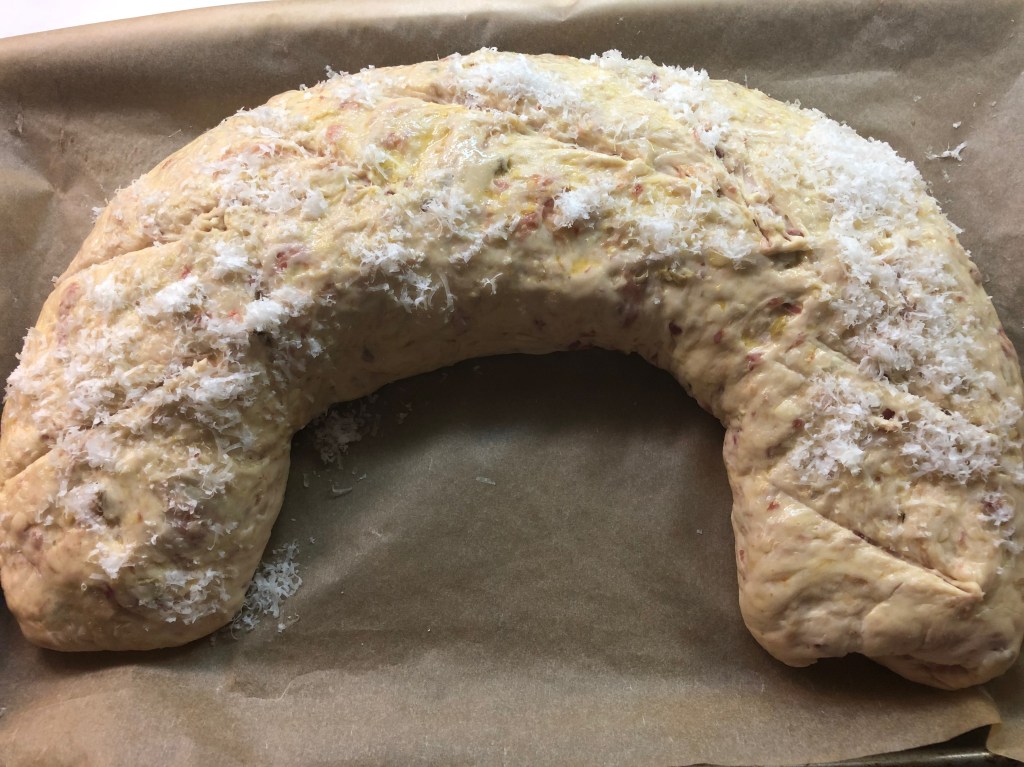
Preheat your oven to 400 degrees. Meanwhile, brush the top of the dough with egg wash and then sprinkle with grated Parmigiano Reggiano cheese. Make a slit along the top. Put into oven and bake for 35 minutes. Start checking after that, if loaf sounds hollow when tapped on the bottom, bread is done. Let cool on rack before serving. If serving next day, allow the bread to cool completely before encasing in plastic wrap.
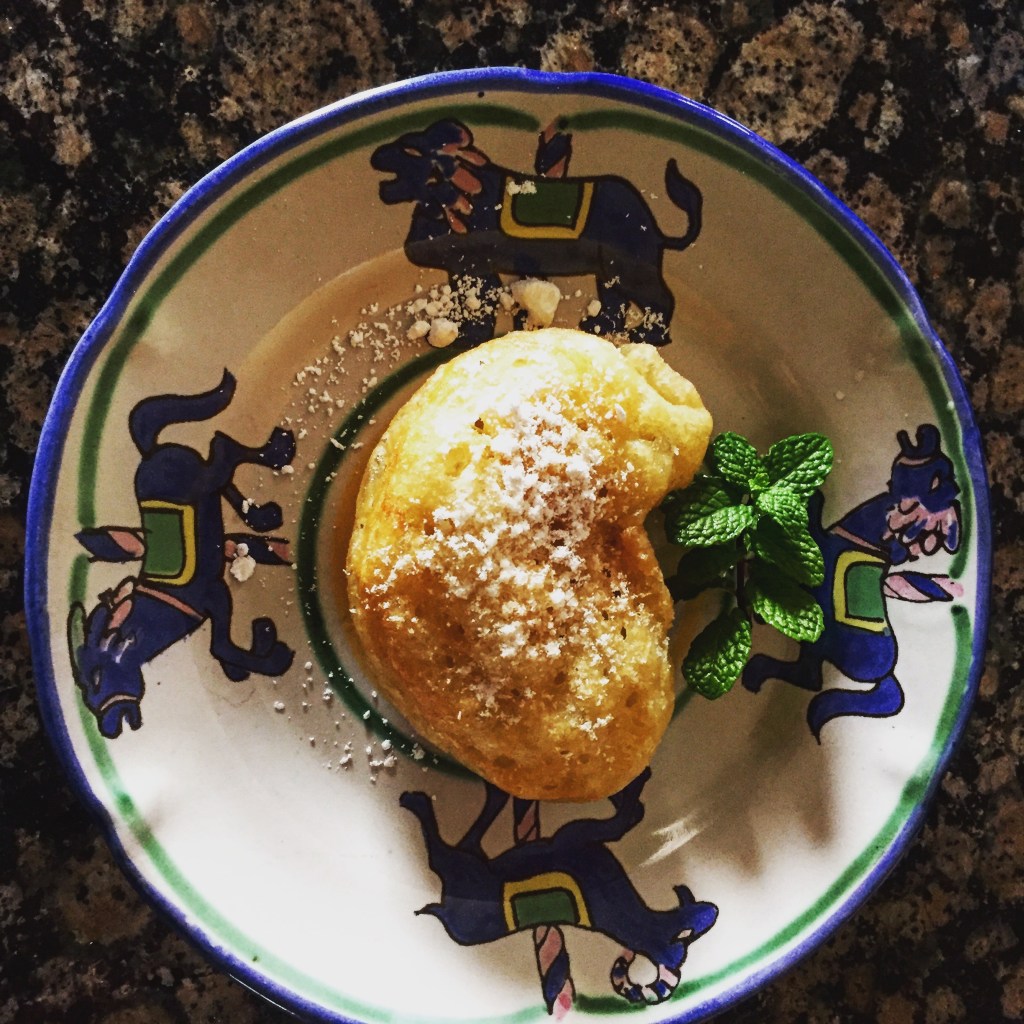
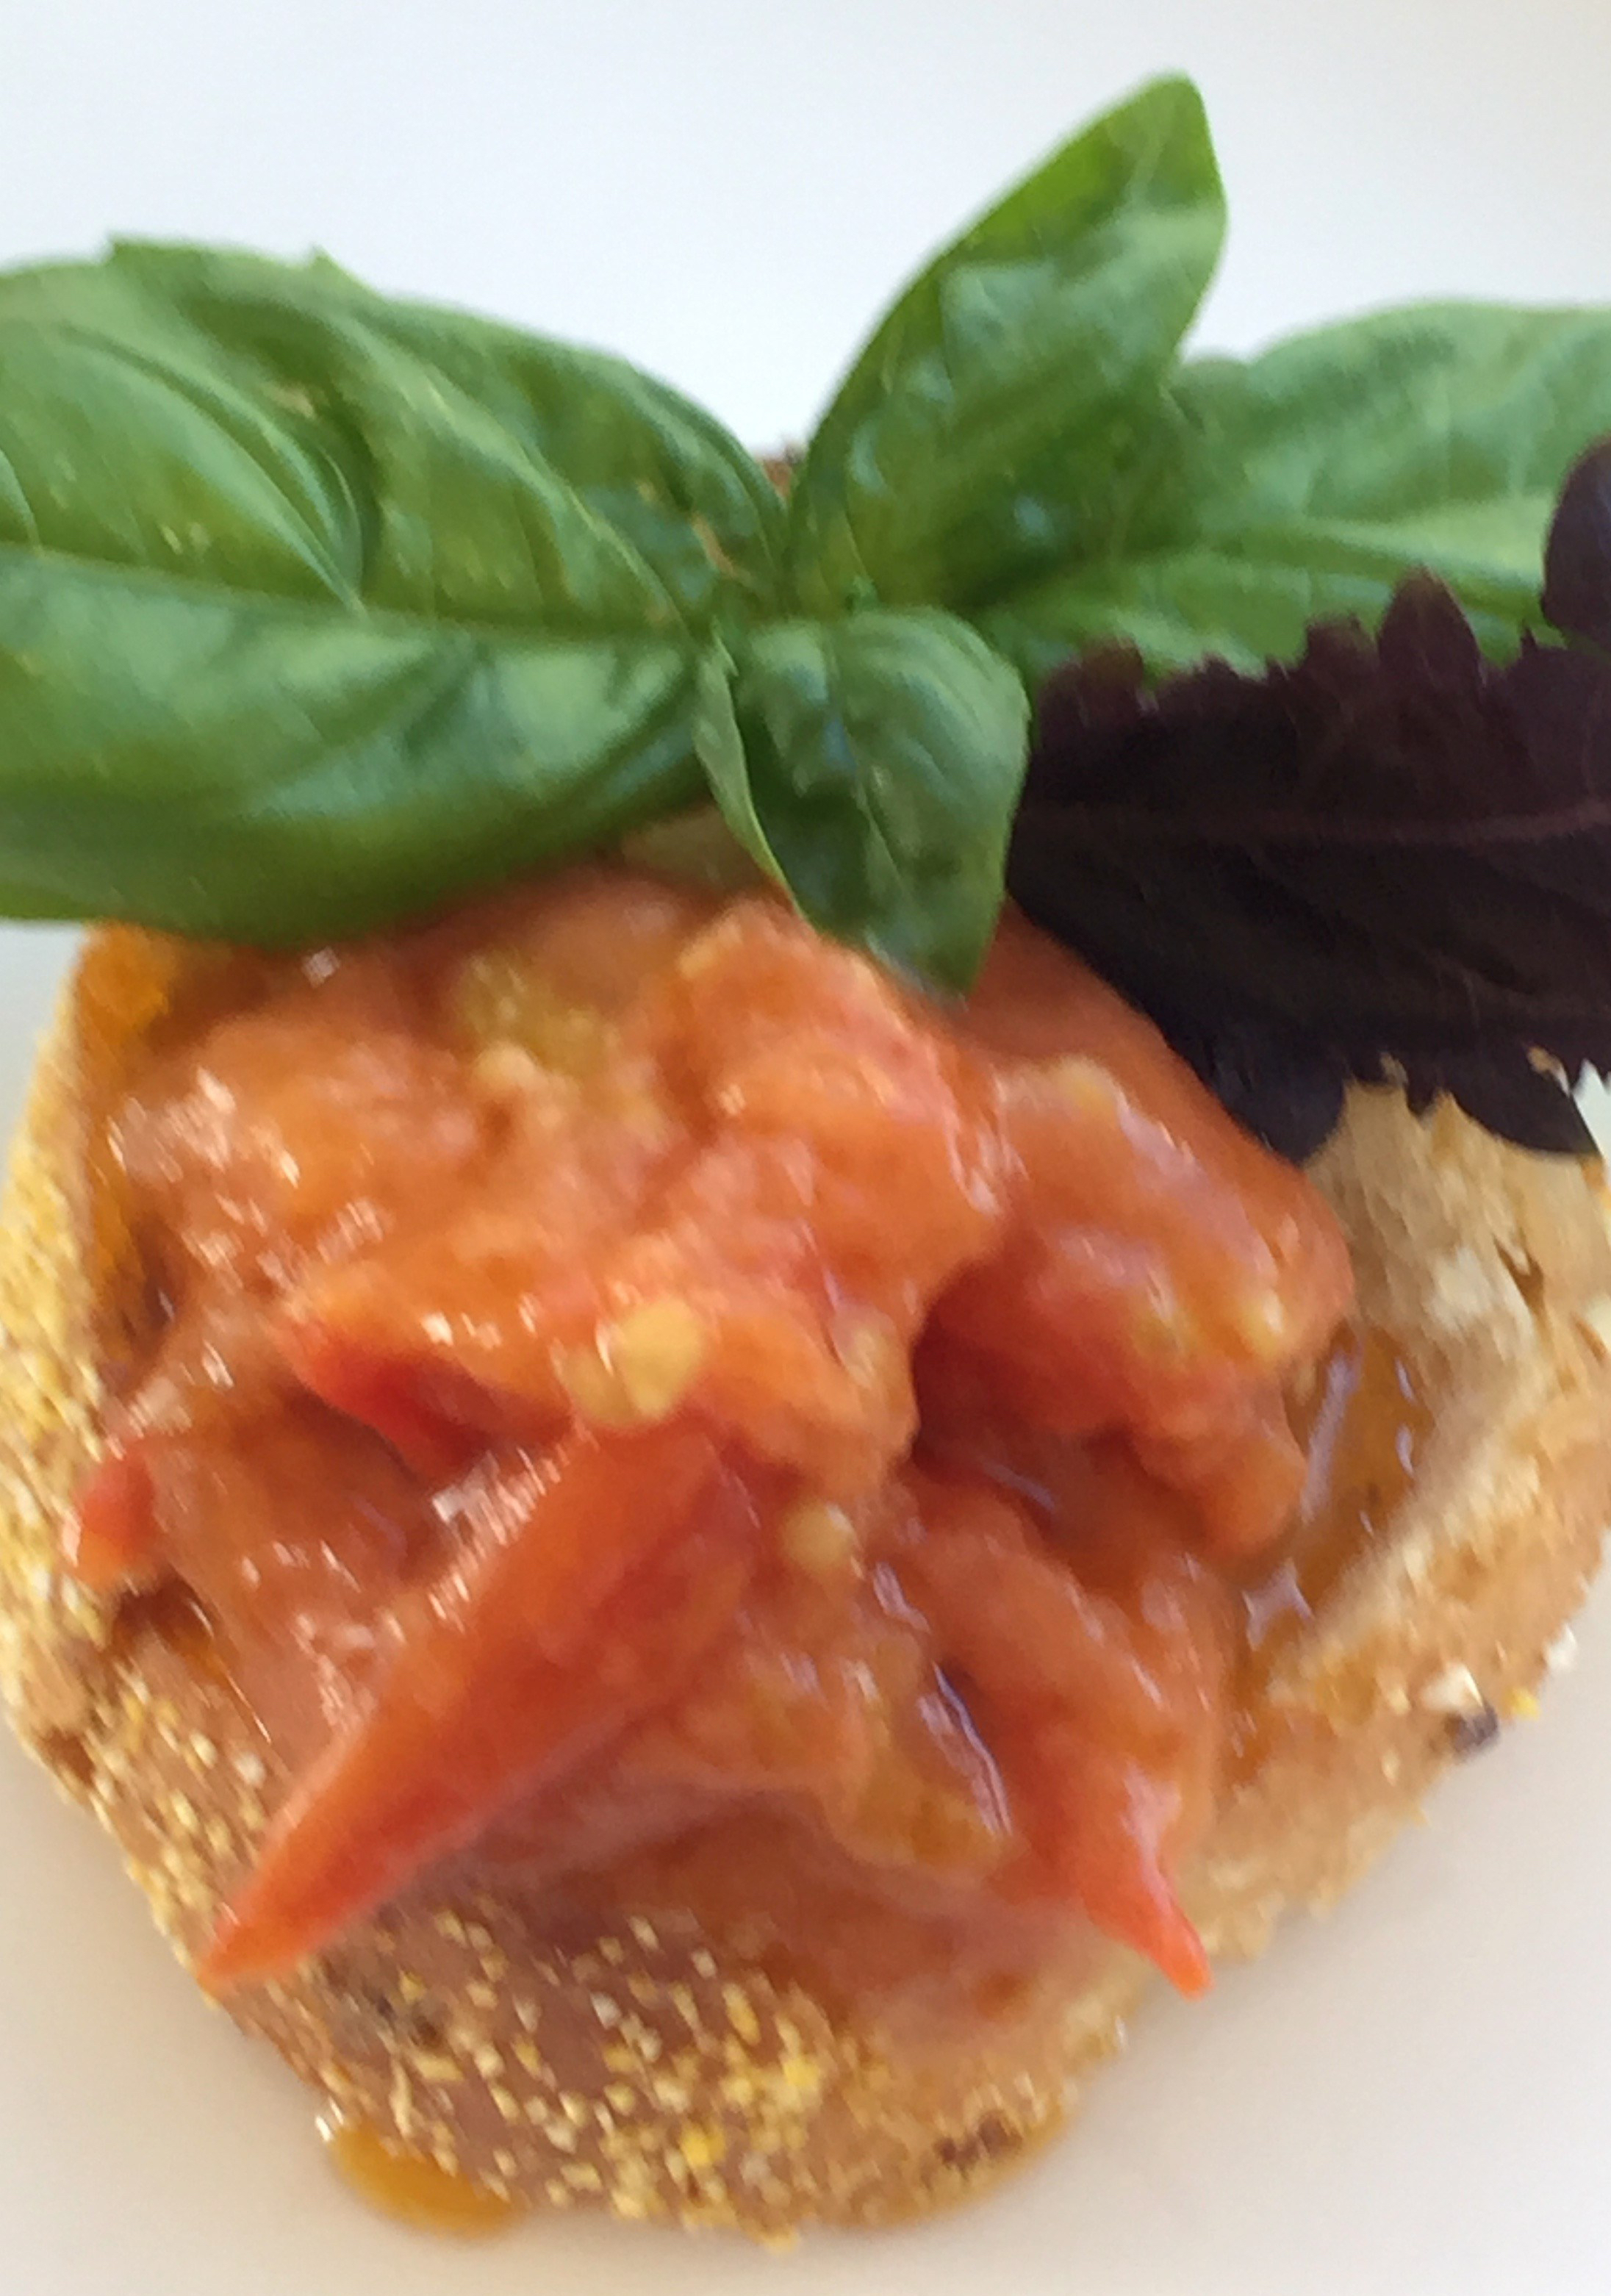
Eat with your favorite Super Bowl beverage. Cross your fingers crossed that stupid numbers like 2 and 8 (yes, can you say safety?) in the pools come in. Leftovers can be frozen (but there probably won’t be any). Numbers like 2 and 8? There’s always next year.