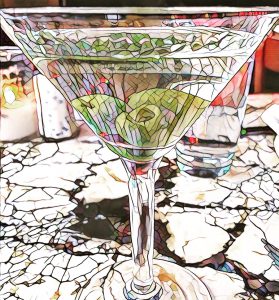
I saw an episode of Simply Ming a bit back and while the entree was a fish or lamb or something else delicious, the thing that caught my eye was the crispy shitake mushrooms he made as a garnish.
So because I always have mushrooms in the fridge, and because yesterday was rainy and cloudy, I had binged Season 2 of Victoria, and I was beginning to talk to myself alternating between a cockney accent and a German accent, I decided it was time to try these little beauties.
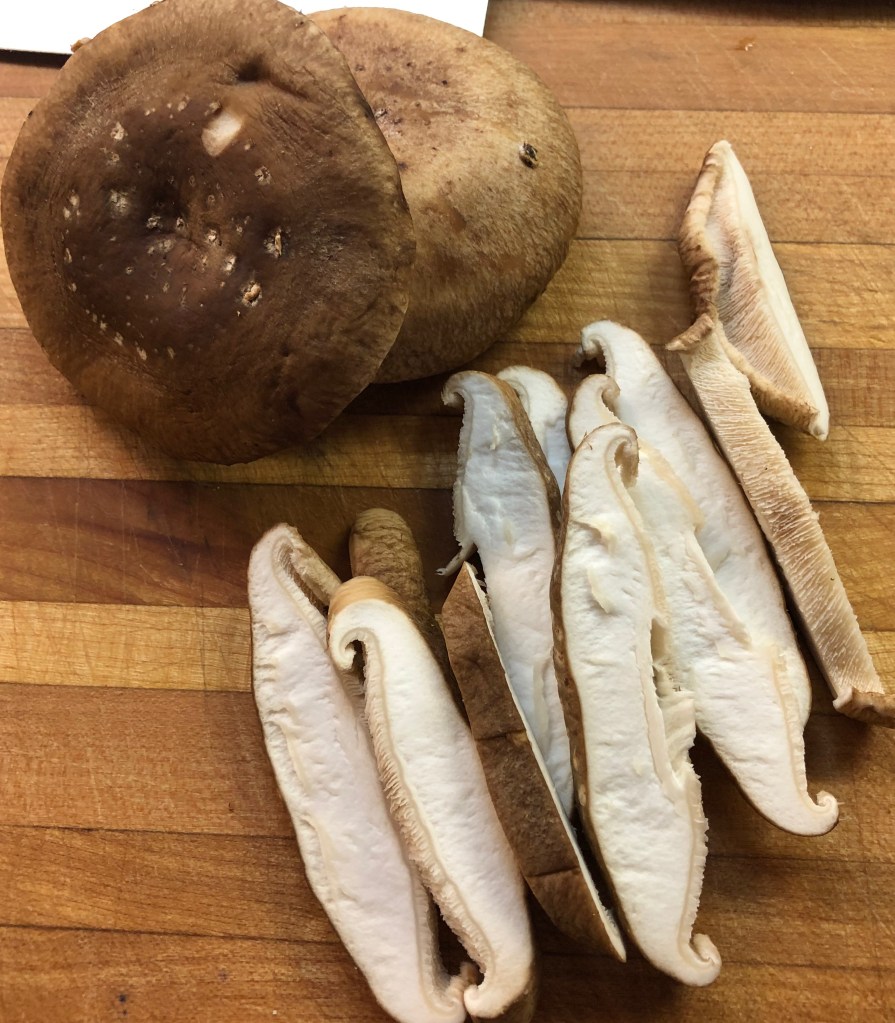
don’t they look like little moustaches??
Wipe the mushrooms clean with damp cloth or paper towel. Remove the stems. If you have OCD, you can bag and place in freezer to use for stock at some point. Yes, I do that. Slice them as shown above. In a skillet, add about 1/4 cup whatever oil you have. I use Grapeseed or Safflower because of the high heat content. You are going to want a high heat to make them crispy.
even more so now!
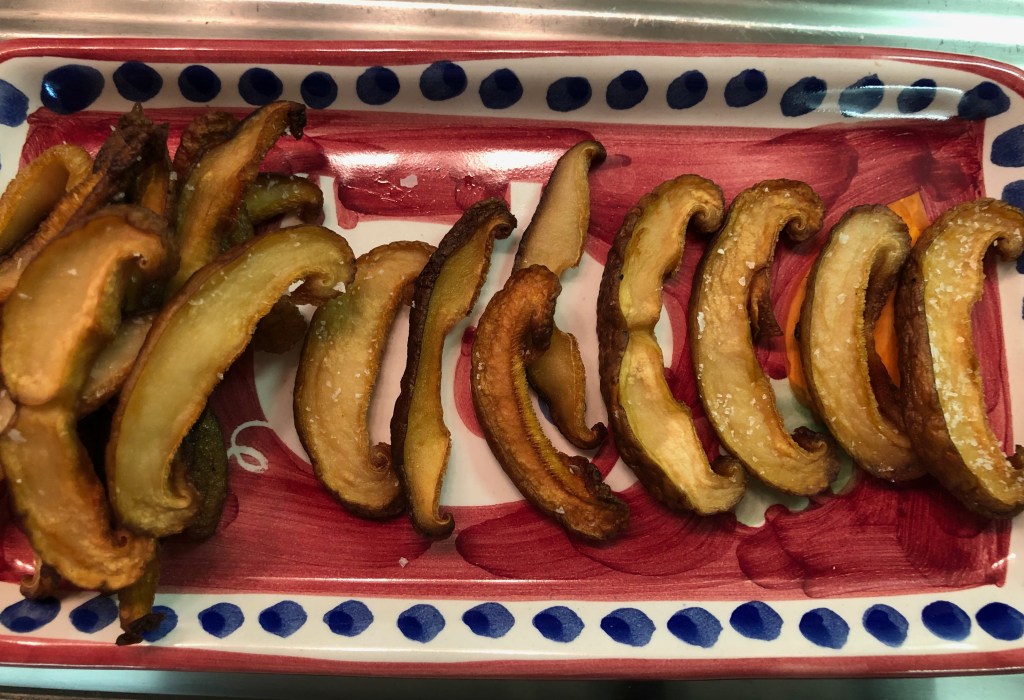
Heat your oil until shimmering or use the base of a wooden chopstick or toothpick to see if bubbles are accumulating around the bottom of the stick. When the appear, you oil is hot enough. Add the mushrooms a few at a time, and let them brown. They will. the whole process takes about 4 minutes. Pull them out from the oil place on a rack to drain. Sprinkle with salt and pepper or whatever other spice you would like.
mushroom moustaches!
They can be served with drinks, as a side, as a garnish, and maybe even dipped in chocolate, although I save that possibility for the pastry chefs out there.
The fog on the vialetti. Le piazze piccole. The flying domes of San Marco. The bridges that go to and fro and take you to places that seem to be in the middle of nowhere, and are. All beautiful memories of Venice, especially in my favorite season, winter. But nothing captures my memory more than the food I ate on my many trips. Not in the Piazza San Marco, not the high end ristoranti, but in the alleyways behind the Rialto Bridge, the bacari in Cannareggio and San Paolo, that food. The food the locals ate.
On one of my trips, while drooling my way through the Rialto Market, I happened upon a merchant who was spinning artichokes to uncover the hearts. I have seen this done on a myriad of TV cooking shows, but never IRL. It amazed me that this could be done so quickly because every time I tried to follow the YouTube videos and reruns of Cooking with Lidia to perfect the trick, it turned out to be a lose lose proposition. This person was cleaning and dropping them into lemon water faster than you could spell artichoke. Shaking my head sadly, I just walked away.
Fast forward to dinner. In Trattoria La Madonna (a must if you ever visit Venice), just behind the aforementioned bridge, I saw warm artichoke salad on the menu and decided to order it. Thinking I was going to get grandma’s artichoke which is eaten leaf by leaf, the kind server placed before me a beautiful, warm salad of cleaned and sliced hearts. I had never eaten artichokes this way. These were same hearts I saw being dropped into the water earlier. It was delicious.
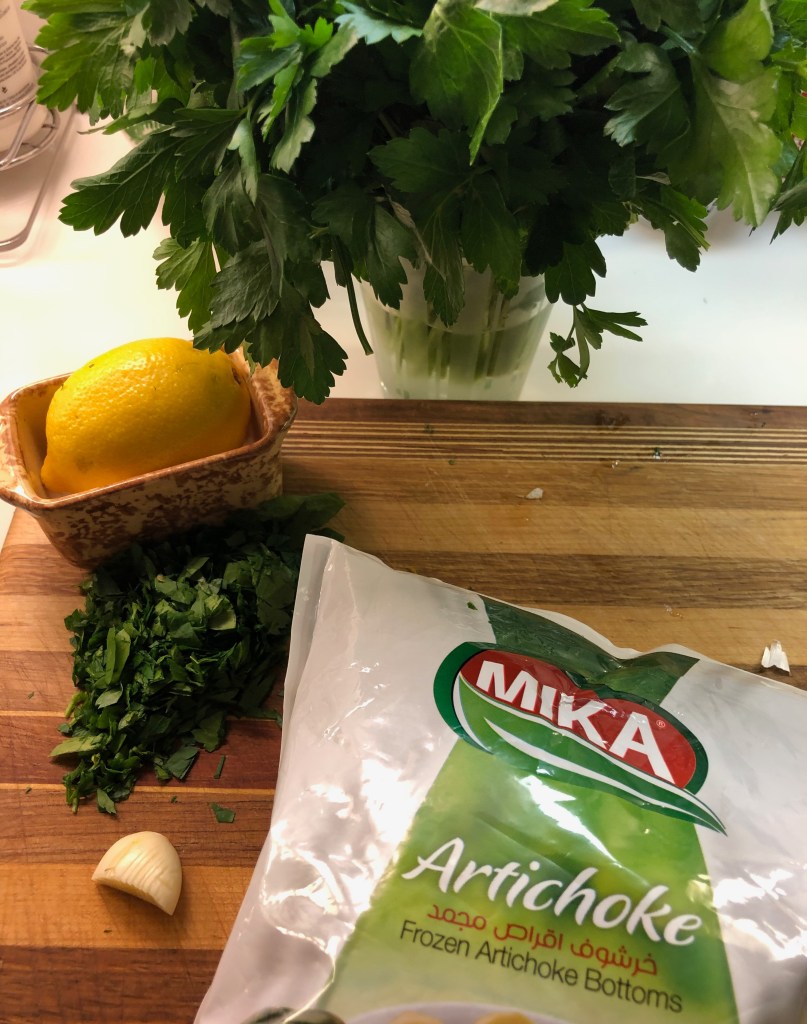
I bring you this salad. If you have frozen choke hearts, which is what I use, it is easy and tasty and if you like artichoke hearts, good for lunch or dinner every day of the week. This is what you need.
ingredients
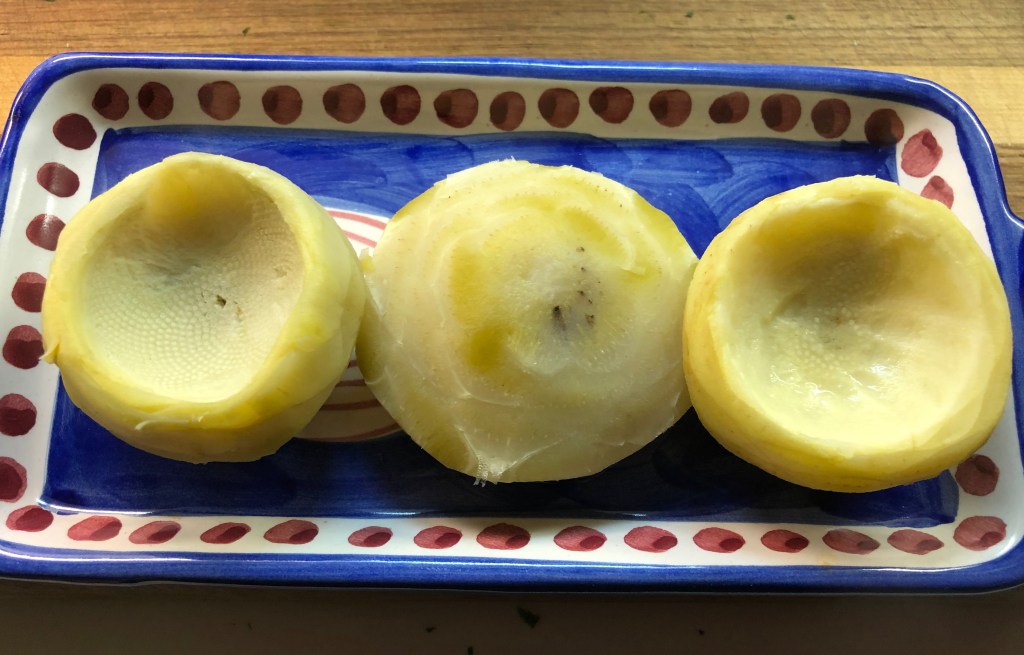
Frozen artichoke hearts are available in almost every supermarket. I buy mine from Sahadi’s, a Middle Eastern market in my neighborhood. To serve 2 people as a salad or a side, cook 4 hearts in boiling salted water until they are soft when pierced with the tip of a knife. I use a cake tester. If it goes all the way through with the smallest bit of resistance, they are done. While they are cooking, chop a 1/2 clove of garlic (or more if you like) and a big handful of parsley leaves. Zest a half of lemon and squeeze the juice into your serving dish. Add salt and pepper to taste and then add the garlic. When chokes are done, remove from water and drain and dry well. You want to remove as much of the water as possible so it does not dilute the dressing.
cooked, cooled, and dried hearts
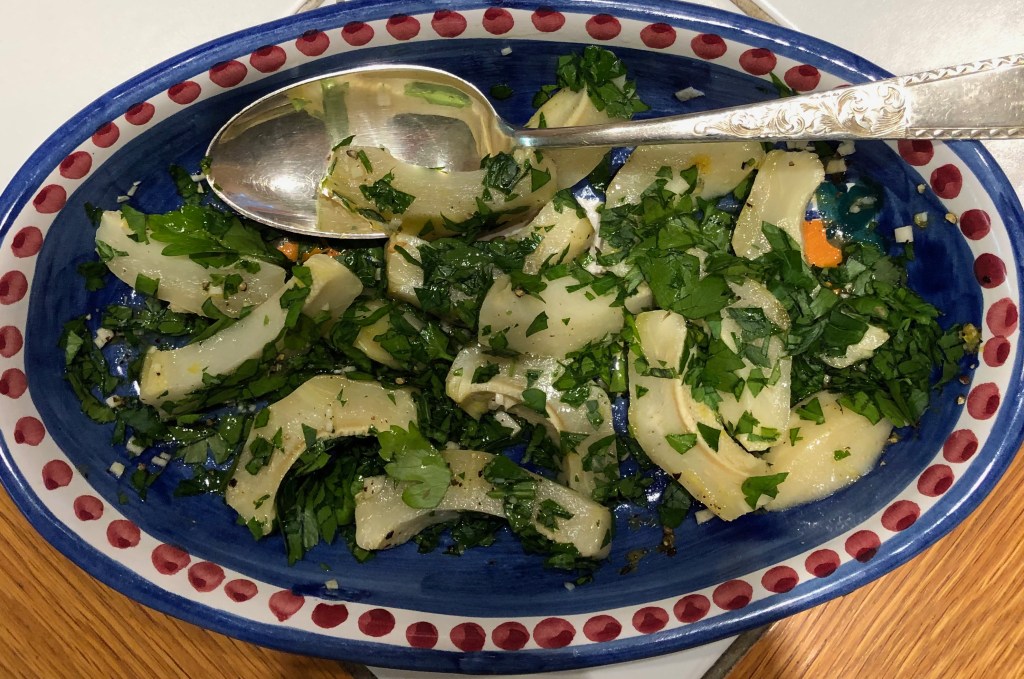
Slice them to the desired thickness and while warm, toss them into the serving dish with the lemon juice mixture. Add olive oil to your taste, and top and toss all with chopped parsley. The appetizer/salad/side can be served warm or at room temperature. I did not add crushed red pepper here, but feel free to do so if you want a bit of kick.
ready to eat
And there you have it. It isn’t a visit to the Rialto Bridge, but it sure can conjure up some good foodie memories.
I bought it for reasons I cannot give, but it sits in my cabinet and need some attention.
I also have always in my freezer (along with makings for fillings of chicken pot pies and soup dumplings), puff pastry squares which I use for the aforementioned pot pies and other goodies.
puff pastry squares
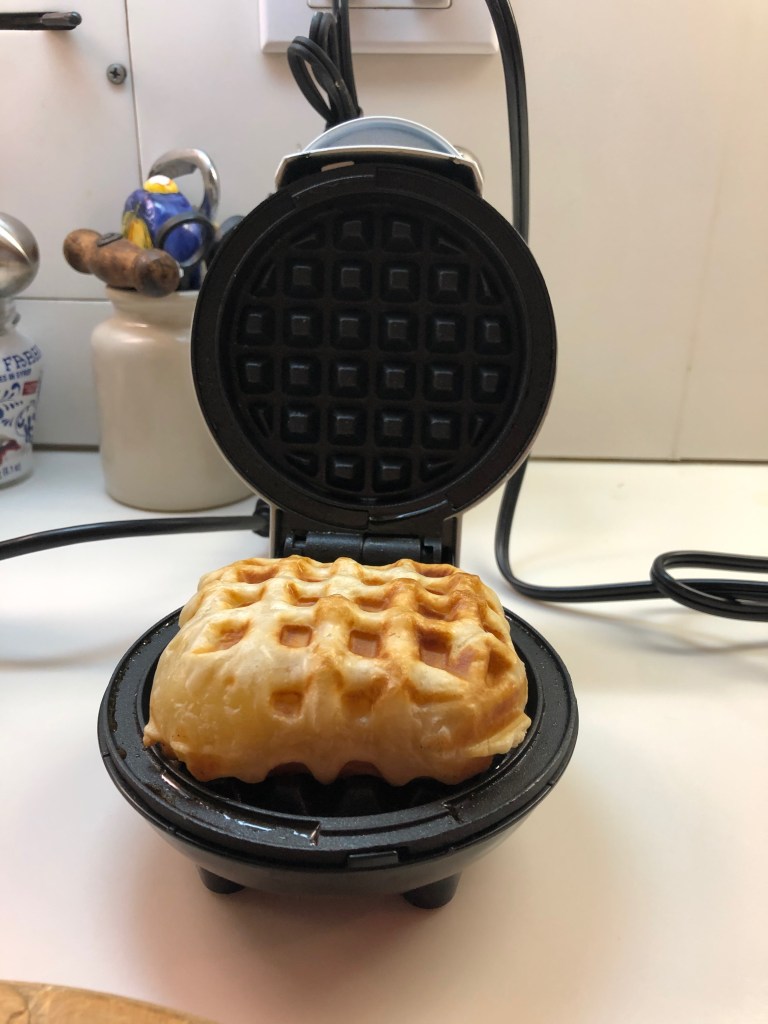
This morning, for giggles and other things, I decided to combine the two for breakfast. Lo and behold, I give you this!
after 3-5 minutes
The pastry had puffed and gave me, and therefore you, some ideas as I chewed on the crunchy crispy waffle topped with butter and honey.
crunchy crispy waffle topped with butter and honey
As you can see, the pastry poofs up and therefore is horizontally sliceable to give you two crunchy, crispy halves. Idea 1. Fill with whipped cream. Idea 2. Fill with ice cream. Idea 3. Fill with jam or preserved fruits. Idea 4. Do all of the above and serve as a wonderfully easy and beautiful dessert. Dust top with powdered sugar to gild the lily.
Idea 5 comes from my genius brother (had to share the photo of the waffle with him). For something savory for a brunch item, replace your biscuits and fried chicken and fill with sausage and gravy. Or creamed mushrooms.
You get the idea, the fillings are limited only by your imagination. And if you can’t be bothered or want something unique for morning coffee, feel free to butter and top with honey. It’s perfect just as it is.
So you finished the holidays, everything put away, and now you have too much of everything including the onions you forgot to use. You could make onion soup, but if you are married to a man who doesn’t really care for it, you have to think of something else before they go bad.
Simple and easy way to use them up that doesn’t include kimchi or pickling. Slice them as thinly as possible and put into a pot with about a tablespoon of butter and a tablespoon of a neutral oil. Add about 1/2 cup water and a tablespoon of balsamic vinegar. Wait on the salt and pepper, their time will come later. Put the pot on a medium low heat and let the water melt the onions without browning them. Eventually all the water will dissipate (thank you for this great trick Jacques Pepin), and the onions will begin to caramelize a bit. Don’t let them brown. Taste for salt and pepper at this point and season to your liking.
Let them cool, put them in a jar, and serve with sandwiches (for the pesky, non onion soup liking hubby) or on toast with or without avocado, on eggs, on burgers, or however you want. Chop and mix with sour cream and make a grown up version of onion dip to serve with chips (Super Bowl coming!). Takes all of 15-20 minutes to make and works with any color onion. Freeze for later works too!
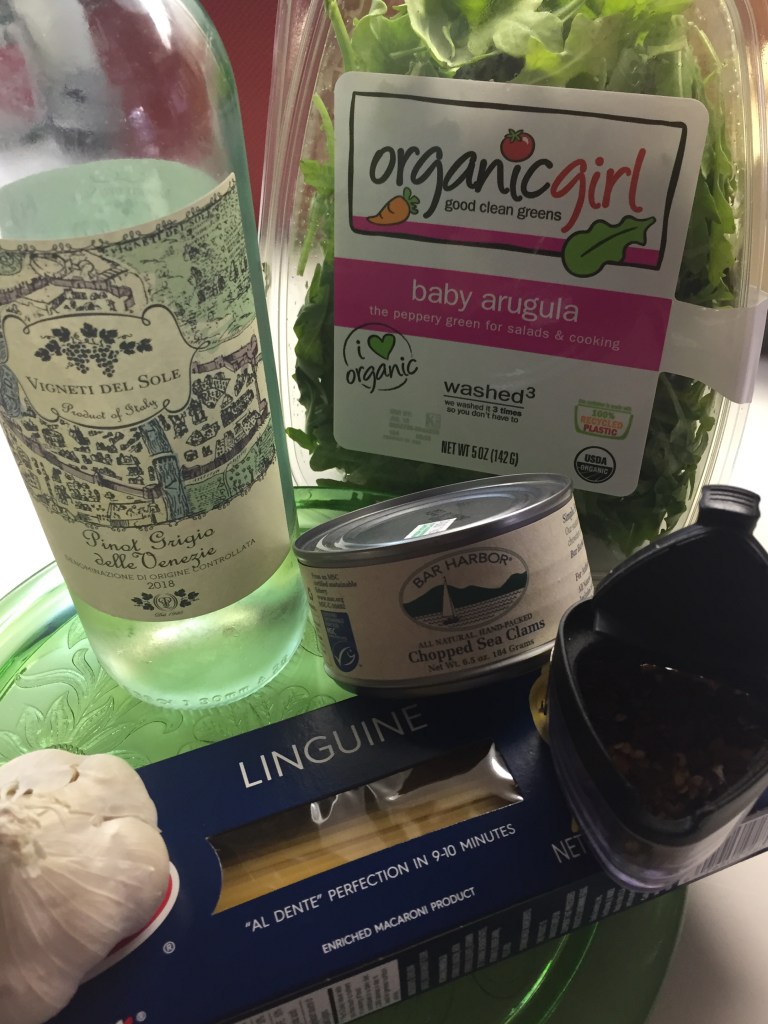
Unbeknownst to me, my fish market closed for good and I promised Linguine Vongole for dinner. So no vongole to be had. What to do? Buy the best canned clams you can find and make the recipe without the shells. Here is what you need for two people: 1/2 pound linguine; 2 cloves garlic, thinly sliced; pinch red pepper; 1-2 cans best chopped clams you can find-drain the juices and reserve; 1-2 tablespoons white wine; handful of arugula; 2 tablespoons butter to finish the sauce.
Set a large pot of water on high heat and when it comes to a boil salt to bring taste of the water to the taste of seawater. Meanwhile, thinly slice the garlic, drain the clams (reserving the juices) and rinse them thoroughly to remove any tinny taste. 2 minutes before the pasta is done, in a separate pan, heat a tablespoon or two of olive oil over medium heat and add the sliced garlic. Add a bit of the reserved clam juices (or water if not using the clams, more on that later) to the pan and allow the garlic to steep a bit. This process slows the cooking of the garlic and ensures that it will not burn while you are preparing the rest of the sauce. When the water comes to a boil, add the linguine and cook it to within 2 minutes of the recommended cooking time. Back to the pan for the sauce, add a pinch of red pepper flakes (or to your taste for heat) and stir. When the pasta is done, drain it reserving a cup of the pasta water for use if needed. Add the white wine to the sauce pan and and cook for a few seconds to remove the alcohol taste. Add the clams and their reserved juices to the sauce pan and warm through, no more than a minute, you don’t want to overcook the clams. Toss in the pasta and give everything a good stir. If the sauce looks dry, add a bit of the pasta water. Finish cooking everything together, about another minute or so and taste for seasoning. Add a handful of arugula and the butter and stir, emulsifying the sauce and melting the arugula.
If you don’t eat clams, you can make the sauce the same way just omit the clams. You will need to use more of the pasta water to create the sauce but it will taste just as good. Instead of Linguine Vongole, you will have made Linguine Aglio. If you add a splash of oil to the finished Linguine Aglio, you will have Linguine Aglio ed Olio.
Pour into a warm bowl. Serve with some good bread to soak up the juices. That’s it. It took longer to type this up than it will take to cook! 10 minutes start to finish. Not even enough time to finish a glass of wine! And you won’t miss the clam shells.
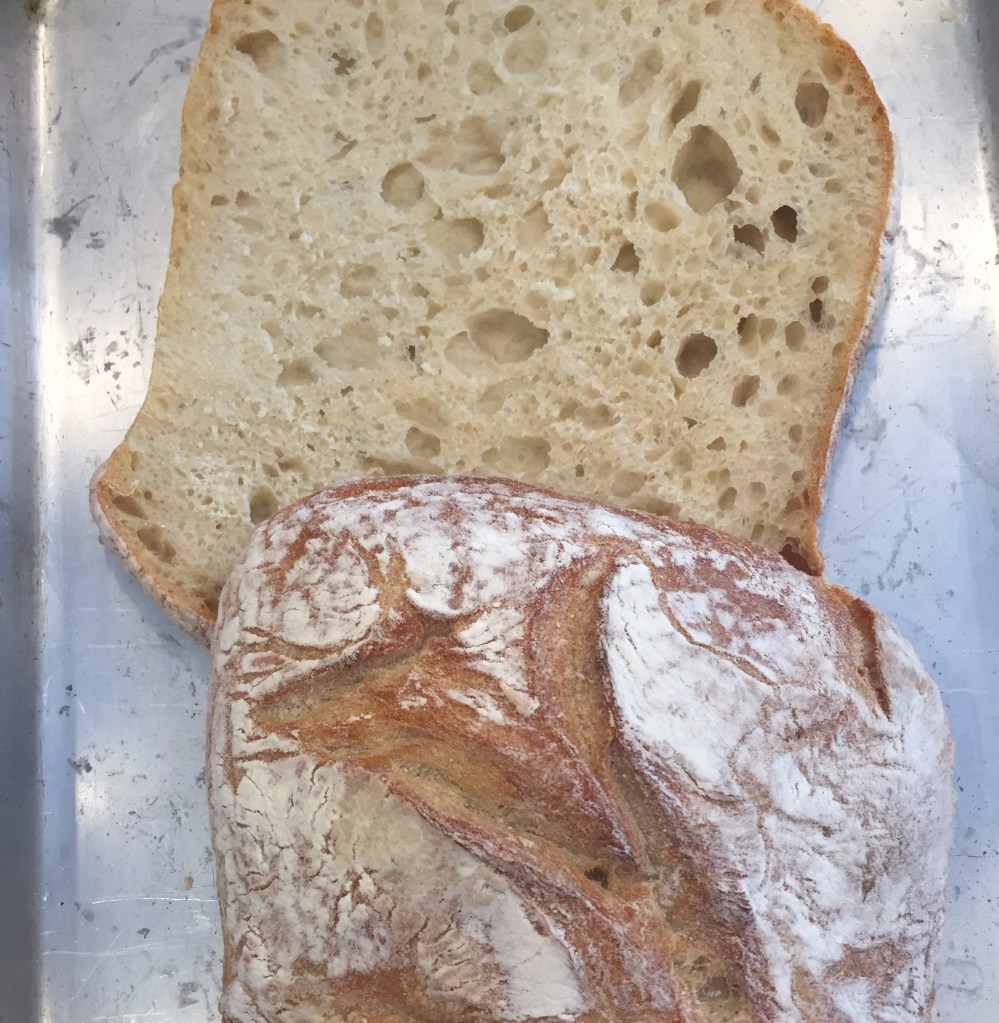
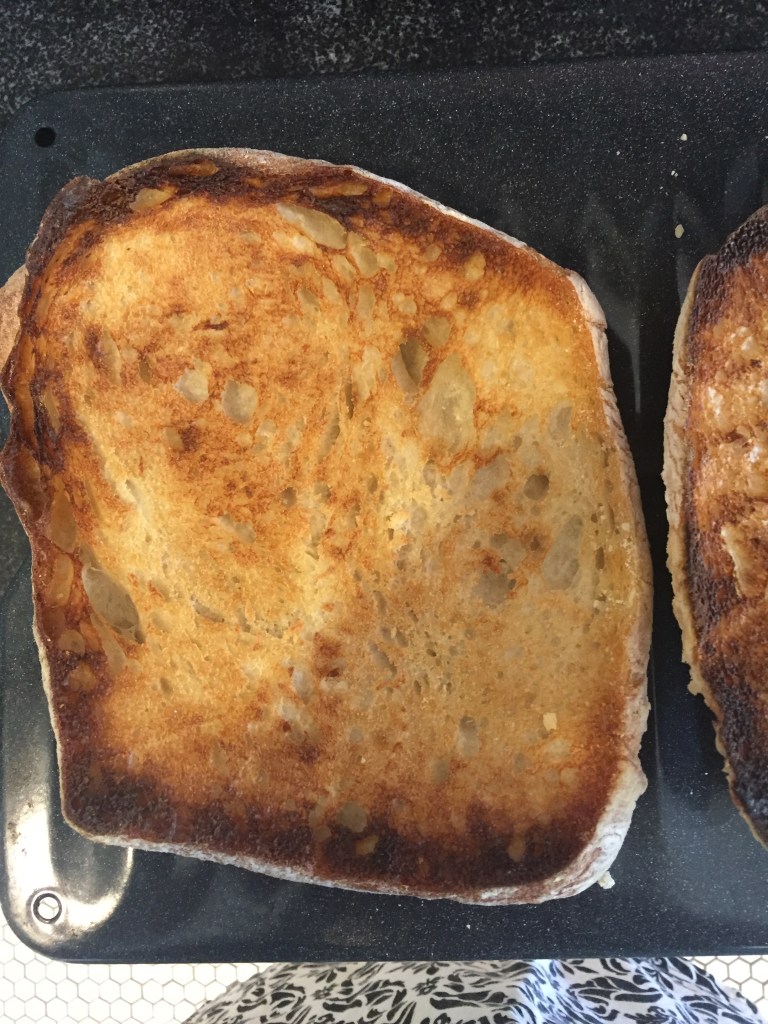
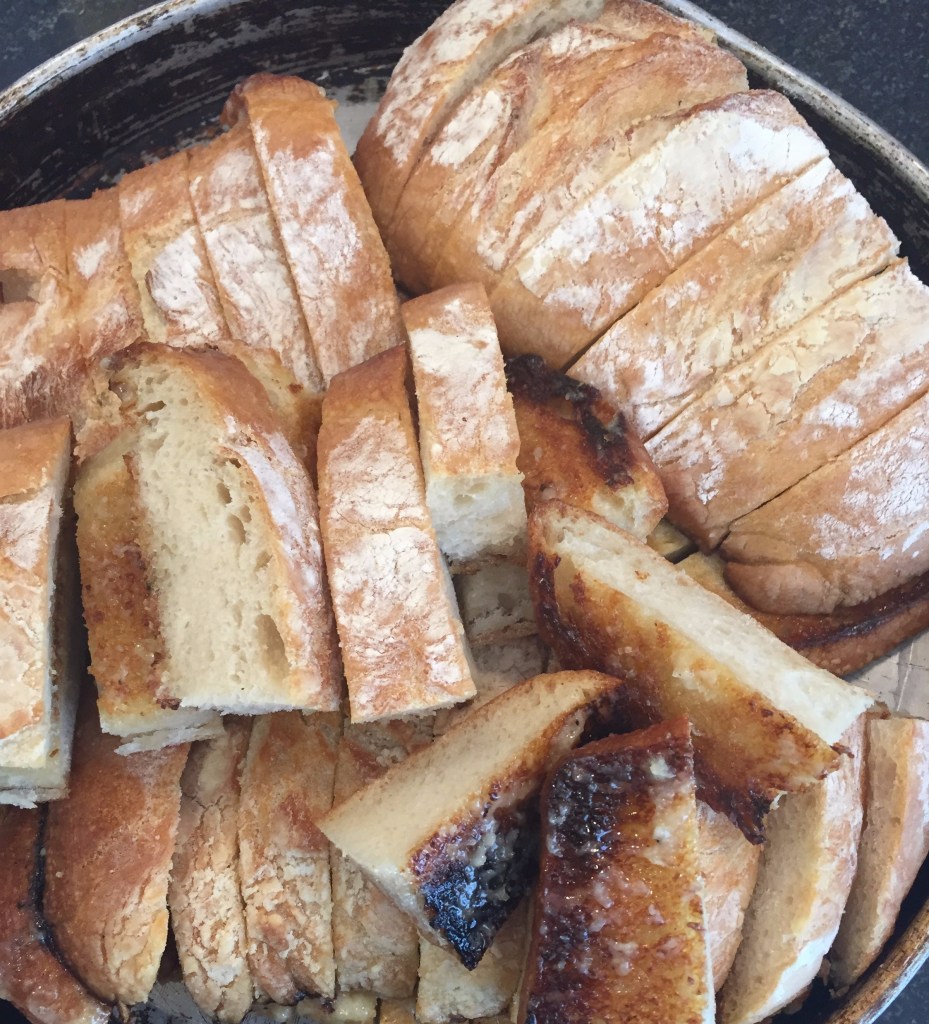
You have the ribs cooking, the burgers prepped, the dogs waiting patiently for their turn on the grill. Salads, cupcakes, all the stuff that make a BBQ on the Fourth what it is. So what’s missing? Scratch your head, um, er, aha! you forgot the garlic bread, what fourth of July celebration should be without it? (Well most of them if you aren’t of Italian heritage, but a post for a different date). So this is as easy as it gets. What you need is a loaf of Ciabatta bread (or loaf of your choice, but Ciabatta works best), a stick of butter (per loaf), chopped garlic (I use my microplane, this way you don’t get big chunks and the garlic melts into the butter), a rimmed baking sheet, and that’s it. If you want to get fancy and add chopped herbs, have at it, but wait until the butter garlic mix is done. Slice the Ciabatta loaf in half as shown so that you have two pieces. Grill the bread to get nice marks (or put under the broiler to toast), and set aside. While bread is grilling, place the butter and garlic in the baking pan and melt, stirring to make sure all blended. You can do this on the grill or in the oven as well. When the butter is melted and mixed with garlic (slightly toasty NOT BURNT) place the grilled sides of the bread on the sheet pan into the butter mix and let the bread soak up the mixture. Place the two sides back together, slice lengthwise, and VOILA! Best Easy Garlic Bread! You will never make it another way, I promise.
Just in time for America’s favorite holiday, I bring you Red, White, and Blue Berry Salsa. This beautiful side is can be served in a multitude of ways with a multitude of savory or sweet items, is easy to make, doesn’t require a great deal of time to prepare, involves a minimal amount of chopping and no heat, and looks gorgeous on the plate! What more could you ask for in a party food? And how and what do you need to prepare it? Think your regular salsa ingredients: onion–use Vidalia, white, or the white part of scallions; pepper-use Fresno to keep the color theme, but if you can’t find them, Jalenpeno works fine, even a pinch of red pepper flakes in a pinch-you need some heat; a splash of Balsamic to keep the sweet, a splash of olive oil and coarse sea salt to keep the savory; finally, strawberries, raspberries, blueberries, even blackberries, whatever you like to keep the red and blue idea. Mix the ingredients together and let sit for about 1/2 hour to allow the flavors to marry. Serve along side grilled steak, hamburgers, or sausages. Serve atop vanilla ice cream. Leftovers? Serve the next day on some toast or yogurt for breakfast. See? Berries, they’re not just for whipped cream and scones, and certainly not boring! One more thing, as it is a celebration, don’t forget the champagne! Happy Birthday America!
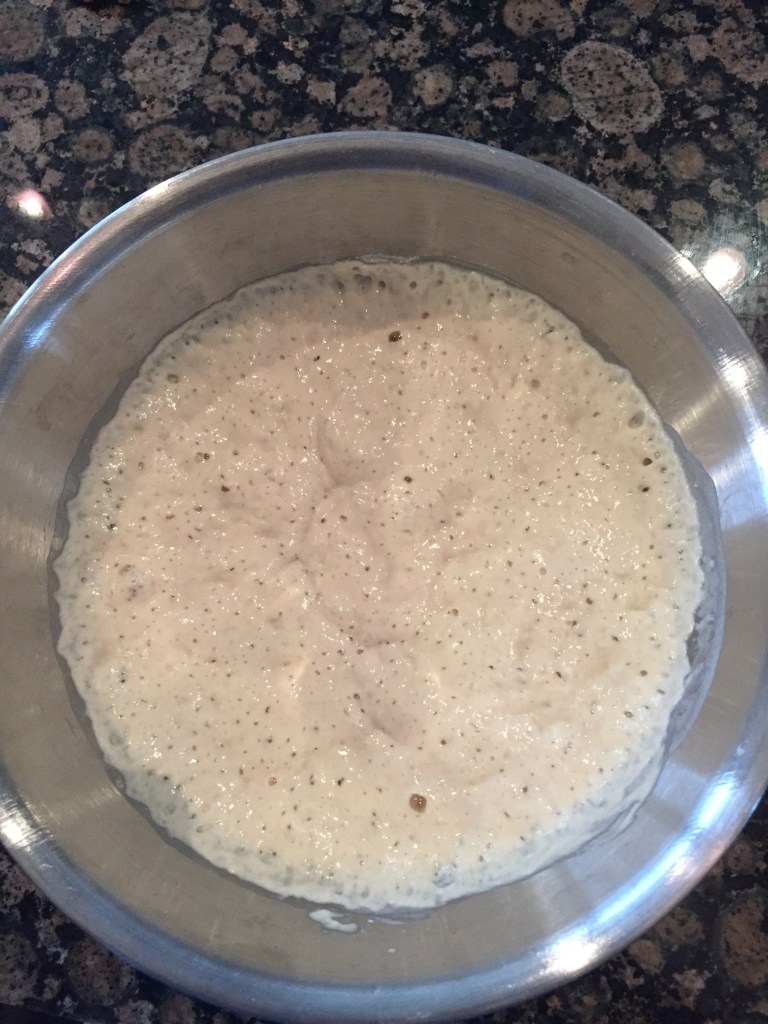
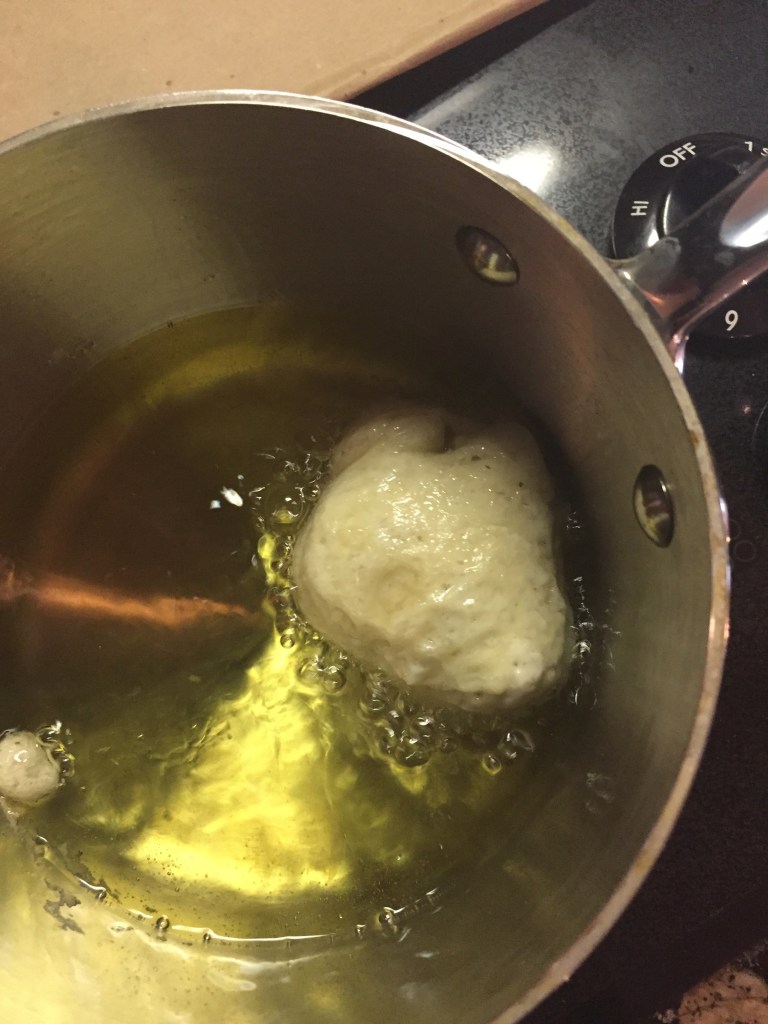
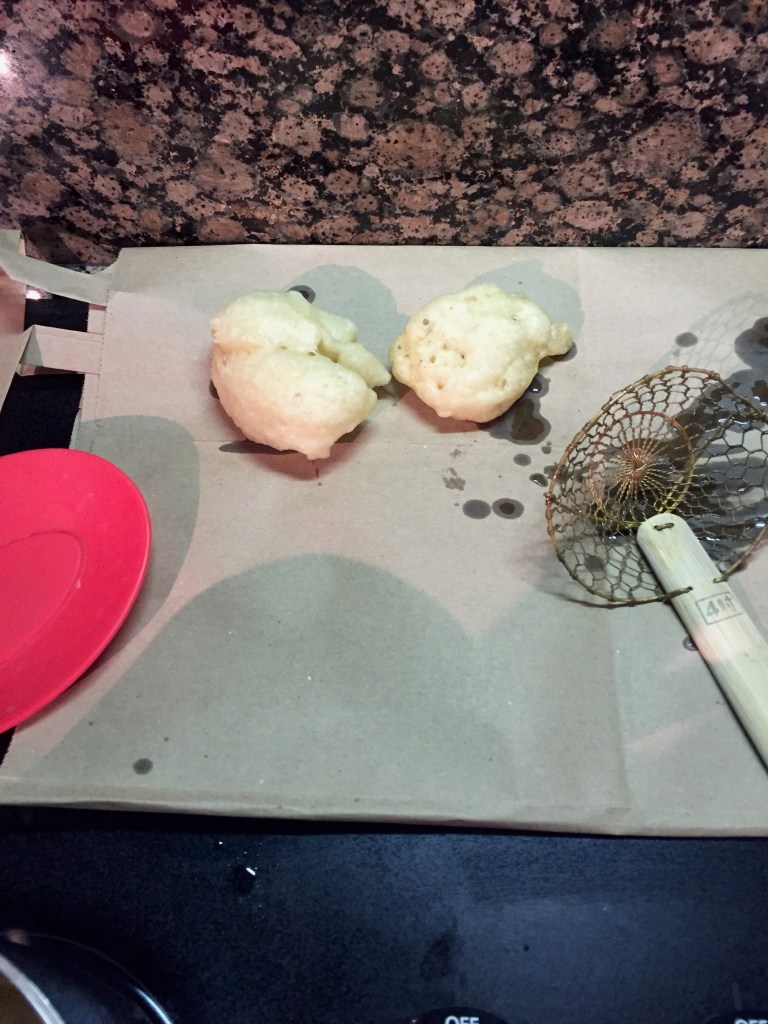
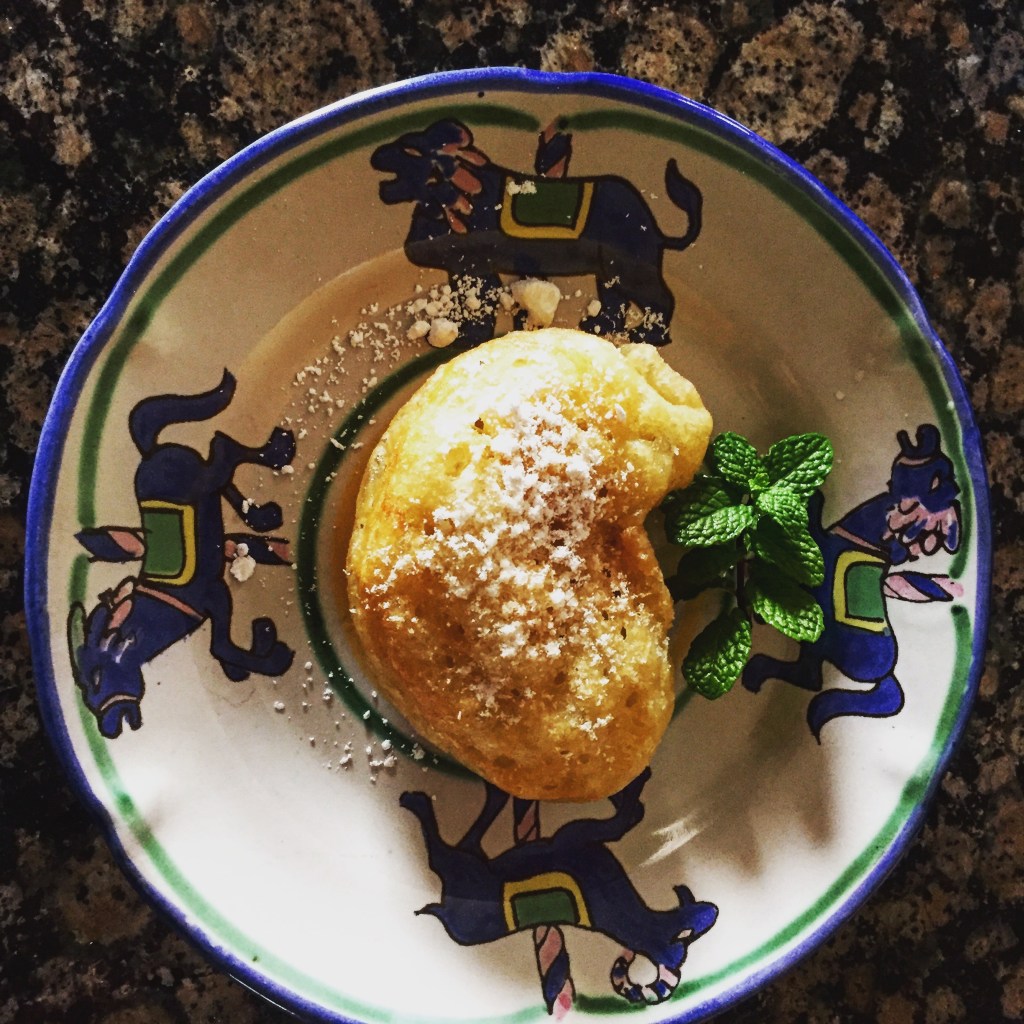
I come from a family with a lot of Josephs: Mother, grandparents, brother, cousins, you know, a lot. So March 19 has a special place in my heart, not only because it is the St. Patrick’s Day equivalent for Italians, but also because of the fried dough nibbles my mom (and my grandmother, my aunts, my sister, you get the picture) would make to celebrate the date. So today, I bring you zeppole. Not a very sophisticated recipe, but so good. For ten zeppole each consisting of a quarter cup raw product, you will need one package of yeast dissolved in 1 1/4 cup warm water (proof to make sure it bubbles), 1 1/4 cup all purpose flour, and a pinch of salt. Mix the flour into the proofed yeast and water mixture, add pinch of salt and set aside to rise for about an hour and a half. You can make this the day before and let mixture rise in the fridge, just bring it to room temperature before cooking. Your mixture should be a bit soupy as shown in photo. When ready, bring about a cup of oil to high heat and set a paper bag-the paper bag is important, it is part of the tradition-aside and next to your pot. Add a 1/4 cup of mixture to oil and watch it fry. When the zeppole is cooked on one side, it will turn itself over, but if it doesn’t, just give it a nudge; you want both sides a golden color. That’s it. When ready to serve, dust with a bit of powdered sugar, or a mix of powdered sugar and cocoa powder or whatever you think you might like. You can probably serve them with something savory, but I am worried that my Italian ancestors will haunt your dreams for a year. In any event, enjoy. And if your name is Joseph or any close derivation thereof, I wish you a very happy feast day!
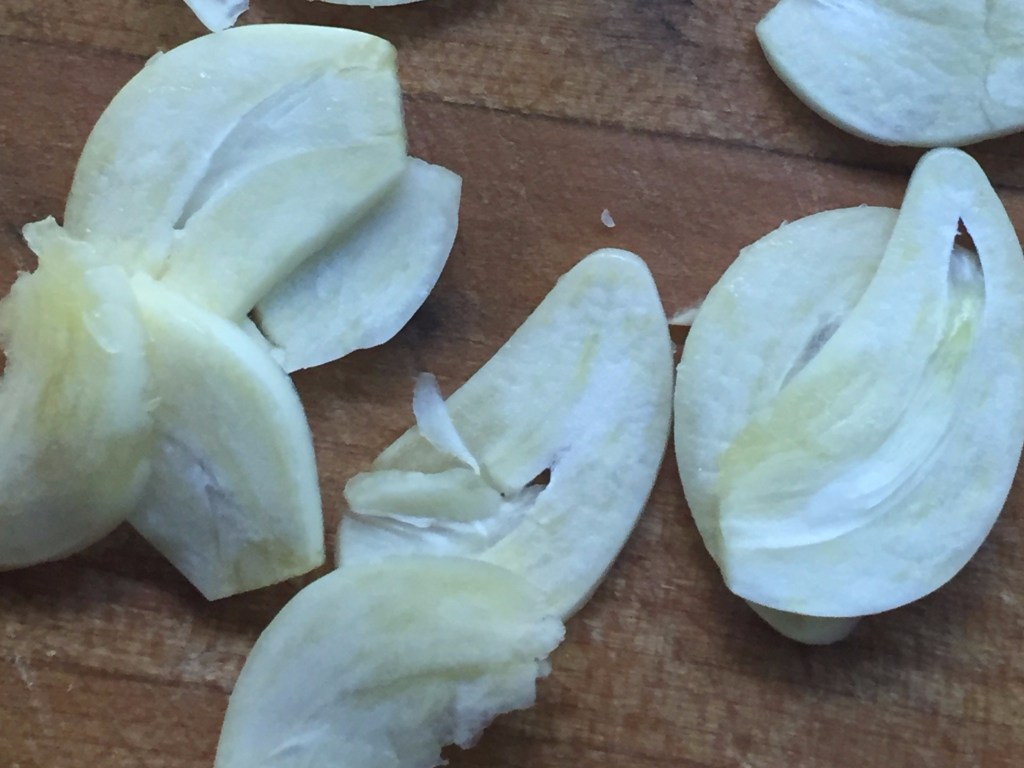
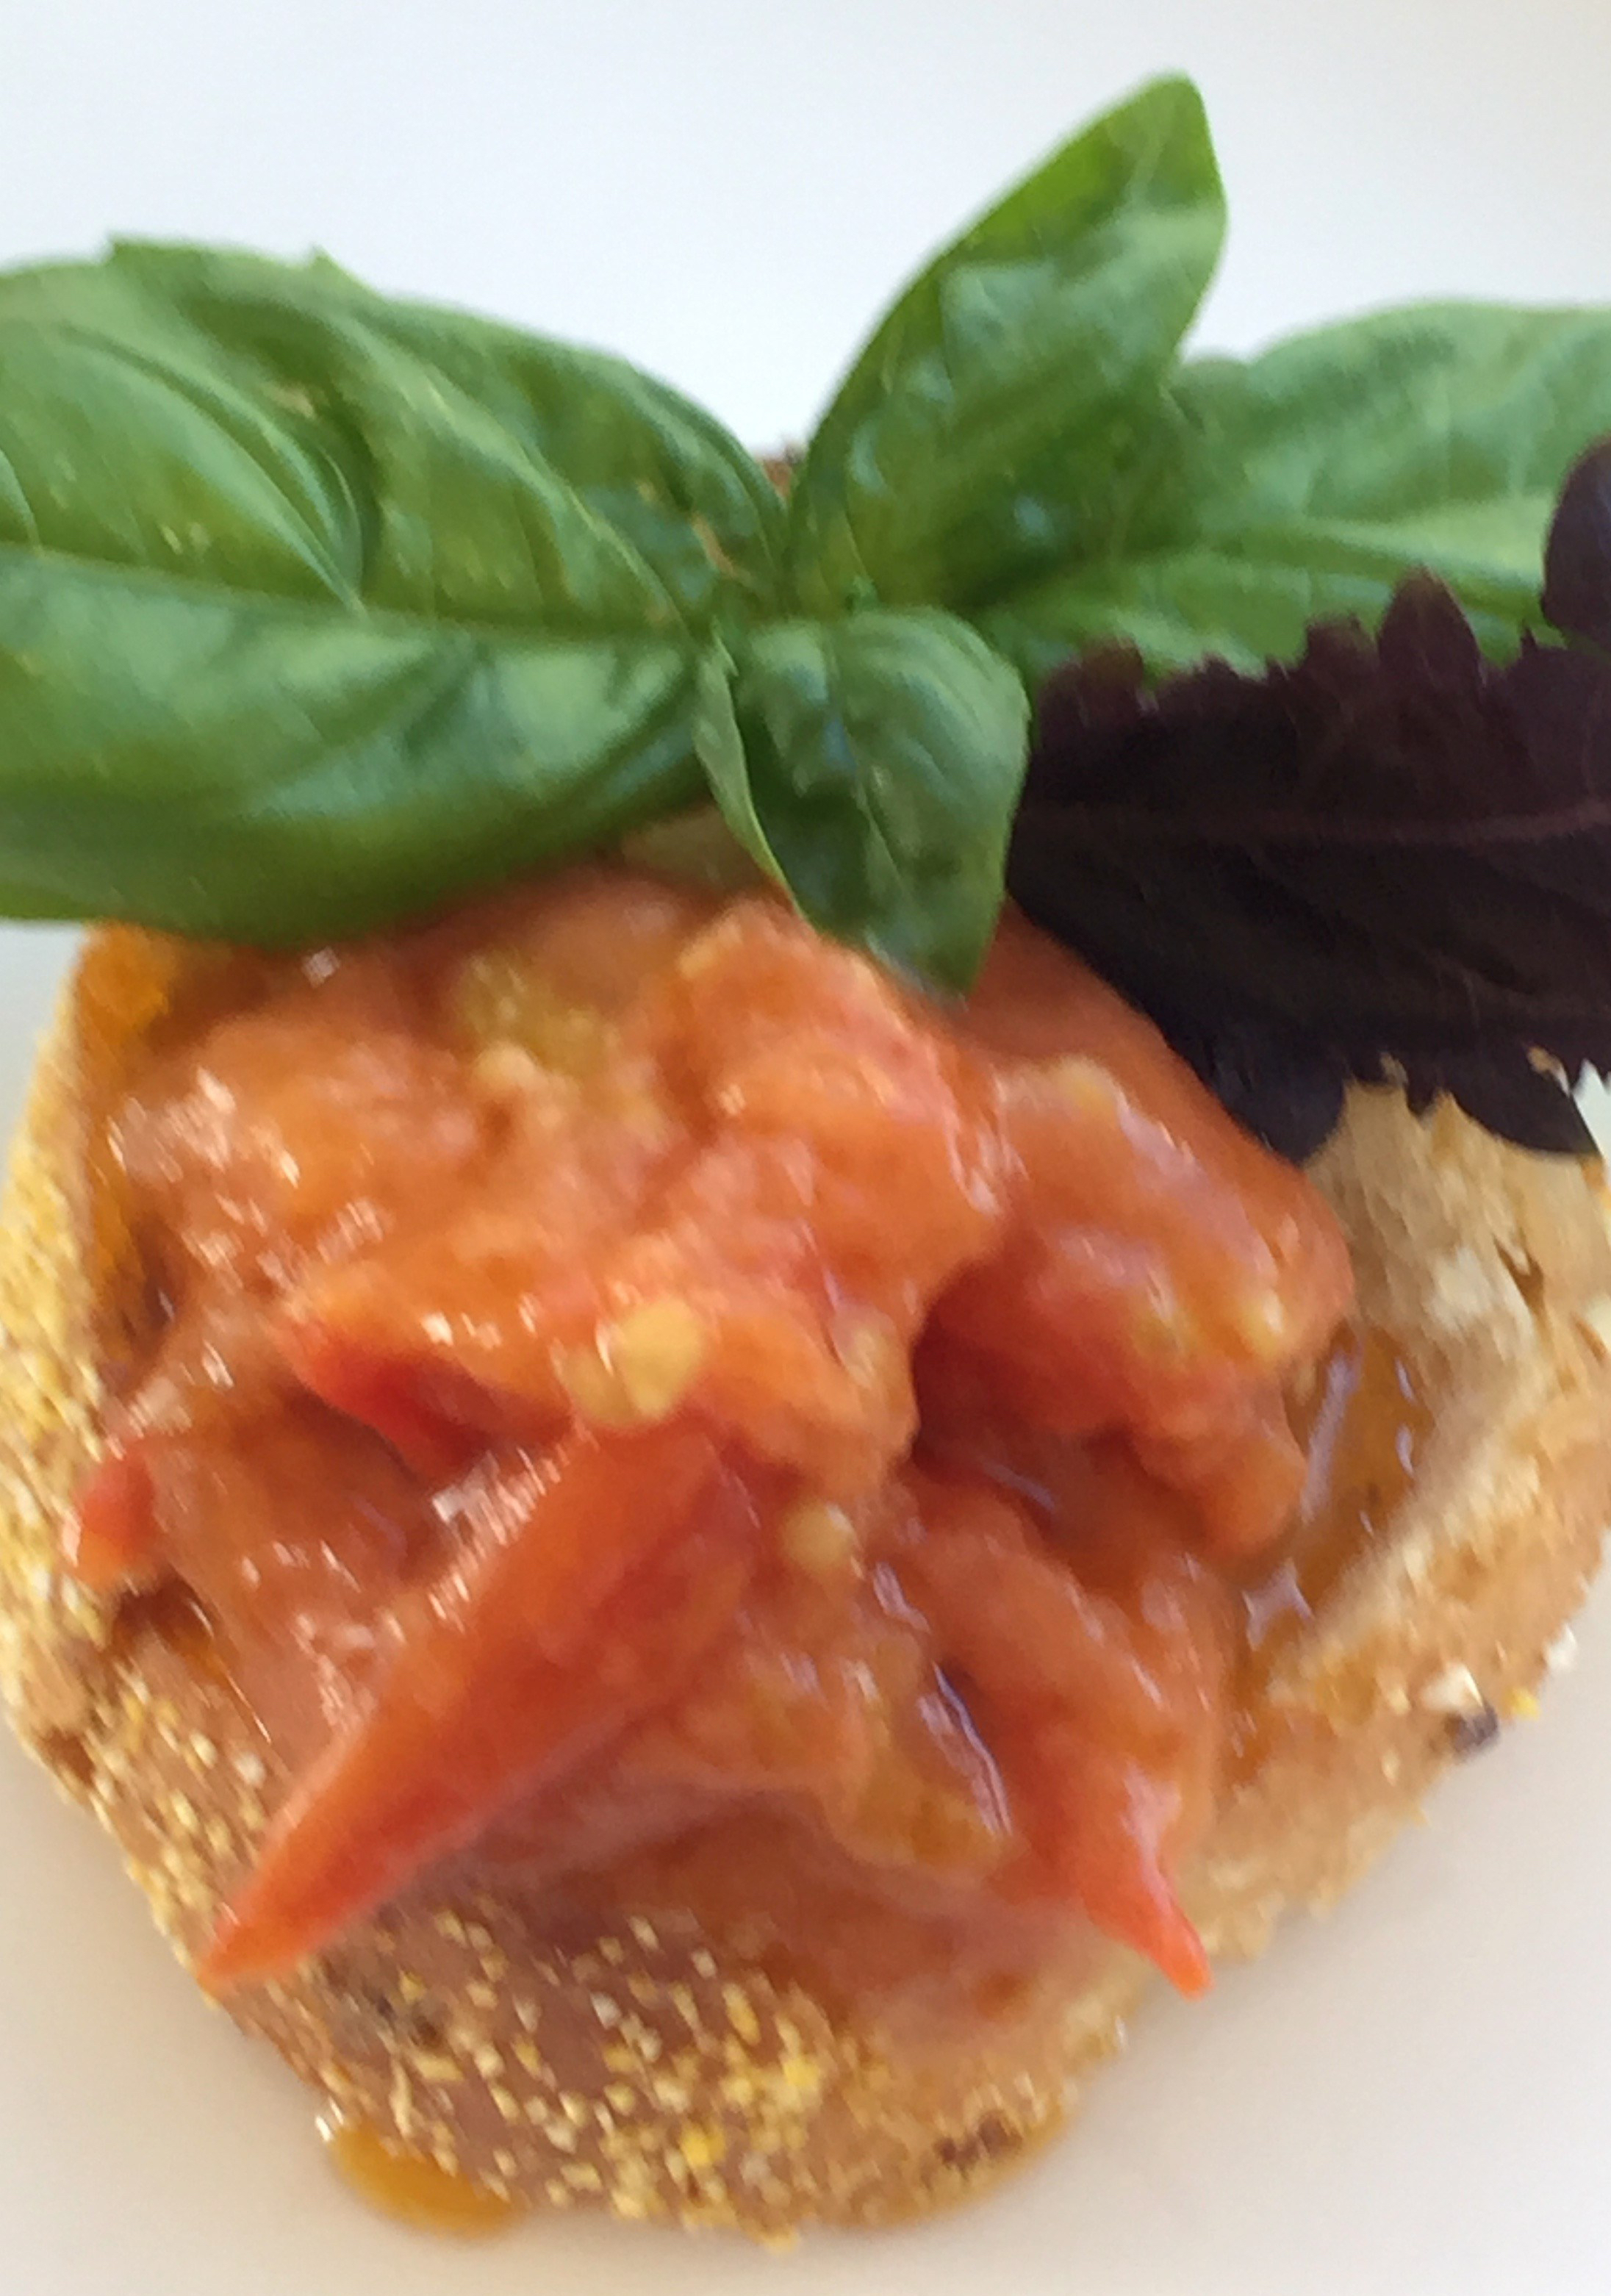
Did you know that tomatoes are called love apples in some circles? What better day for this great recipe that is a riff on something I saw in Milk Street Magazine, and it comes together in under an hour. It is perfect for your pre Valentine’s Day dinner aperitivi. It utilizes those pint sized containers of grape or cherry tomatoes that are always around and gives them an elevated status beyond a toss in for a salad. For one pint of tomatoes (a container), you will need 2 cloves of peeled and smashed garlic, 4 Tablespoons of olive oil, a pinch of salt, 1/4 teaspoon sugar, a bay leaf, and 1/2 cup of water. In a heavy duty pot, heat the olive oil over medium high heat and add the garlic. Cook until the garlic is golden, about a minute. Add the remainder of the ingredients and bring the mixture to a boil. Reduce the heat to medium and cook until all the tomatoes have burst, about 15-20 minutes. Stir occasionally to prevent the tomatoes from sticking. After all have burst, reduce heat and continue to cook another 15-20 minutes until the mixture resembles a thick sauce. The oil will come to the top and at that point the mixture is cooked. Set aside to cool. It will continue to thicken. Serve on a slice of good toasted bread for a take on bruschetta with a bit of basil and there you have it. Gluten Free? Just use your favorite gluten free loaf. Or add to an endive leaf. Don’t forget the champagne and a kiss. Happy Valentine’s Day!