Venetian Memory

The fog on the vialetti. Le piazze piccole. The flying domes of San Marco. The bridges that go to and fro and take you to places that seem to be in the middle of nowhere, and are. All beautiful memories of Venice, especially in my favorite season, winter. But nothing captures my memory more than the food I ate on my many trips. Not in the Piazza San Marco, not the high end ristoranti, but in the alleyways behind the Rialto Bridge, the bacari in Cannareggio and San Paolo, that food. The food the locals ate.

On one of my trips, while drooling my way through the Rialto Market, I happened upon a merchant who was spinning artichokes to uncover the hearts. I have seen this done on a myriad of TV cooking shows, but never IRL. It amazed me that this could be done so quickly because every time I tried to follow the YouTube videos and reruns of Cooking with Lidia to perfect the trick, it turned out to be a lose lose proposition. This person was cleaning and dropping them into lemon water faster than you could spell artichoke. Shaking my head sadly, I just walked away.

Fast forward to dinner. In Trattoria La Madonna (a must if you ever visit Venice), just behind the aforementioned bridge, I saw warm artichoke salad on the menu and decided to order it. Thinking I was going to get grandma’s artichoke which is eaten leaf by leaf, the kind server placed before me a beautiful, warm salad of cleaned and sliced hearts. I had never eaten artichokes this way. These were same hearts I saw being dropped into the water earlier. It was delicious.

I bring you this salad. If you have frozen choke hearts, which is what I use, it is easy and tasty and if you like artichoke hearts, good for lunch or dinner every day of the week. This is what you need.

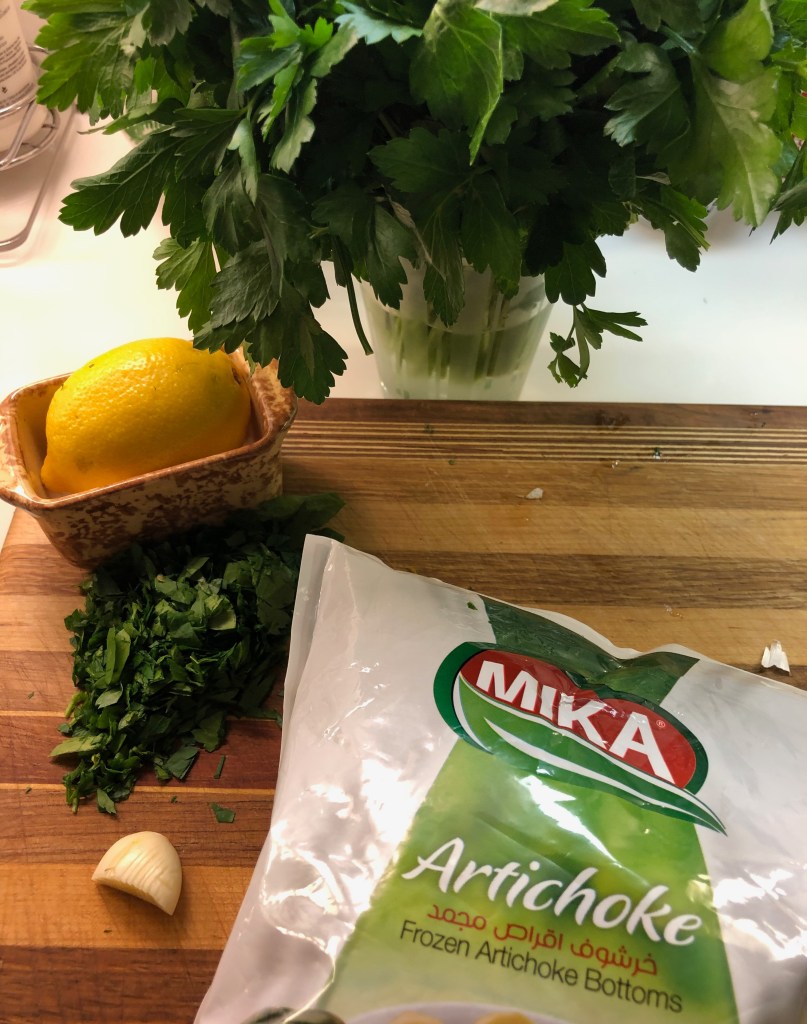
Frozen artichoke hearts are available in almost every supermarket. I buy mine from Sahadi’s, a Middle Eastern market in my neighborhood. To serve 2 people as a salad or a side, cook 4 hearts in boiling salted water until they are soft when pierced with the tip of a knife. I use a cake tester. If it goes all the way through with the smallest bit of resistance, they are done. While they are cooking, chop a 1/2 clove of garlic (or more if you like) and a big handful of parsley leaves. Zest a half of lemon and squeeze the juice into your serving dish. Add salt and pepper to taste and then add the garlic. When chokes are done, remove from water and drain and dry well. You want to remove as much of the water as possible so it does not dilute the dressing.
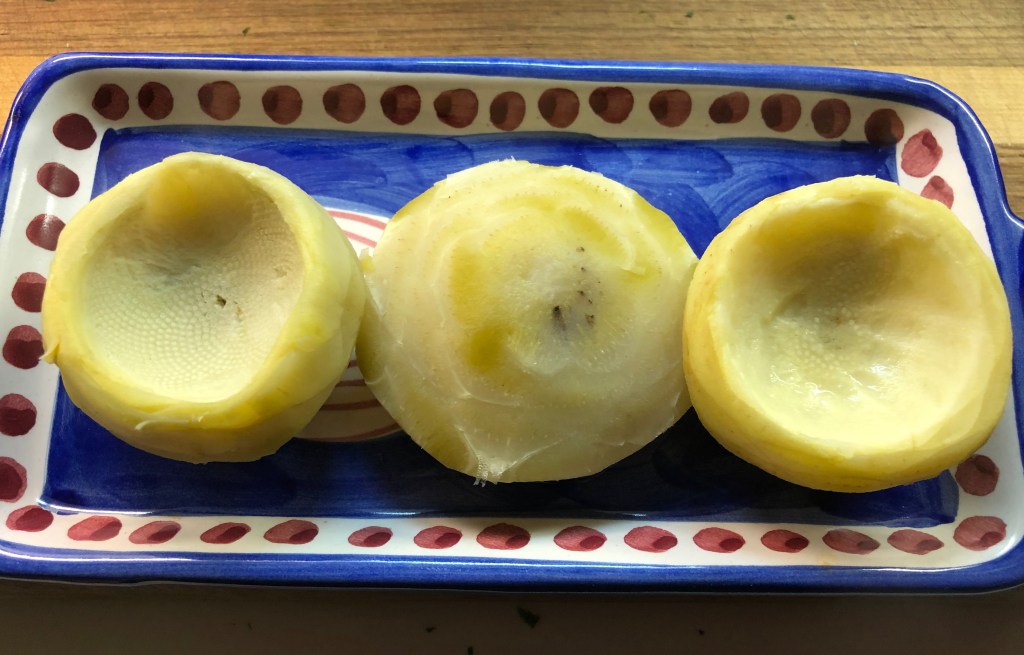
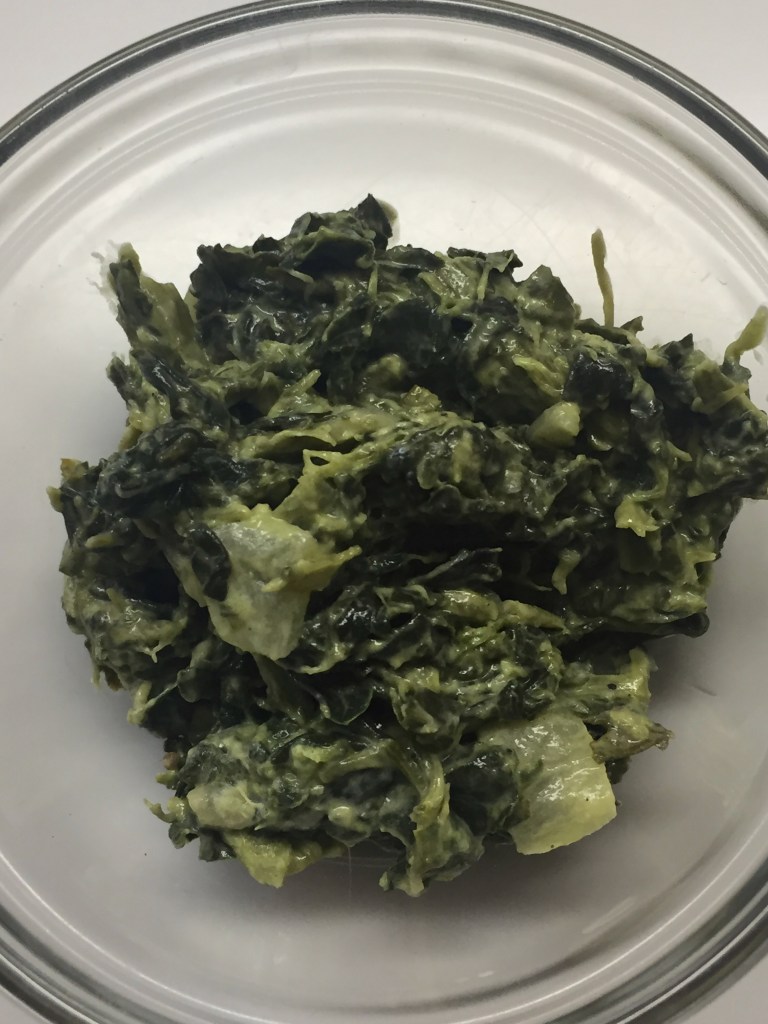
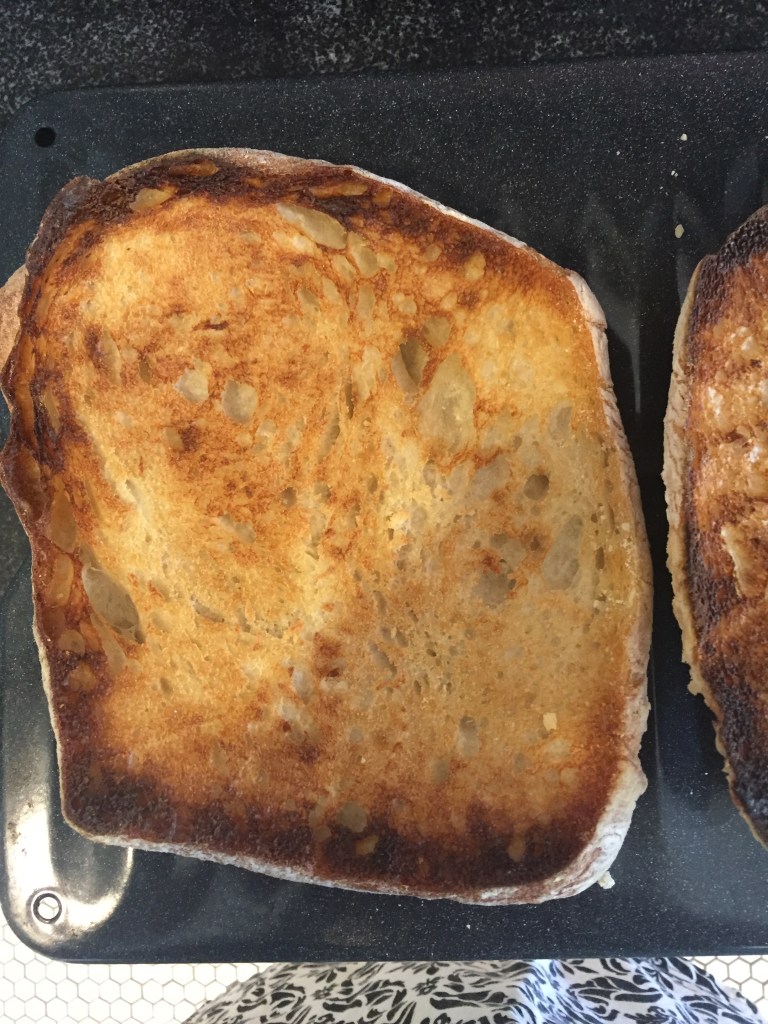
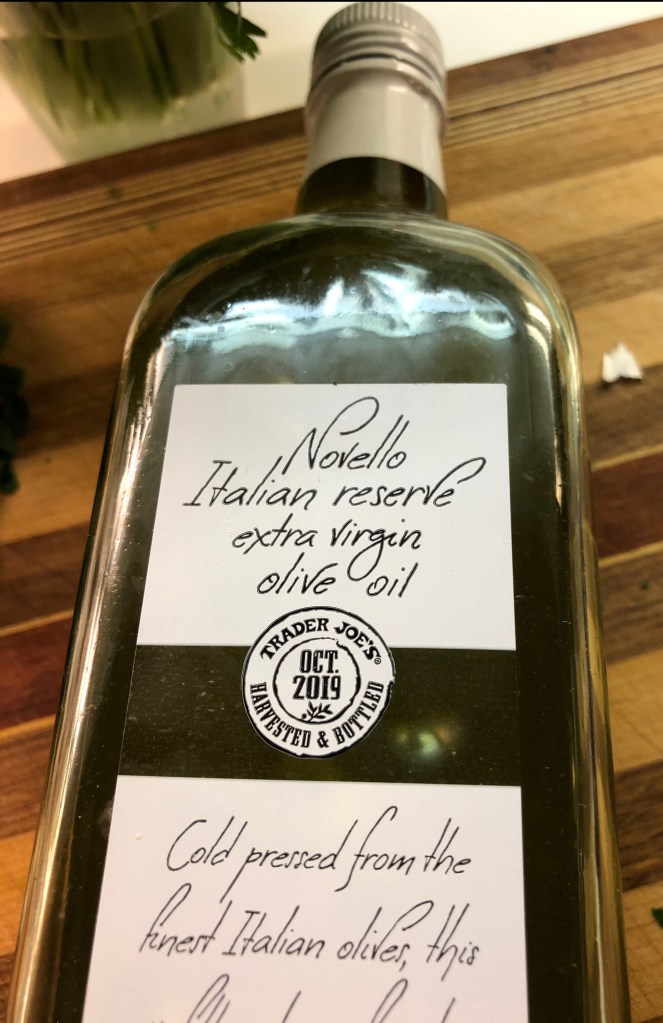
Slice them to the desired thickness and while warm, toss them into the serving dish with the lemon juice mixture. Add olive oil to your taste, and top and toss all with chopped parsley. The appetizer/salad/side can be served warm or at room temperature. I did not add crushed red pepper here, but feel free to do so if you want a bit of kick.
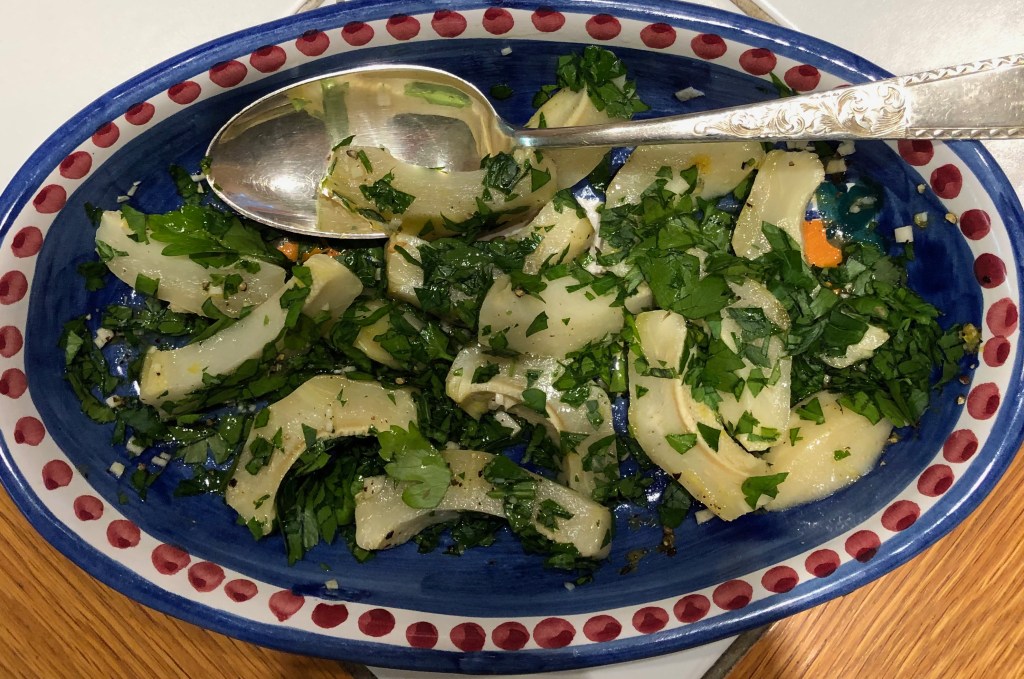
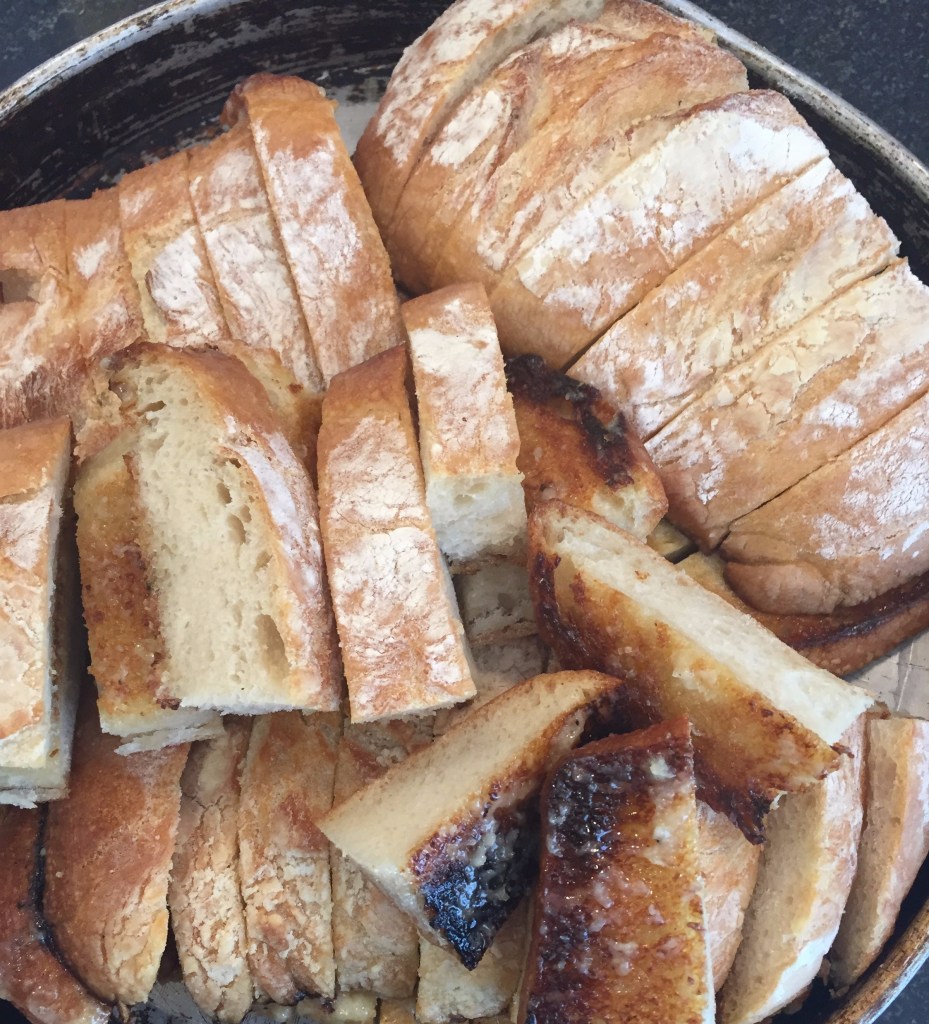
And there you have it. It isn’t a visit to the Rialto Bridge, but it sure can conjure up some good foodie memories.

Uncle Joe’s Prosciutto Bread (Stolen from Mommy)-update

I actually forgot to post this piece. So I am posting it today. It isn’t Super Bowl Sunday, but the bread is still makable! Enjoy, albeit a bit late.

So tomorrow is Super Bowl Sunday (in addition to the hubster’s Big Big birthday and the 2 year anniversary of my retirement). I am having the usual suspects for the day and had planned on getting an large Italian hero (kind of like the hubster) as part of the menu. It just seemed like too much of too much which is something I am a star at doing, but then I remembered that my brother makes Prosciutto Bread at the drop of a hat so I consulted with him and between his (read mommy’s) recipe and my insistence of jazzing up every recipe I see, I decided to give it a try. After all, the ingredients can be found in any Italian deli and are generally added to every hero worthy of the name. Plus it has the added benefit of not having all the hams and such drop out of the sandwich with every bite. One more added benefit, if the meats are not your thing, just use the cheese, peppers and olives and give it your own spin! If you are still stumped on what to bring or serve at your Super Bowl gig, try this.

I am using a basic bread dough recipe that works for me, use whichever you are comfortable. In addition, you can certainly go to your local market and purchase pre made dough. However, your ingredients will not rise with the bread so keep that in mind when making. Just fold them in when you are ready to add. I have 1/4 pound prosciutto, 1/4 pound capicollo, 1/4 pound provolone, some homemade roasted peppers and some chopped green pimento stuffed olives. Understand that this is what I am using. If you want to change up the items, please do. More or less of one or the other is ok. Just don’t overload because too much of anything is overwhelming and also makes the bread very salty. Be mindful of using too much cheese as it may leak out and burn. For finishing, you will need an egg beaten with some water and some grated Parmigiano Reggiano to sprinkle on top. The egg will give gloss. The cheese will give crunch. You can also sprinkle, albeit very lightly, some flaky sea salt

To start, chop the meats into small pieces. I used the food processor and pulsed a few times. If you have purchased the provolone in a piece, grate it, if in slices, do the same as the meats. Chop or process the olives and leave the peppers in slices but dry as much as possible. Set all aside. Assemble the bread ingredients according to your recipe. **Directions for store bought dough will be down the page.**

If using a machine with a dough hook, drop the meat, the cheese, and the olives along with the flour and knead all together until fully incorporated. If using a food processor, proceed the same way. If doing by hand, God bless you, just work all into the dough as you knead. DO NOT ADD THE PEPPERS. Set dough aside to proof according to your recipe (generally 1 1/2-2 hours). Trick on when dough ready-touch the side, if indention remains, dough proofed. Punch dough down, knead slightly, and set aside again for about an hour for a second rise.

Now you are ready to form. You can either make a ring or just a loaf depending on what your mood is. **Flatten the dough into a rectangle. If you are using store bought dough, this is when you add your meats, cheese, olives and peppers. If you have made your dough, this is when you add your roasted peppers. With the long side of the dough facing you, place your peppers (meats, cheese,olives) along the middle of the dough piece. Fold the top third of the dough down towards the center and encase the ingredient(s) that you are adding. Then fold the bottom of the dough up covering all. Roll the loaf over so that the seam side is on the bottom. Now form into the shape you want. Place on a parchment or Silpat lined sheet pan, cover with a towel and allow to rest for 20 minutes.

Preheat your oven to 400 degrees. Meanwhile, brush the top of the dough with egg wash and then sprinkle with grated Parmigiano Reggiano cheese. Make a slit along the top. Put into oven and bake for 35 minutes. Start checking after that, if loaf sounds hollow when tapped on the bottom, bread is done. Let cool on rack before serving. If serving next day, allow the bread to cool completely before encasing in plastic wrap.

Eat with your favorite Super Bowl beverage. Cross your fingers crossed that stupid numbers like 2 and 8 (yes, can you say safety?) in the pools come in. Leftovers can be frozen (but there probably won’t be any). Numbers like 2 and 8? There’s always next year.

Everything Old Is New Again

Back before the great flood when I was in grammar school, Meatless Monday was actually Meatless Friday. While my classmates were all eating tuna salad sandwiches, my very (as it turns out) forward thinking mother would make us sardine (from a tin) sandwiches with slice a slice of onion on white toast. Needless to say, not everyone was a fan of sardines, plus they looked so weird and had their own, shall we say, fragrance. Didn’t matter to me, I loved them.

Fast forward to current times. One cannot swing a yoga mat today without seeing a story in food magazines, on TV or on line about the huge plusses of sustainable seafood. Guess what? “Tinned fish” are in and in a huge way and fall into that very category. According to an article I just read, those tins that carry products from Spain and Portugal are packed right out of the water and the contents are among the healthiest fast foods to consume. The packaging is irrestible, almost centerpiece worthy for a casual tapas dinner. Finally, you are doing your part to partake of items that won’t destroy the oceans. So here are some ideas to use those products in some cool and delicious (and easy to prepare) ways and still feel virtuous in their consumption.

Some of what I have in my pantry. Back a bit, I posted a recipe for Sardine butter, puree a tin of sardines with a stick of butter and spread on toast or crackers. The same can be done with mackerel. These two fish are not only delicious, but also good for you (hello Omega 3). The tinned octopus and or squid can just be served on a pretty plate with a toothpick inserted for easy eating. Squeeze a bit of lemon juice on top because, why not? My new favorite is that cod liver stuff. Nobu served monkfish liver and the world craved it. This is much cheaper and easier to find and work with. It is almost like a pate. I serve it with a simple salsa verde (parsley leaf, capers, lemon zest, chopped olives if you like, a bit of olive oil and salt and pepper to taste). Spread on a plain cracker. A quick, easy, and fancy bite.

If you want something more substantial, open a tin of your choosing, chop the contents and toss all with pasta. Instant sauce. Want to dress up a salad? Same thing, and the dressing is already made for you, just a squeeze of lemon juice or a splash of vinegar to cut some of the richness.

So where do you find this magical stuff? Pretty much at any supermarket. Check the international aisles not for the products from Spain or Portugal because those countries provide the best of these items. WWW.tienda.com carries many more specialty items from Spain which might not be available at the supermarket. Uber Chef Jose Andres has a line of products as well. Check the web, and you will come up with more purveyors. Search specialty markets in Europe if you happen to be there, you will find these goodies in their aisles as well. I was fortunate enough to have friends bring back a few items for me just recently, God bless them.

At the end of the day, keep a few tins around, and the next time Meatless Monday (or any day) rolls around and you are hungry, break out a two slices of bread, toast them, add a slice of onion and thank my mom. Like I said at the outset, everything old is new again.

Too many onions.

So you finished the holidays, everything put away, and now you have too much of everything including the onions you forgot to use. You could make onion soup, but if you are married to a man who doesn’t really care for it, you have to think of something else before they go bad.

Simple and easy way to use them up that doesn’t include kimchi or pickling. Slice them as thinly as possible and put into a pot with about a tablespoon of butter and a tablespoon of a neutral oil. Add about 1/2 cup water and a tablespoon of balsamic vinegar. Wait on the salt and pepper, their time will come later. Put the pot on a medium low heat and let the water melt the onions without browning them. Eventually all the water will dissipate (thank you for this great trick Jacques Pepin), and the onions will begin to caramelize a bit. Don’t let them brown. Taste for salt and pepper at this point and season to your liking.

Let them cool, put them in a jar, and serve with sandwiches (for the pesky, non onion soup liking hubby) or on toast with or without avocado, on eggs, on burgers, or however you want. Chop and mix with sour cream and make a grown up version of onion dip to serve with chips (Super Bowl coming!). Takes all of 15-20 minutes to make and works with any color onion. Freeze for later works too!

CHEATER OYSTERS ROCKEFELLER

With the holidays fast approaching, especially Christmas Eve, the Mother of all Fish Meals, this recipe is quick, easy, and great to transport for a last minute show stopper for Friendsgiving or even Brunch. I call it Cheater Oysters Rockefeller. It was developed over Manhattans and dinner with my dear friends MD and AF while eating some creamed spinach from our favorite butcher, DellaPietra in Brooklyn Heights. For ingredients for four persons as a starter (3 per person), you need a dozen oysters, 12 Tablespoons of the aforementioned creamed spinach, grated Pecorino Romano (or Parmigiano Reggiano if that is what you have), and a splash of Pernod or Sambuca or even fennel seed or fennel pollen if you have for that taste of sweetness and licorice.

To prepare, heat your over to 500. You will be steaming the oysters open but not cooking them through. Cover a sheet pan with aluminum foil and crunch in spots to make a small pocket for the oysters to save the liquor that may seep out, you will want to use that later. Place the oysters on the sheet pan rounded side down and let them cook in the oven until the flat top starts to separate from the bottom; watch carefully, this only takes a few minutes. Take them out as this happens so that early openers don’t overcook. Let cool until you can handle, I use a potholder for this step, and pry the top from the bottom. When all are opened, pour any oyster liquor into a bowl and place the oysters back their shells. Usually the top comes off without the oyster attached, but if that does not happen, just scrape it off with a knife and place into the shell. This step requires a bit of patience if the tops don’t pop easily. Just work at them gently and they will open. I have an oyster knife but it isn’t necessary, use whatever you think will make the job easier for you. Even a flat head screwdriver works. Add any liquor that may have accumulated in the pan to the reserved juices and strain to remove any nasty shell bits that may have come off. Remove the tinfoil and replace with a new piece and cover that with a wire pan grate. Next, add the liquor to the creamed spinach and also add the splash of Pernod (or a pinch of ground fennel or fennel pollen) and salt and pepper to taste. You can preheat the spinach if you want but I don’t find that a necessary step. Spread each oyster to cover the entire opening with about a tablespoon of spinach and place on the wire grate. Top all with the grated cheese to your liking (isn’t more better?) and place back into the oven until the cheese is melted and the spinach warm.

If you are making to transport, place the shells, oysters, juice and spinach in separate containers and combine just before heating.

Serve, maybe with a glass of champagne? After all, it is the holidays and they are called Oysters Rockefeller!

BEST EASY GARLIC BREAD

You have the ribs cooking, the burgers prepped, the dogs waiting patiently for their turn on the grill. Salads, cupcakes, all the stuff that make a BBQ on the Fourth what it is. So what’s missing? Scratch your head, um, er, aha! you forgot the garlic bread, what fourth of July celebration should be without it? (Well most of them if you aren’t of Italian heritage, but a post for a different date). So this is as easy as it gets. What you need is a loaf of Ciabatta bread (or loaf of your choice, but Ciabatta works best), a stick of butter (per loaf), chopped garlic (I use my microplane, this way you don’t get big chunks and the garlic melts into the butter), a rimmed baking sheet, and that’s it. If you want to get fancy and add chopped herbs, have at it, but wait until the butter garlic mix is done. Slice the Ciabatta loaf in half as shown so that you have two pieces. Grill the bread to get nice marks (or put under the broiler to toast), and set aside. While bread is grilling, place the butter and garlic in the baking pan and melt, stirring to make sure all blended. You can do this on the grill or in the oven as well. When the butter is melted and mixed with garlic (slightly toasty NOT BURNT) place the grilled sides of the bread on the sheet pan into the butter mix and let the bread soak up the mixture. Place the two sides back together, slice lengthwise, and VOILA! Best Easy Garlic Bread! You will never make it another way, I promise.

NOT BORING BERRY SALSA

Just in time for America’s favorite holiday, I bring you Red, White, and Blue Berry Salsa. This beautiful side is can be served in a multitude of ways with a multitude of savory or sweet items, is easy to make, doesn’t require a great deal of time to prepare, involves a minimal amount of chopping and no heat, and looks gorgeous on the plate! What more could you ask for in a party food? And how and what do you need to prepare it? Think your regular salsa ingredients: onion–use Vidalia, white, or the white part of scallions; pepper-use Fresno to keep the color theme, but if you can’t find them, Jalenpeno works fine, even a pinch of red pepper flakes in a pinch-you need some heat; a splash of Balsamic to keep the sweet, a splash of olive oil and coarse sea salt to keep the savory; finally, strawberries, raspberries, blueberries, even blackberries, whatever you like to keep the red and blue idea. Mix the ingredients together and let sit for about 1/2 hour to allow the flavors to marry. Serve along side grilled steak, hamburgers, or sausages. Serve atop vanilla ice cream. Leftovers? Serve the next day on some toast or yogurt for breakfast. See? Berries, they’re not just for whipped cream and scones, and certainly not boring! One more thing, as it is a celebration, don’t forget the champagne! Happy Birthday America!

Yotem Ottolenghi, the master of many ingredients, has published a new book called SIMPLE. It is a beautiful text and in fact does have many simple and ingredient pared recipes. Among them, I found this, and with the preponderance of beautiful mini cauliflowers of many colors still in the green markets, I was inspired to make it. It is indeed simple: ingredients-the aforementioned cauliflower, a Tablespoon each of butter and olive oil, and flaky sea salt, Maldon if you have it. He adds a green dipping sauce, but I found the sweetness and crunchiness of the cauliflower more than enough (I did serve some Greek yogurt alongside because I had a purple cauliflower and it looked so beautiful). I made this with a mini sized head, but the recipe works for any size. Here are the directions. Preheat oven to 375 degrees. Rinse the cauliflower, trim the stem to flatten it, but do not remove the leaves (they get crunchy and delicious in the roasting process) and place in salted boiling water head down for 5-6 minutes. Don’t worry if the head is not completely immersed. After 6 minutes, remove and place head down in a colander to drain for 10 minutes. Place drained and cooled head on a sheet pan or an oven proof dish head side up (you can use the dish for serving) and top with butter, olive oil, and a sprinkle of the the sea salt. Roast in oven for 1 hour to 1 1/2 hours depending on the size of the head. Remove from the oven and let cool. Sprinkle with a bit more salt and pepper. Serve as is either on the sheet pan or on the dish. Just break off the florets and eat. It is crunchy on the top, and creamy in the middle, the leaves get potato chip like, just a great vegetarian lunch or dinner side. And so much more inventive than the tiresome cauliflower rice.

Better than Blini Corn Crepe Pancakes. This is a very simple recipe and the crepes can be prepped in advance and even frozen after cooking if need be. If you live in an area where fresh sweet corn is still available (I am lucky to say I do), you can use that, but the recipe works just as well with drained or defrosted niblets. Here is the basic batter to make 3 large crepes (I cook mine in an 8″ non stick pan–easy to make, easy to clean): 2 ears of corn, 2 Tablespoons of flour, 2 eggs beaten, 1/2 teaspoon baking powder, 2 Tablespoons of butter, melted, 1 Tablespoon chopped fresh parsley and salt and pepper to taste. Take the corn off the cob. (I have found the easiest way to do this is to break the ear in half, lay the half ear on its side and cut the kernels around–as shown). You can par cook the corn if you like, but if it is fresh and sweet there really isn’t a need. Your choice. Combine the flour and eggs into a batter and add the baking powder and 1 Tablespoon of the melted butter. Mix in the corn and the parsley. (NOTE: if you want to make the whole mixture in advance, wait until you are ready to cook before adding the baking powder. It loses its rising mojo if it sits in the batter too long). Add the remaining Tablespoon of butter to the pan and add a ladleful of the mixture. Flatten it out and let it cook until golden-about a minute. Flip, cook a minute longer and voila. Done. Place on a warm plate and serve. If freezing for later use, lay a piece of parchment paper or a Silpat on a rimmed baking sheet and top with the crepes until the crepes are frozen, then bag. If you want to jazz it up a bit, you can add some spices like cayenne or cumin or paprika (or a bit of all three). Change up the parsley for thyme or chives. The crepes are delicious when eaten alone, but if you want something heartier, top with some avocado (a quirky twist on avocado toast), or even a fried egg. If you want something festive or party like, make them smaller and top with creme fraiche and smoked salmon, and even black, red, or salmon caviar. Or top them with pepper jelly or syrup and have for breakfast. Try doing that with a blini!

IMG_0953IMG_0954 (1)IMG_0955

This is a one ingredient appetizer. It isn’t Potato Chips. It isn’t olives. It’s Frico! What is Frico? It is a nibble made from cheese. Hard cheese, like Parmigiano Reggiano, or Manchego, or Asiago. It isn’t much in terms of a recipe, it is more about technique and a tiny bit of practice, but once mastered, you will find yourself making them often for aperitivi hour. Grate cheese so that you have 2 Tablespoons per bite. If you are only doing two, you can use a non stick pan, but for more than that it’s easier to use a rimmed baking sheet lined with either parchment paper or silpat. Preheat oven to 350 degrees. Measure your cheese and lay on baking sheet and flatten to rounds of about 3 1/2 inches leaving space between each round. Place in oven and bake for about 2 minutes. Watch carefully, you want them to be golden, if they brown too much they become bitter. When done, remove from pan with a spatula and place on a plate to serve. Once you get the hang of it, and while the Frico are still warm, you can drape the finished rounds over a bowl or a rolling pin to create a shape as shown below. If you want to jazz up your Frico, you can add some fennel or ground black pepper, some cayenne if you want some kick, its really a matter of taste. Don’t be discouraged if the first one doesn’t work. Once you get the hang of it, they go really fast, in the oven AND into your tummy.