When I decided to put this blog together whenever that was, I made a list of things that would be part and parcel of the postings, items I had made for the beach, stuff I put together for last minute cocktails on the roof in Brooklyn, things that were easy to make and didn’t require a lot of ingredients or fussiness.
Fast forward to “the siege”. In my pantry, I had two things for a post I was going to do back a bit, but my husband became ill and then time just got away from me. Tonight, two safe friends who live in the building but are staying out of town currently are coming for dinner. They need to come back to Brooklyn for MD appointments. Actually I think they are stir crazy and want to come in to be somewhere else, but I digress. Normally I would make a nice dinner but they begged me for takeaway Chinese food, and on GrubHub I have actually found a restaurant I like, so Chinese it is. But a menu from the 60’s to be sure, House Chop Suey, Egg Rolls, Fried Rice, Shrimp and Lobster Sauce, Egg Foo Young, Spare Ribs, the quintessential non Chinese, Chinese take out from King Wah we had growing in Huntington Station. I am sure my Chinese-American friends are cringing at the thought of calling this “Chinese”, but those items are like Chicken Parmiggiano to an Italian-American. They don’t make it in the old country, but it sure is good eats if prepared well.
So for this “retro” Chinese dinner, I decided to pull out the two items to have with our cocktail hour. I give you:


Cube the spam, place in skillet, brown well, top with pineapple chunk, and add a cute toothpick. End of recipe, end of story. Want to jazz it up? Add a strip of Nori and call it Hawaiian Sushi. World’s easiest and most retro nibble, perfect for the craziest of times.
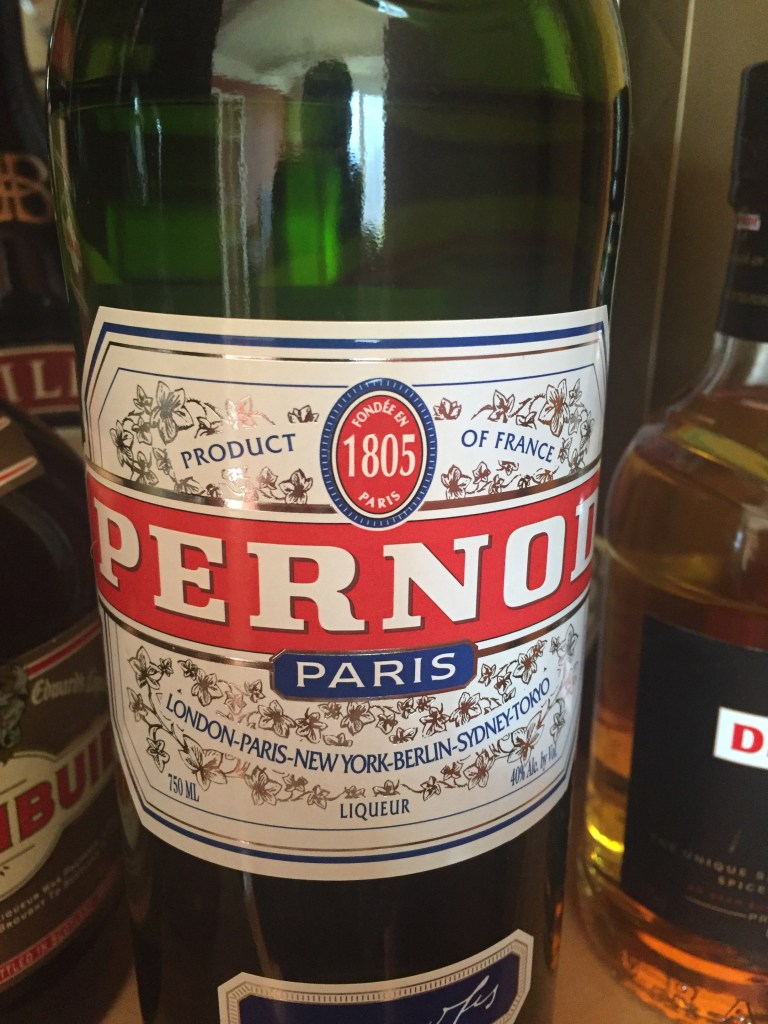
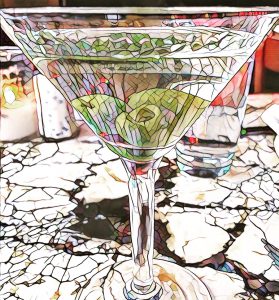
Now for the retro cocktail? I’ll take Manhattans……..

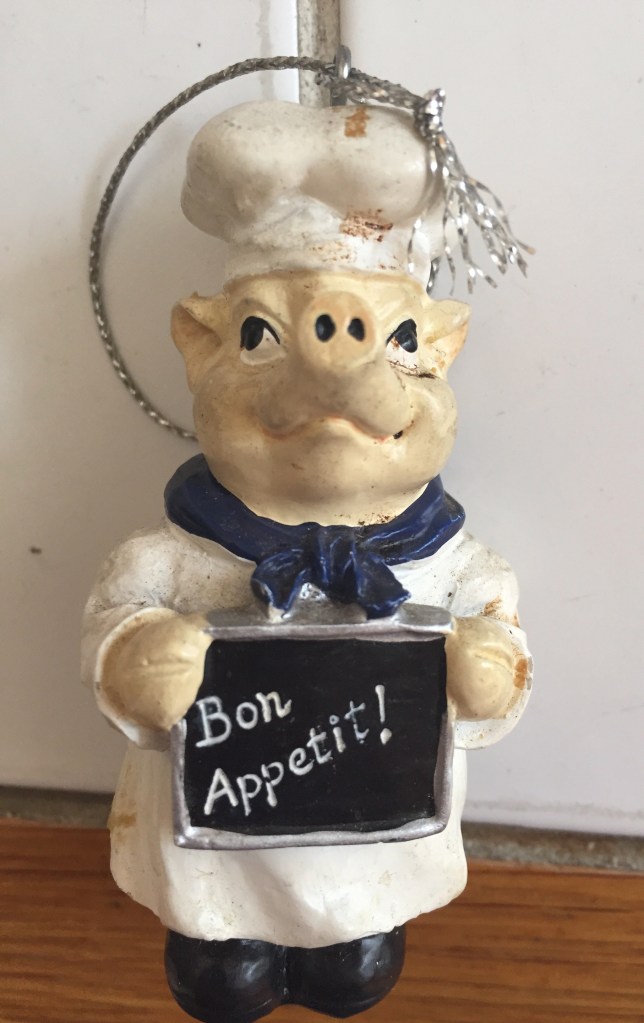
My piggy chef back from the dead