Just in Time for Summer. Zucchini Butter!

No butter needed.

This is a great quick preparation for carnivores, pescatarians, vegetarians and vegans. Gluten free. Dairy free. And in the next month or so, they will be everywhere! Can go on toast, pasta, fish, meat, in eggs….getting the picture? 4 ingredients unless you really want to jazz it up. I bring you ZUCCHINI BUTTER. To make, you will need

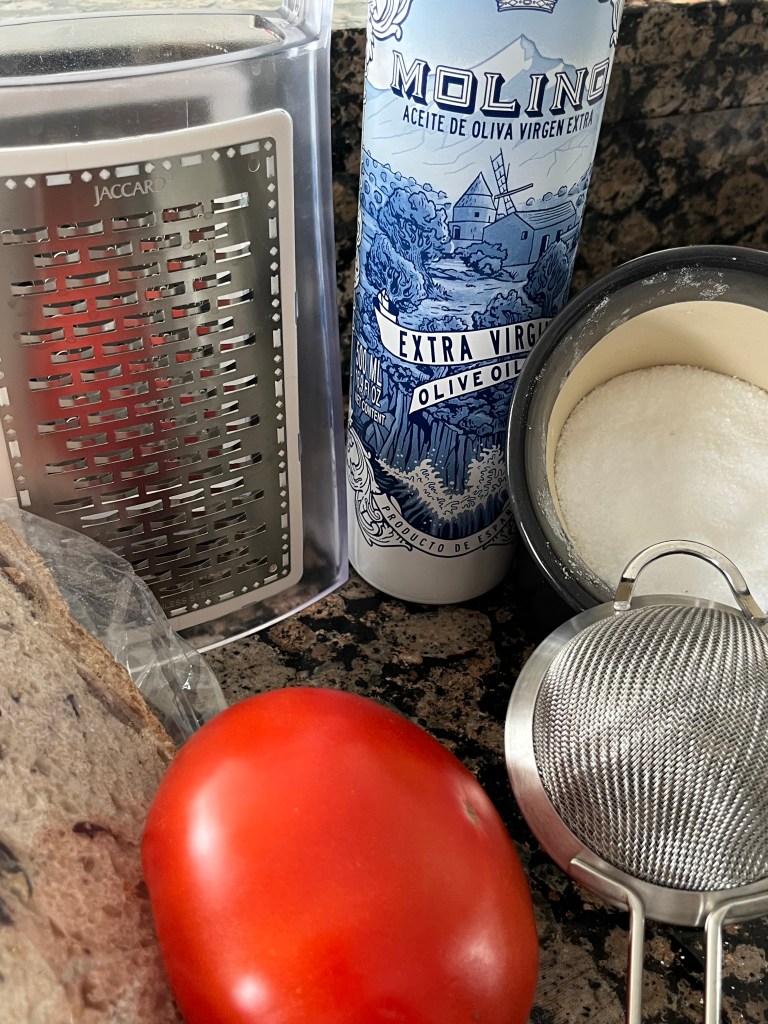
Note. One of the ingredients is a piece of equipment. That everyone has. In some way, shape or form.

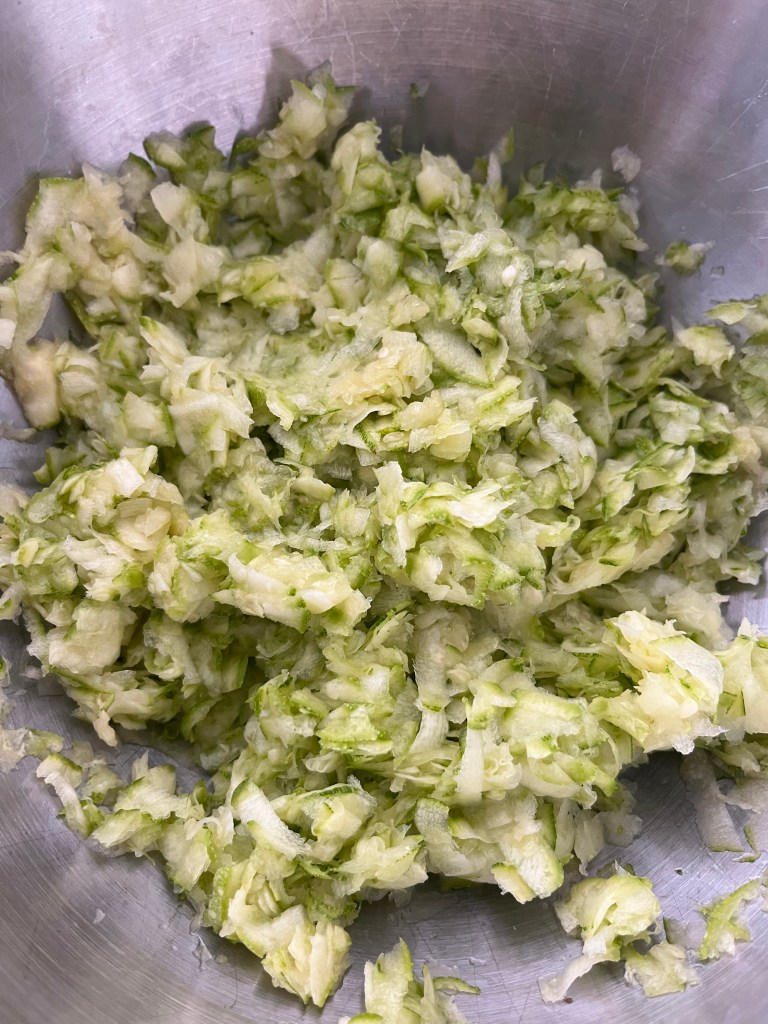
To make. Grate your zucchini on your box grater using the largest holes. If you want to break out the food processor, just pulse a few times to get the size shown below. Do not over process, you are not making soup, you are making butter. It should be mentioned that any color of zucchini or summer squash can be used. I think, as the product arrives at markets or in stores, the smaller varieties would be better because they are sweeter but do not let lack of small vegetables deter you from making this. Your grated product should look like this.

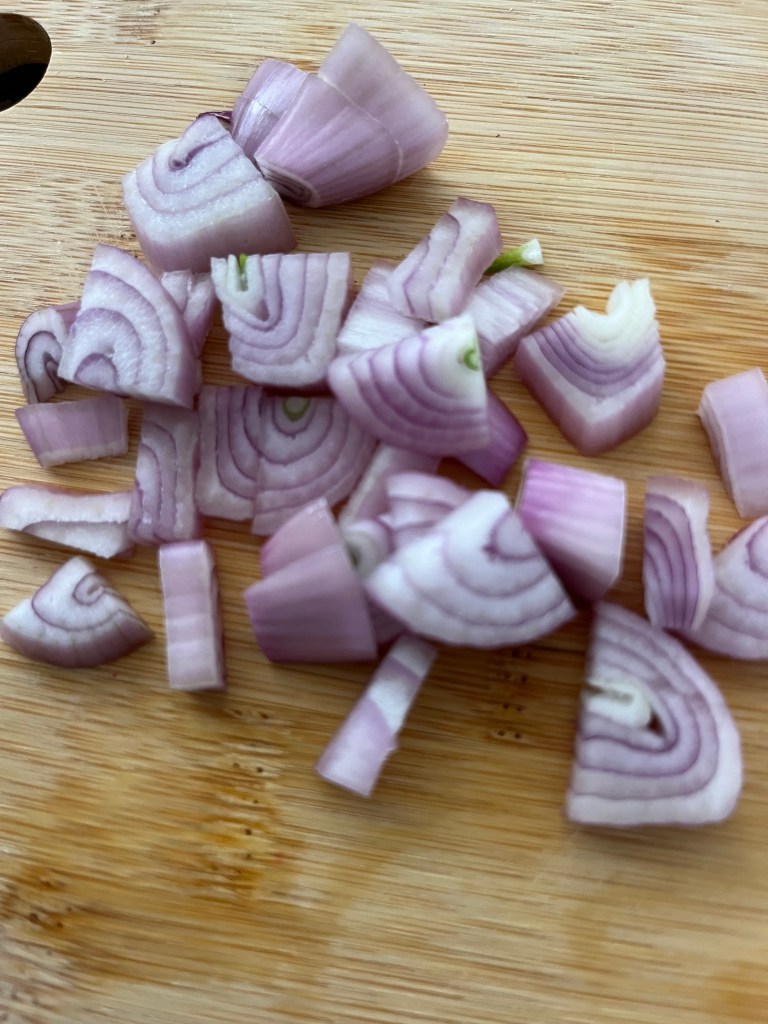
Chop shallot and add to zucchini bowl. No shallots? Use onion. Use scallion. Use garlic, but sparingly. You want to taste zucchini.

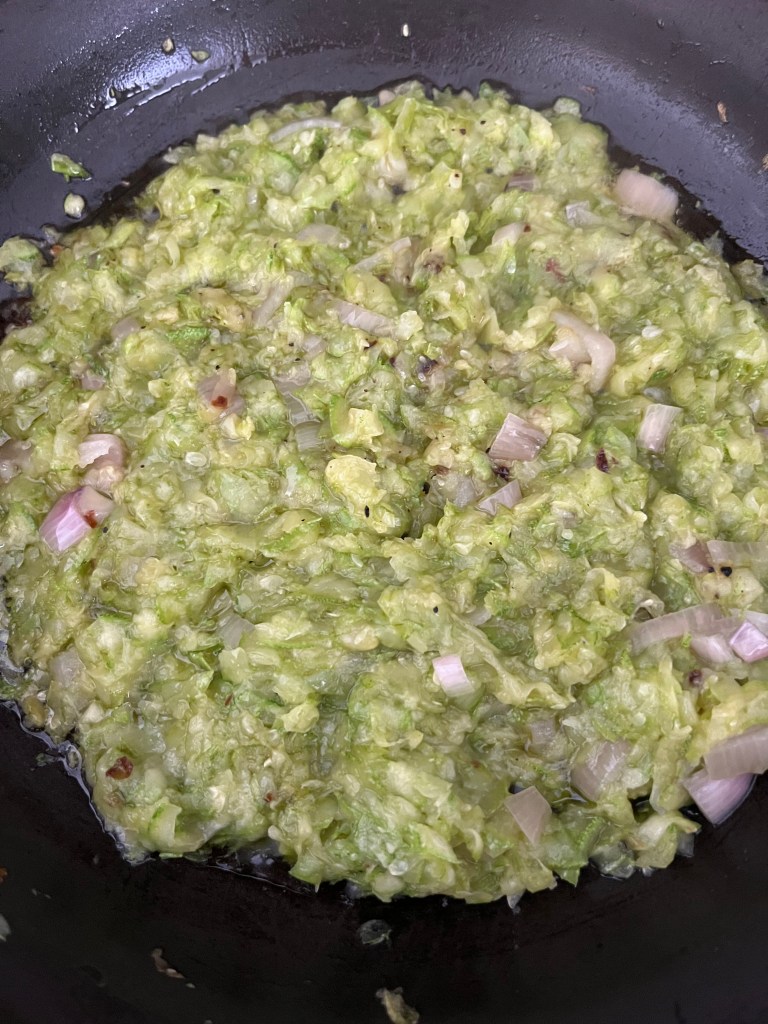
Heat your pan, and after heated, add olive oil. If you are using non stick, add olive oil and heat pan at the same time. Toss in zucchini and shallots, salt and pepper and let cook down. This is halfway through the process.

The water from the zucchini will cook out and the zucchini will soften. The edges may get a bit brown just continue to toss, the whole process will not take more than 15 minutes.

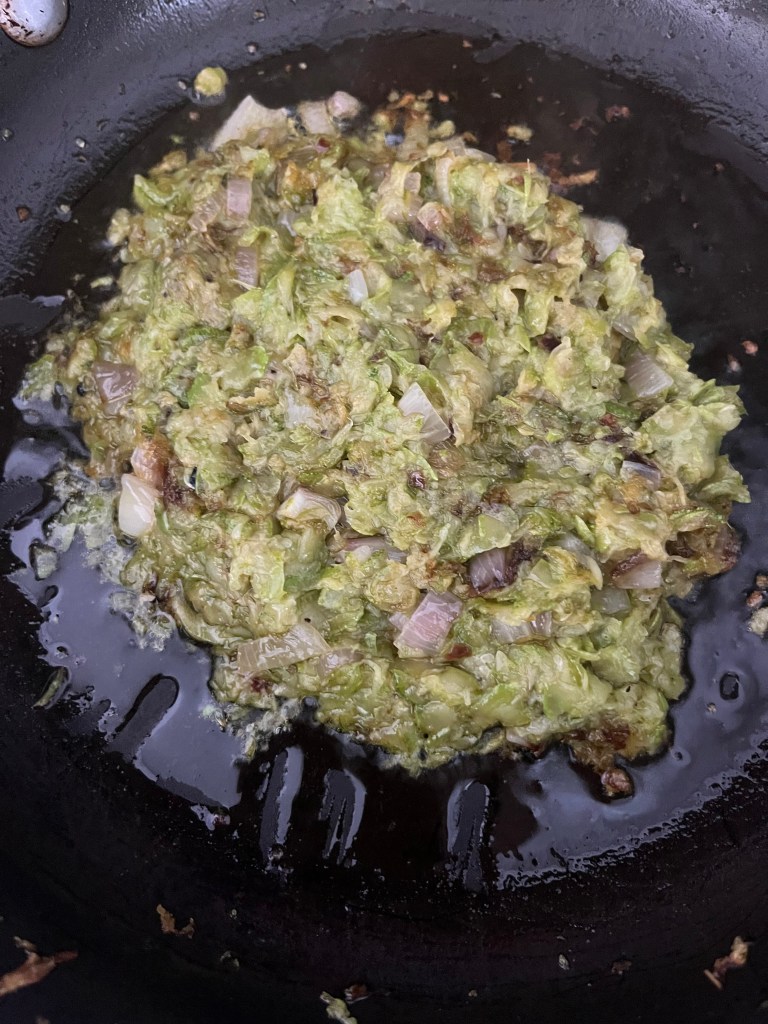
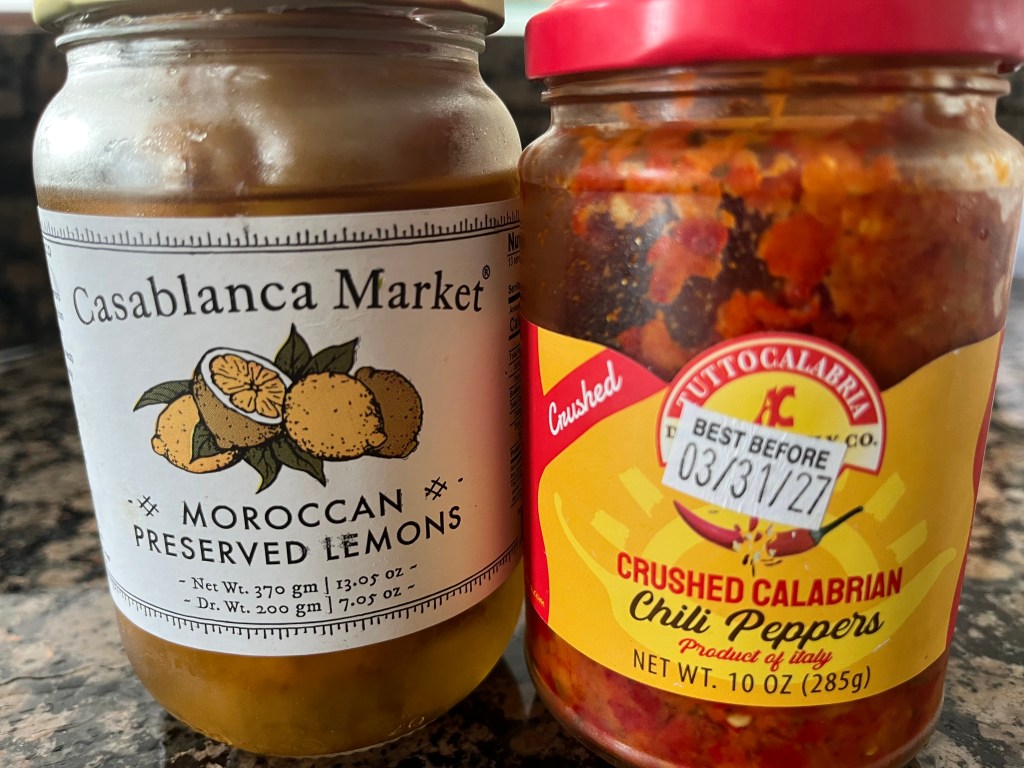
This is the finished product. Allow to cool and you will see that your zucchini has become spreadable, you get it, just like butter! And that’s all there is to it. If it needs more salt, add salt. If you like it a bit more fiery, add red pepper flakes or my favorite Calabrian Chili past. Want basil? Just throw it in. More acidic? A squeeze of lemon. The world is your zucchini!

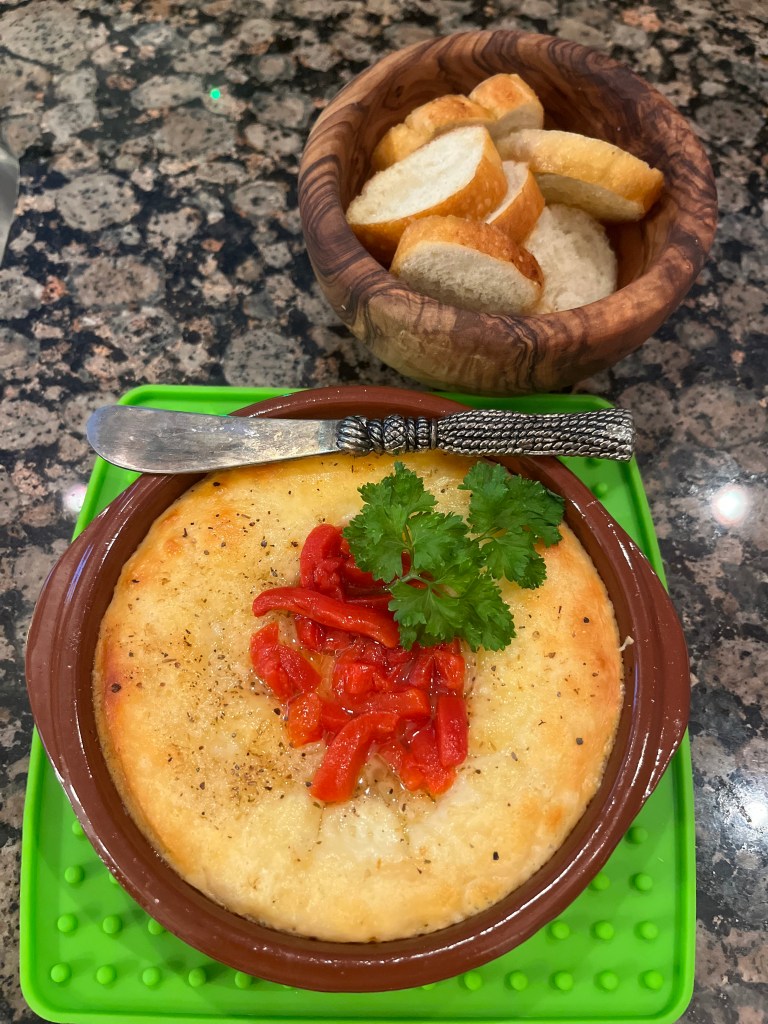
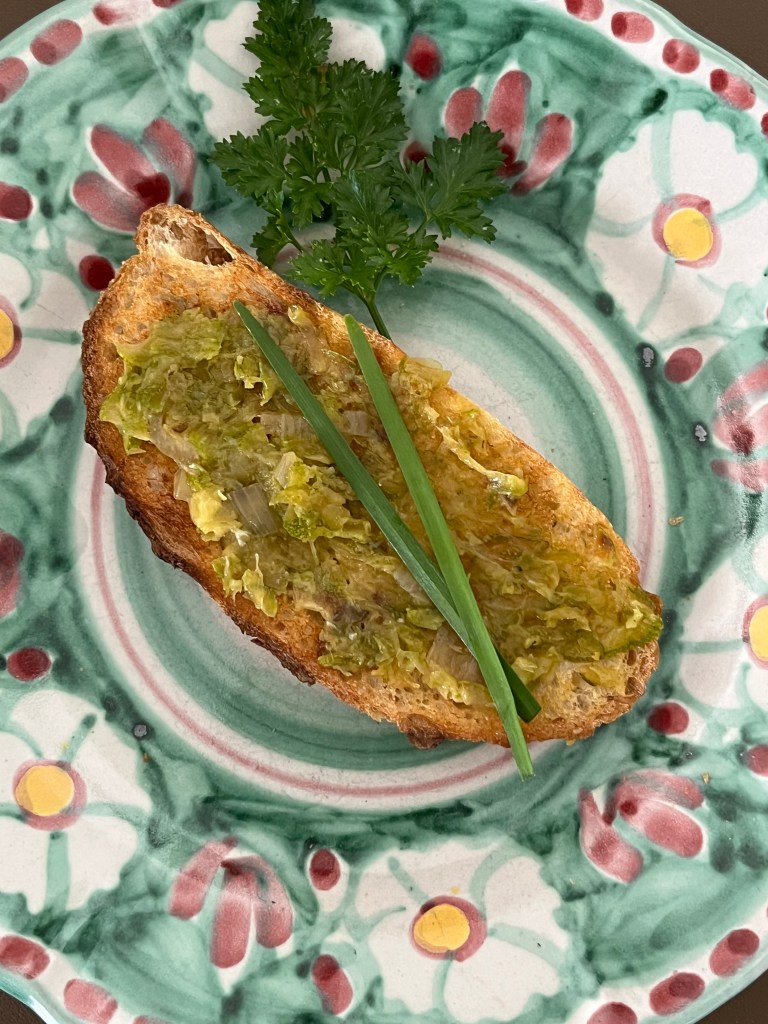
Now what? Below is the simplest way to use. Toast a piece of bread and spread the butter. Eat.

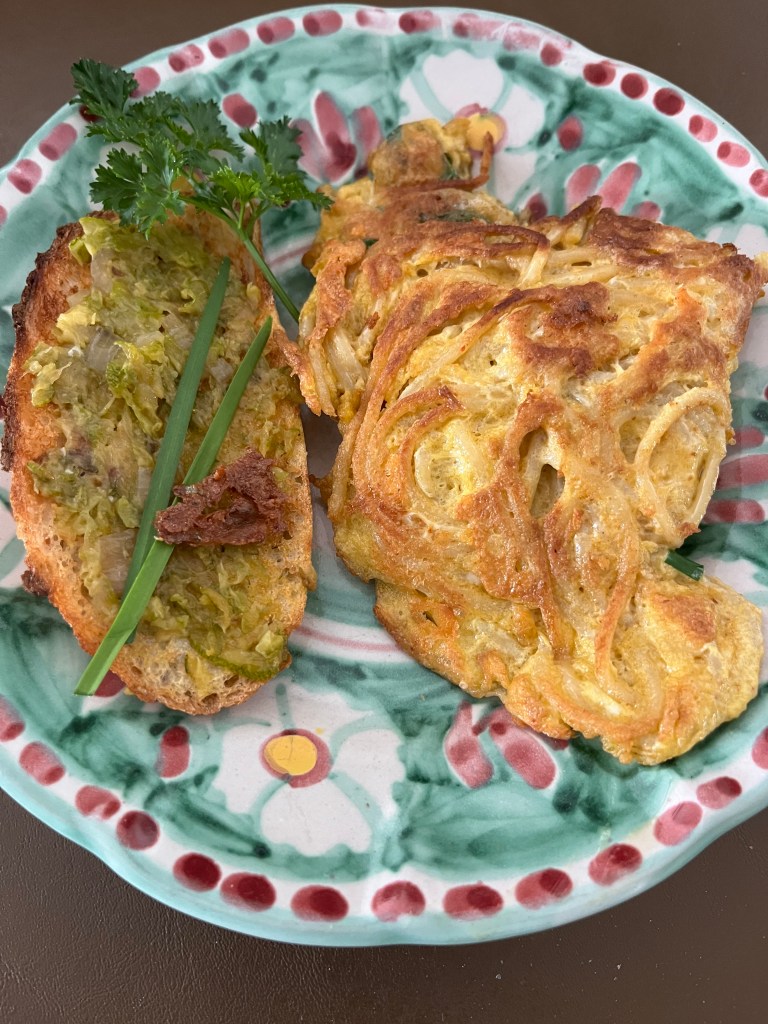
I made breakfast with some leftover pasta and threw a bit of the butter in the eggs and I give you this.

And there you have it. Keep it in the fridge and remove just before spreading. I hope you enjoy it as much as I do!

SAY WHAT?

Retro to present day.

I was going to sub out the main product of this nibble until I saw my most recent issue of Food and Wine where they showcased, wait for it, SPAM. Yup. Sizzle, Pork and MMMM. So I figured if it is good enough for Food and Wine, it is good enough for Nibbles and Bits. If SPAM isn’t your thing, I will have a few subs at the end of the post.

As funny aside, we had a LUAU party at my condo here in Florida and we purchased a case of SPAM to use as centerpieces along with pineapples and palm fronds. We told the guests that the pineapples and SPAM were party favors to anyone who wanted to take them. Guests were fighting over the SPAM. Pineapples went unloved. Go figure.

In Hawaii, where for some reason post WW11 the product became a staple of the diet, SPAM is treated with far more respect than it is here on the mainland. In fact, there is a dish, Musubi, where SPAM is the principal ingredient. And that is what I have for you here today. Here are your basic ingredients. Count ’em, 2.

That’s it. And that 90 second rice can be replaced by more traditional 20 minute rice, but it works really well in this little nibble. Cook the rice according to package directions. Decan SPAM and slice. Brown, or as the commercial says, sizzle until your desired crispness.

Mold the rice using whatever you have as a mold. I actually have a musubi mold because I am a kitchen toy junkie, one can be purchased on Amazon or at an Asian market for very little and can be used for dishes other than musubi when you want to mold something. Your finished dish will look like this.

I served it for breakfast with some fresh mango. In Hawaii, they wrap it with nori but I plated it just like this. If you like SPAM, it was delicious, but if you don’t, here are some options. Thick mortadella sliced across the diameter and browned and placed atop rice. If meat is not in your diet, you can use a thickly sliced king oyster mushroom or portabella mushroom browned the same way and placed on the rice. If you use the mushrooms or the mortadella, you can top that with a bit of balsamic vinegar that has been boiled down to a syrup. Don’t like mango? Use pineapple. Or thinly sliced apple. Think of what goes with pork and use that with the SPAM or any of the other subs. And there you have. Like the song says, everything old is new again. Enjoy!

PAN TOMATE

A variation on a theme

After spending a wonderful and food filled 10 days in Spain, I find that I am drawn more than ever to small bites. Not that I needed that much in the way of encouragement, but the Spanish seem to have developed the final word on yumminess in small plates. So with that in mind, I give you my spin on Pan Tomate. Normally, Pan Tomate is a piece of toast rubbed with some tomato and topped with something. This is an upgraded riff on that-easy, involves no cooking unless you call toasting bread cooking, only a bit of hands on time (think less than 5 minutes) and can be used in a myriad of ways. Perfect for your next happy hour nibble. What you need are these items:

Notice, two of the 6 items are “utensils”. I had a beefsteak tomato that was sitting unused and decided to employ it for this appetizer. Also shown are salt, bread, and oil. I am using Spanish olive oil, use what you want or what you have. The bread is an olive loaf, again, use what you want or have. For you gluten free folks, substitute the olive bread with your gluten free fave. Grate the tomato on the largest holes of the box grater. It may smush if you have an overly ripe tomato, if that occurs, you can chop down the larger pieces, but by and large the tomato will grate easily and you will end up with this.

Pour your what is now tomato puree into a strainer placed over a bowl , salt lightly, and allow the tomato to drain. Like so.

The more liquid part of the puree will seep into the bowl below and you will be left with a spreadable product. Don’t worry about the seeds. In Spain, I saw seeds everywhere, even in a 2 Michelin Star restaurant surrounded by the gelatin which holds the seeds in place. They are delicious. A bit tangy.

Now the fun part. Take your bread, toast it slightly, and and then “butter it” with the tomato. I will show you two different iterations. The first was part of a tapas dinner on a Sunday night. The second was a breakfast toast with avocado.

In Madrid, they call this a matrimonio. A combination of white and grey anchovies for anchovy lovers. I love anchovies, but admit that there are haters out there. Maybe you should give them another go??

This is tamer. Both were delicious. Topped with a bit of salt and a drizzle of olive oil. Pepper if you want. Parsley or cilantro.

So what else can you use? Top with thinly sliced manchego. Top with tinned tuna or another tinned fish. Top with a slice of sweet onion. You can even top with a fried egg. You are only limited by your imagination!

Now what to do with the tomato water that filtered out. Martini lovers, I am looking at you! Add to some chilled Vodka, skewer a small piece of Mozzarella and a leaf of basil. Not your grandmother’s Caprese!

I hope you make this. Like I said it is so easy to prepare, inexpensive, and so many ways to enjoy!

PROVOLETA/PROVOLONE

It’s a cheese and a dish!

Provoleta is a type of cheese. It is akin to provolone. But since I do not know what the name of the process to cook it is called, I have taken literally license and called the finished cooked process Provoleta as well. And I use provolone for the cheese. Got it? It’s ok, it isn’t going to change the world if you don’t “got it”. Just try it.

I had this once before years ago, and made it and forgot about it until I had it again in Madrid for lunch after a visit to the Prado. We were starving and saw it on a menu in an off the way place and ordered it. It was served in one of those cool ceramic cazuelas which, of course, I went on a mission to get, and found. It is a very simple preparation, but so quick and easy and great for a last minute invite for nibbles and Happy Hour.

I used just two ingredients, cheese and pimento, but more on that in a bit. You can buy the provolone in a chunk at a deli department, you want it to be as thick as your finger. Notice the cute little cazuela. You don’t need one, if you have a small cast iron pan, it works just as well, just be sure to oil it so the cheese does not stick as it melts. The cheese should fit the dish in which you are going to serve and any oven proof vessel will work….

like so…..

Preheat your oven to 400F. Grease your dish and place the cheese in it. If you want, you can sprinkle some dried oregano, or fresh pepper, or a mix of dried spices according to your taste. I used oregano. Pop the dish into the oven and cook for about 20 minutes. The cheese will melt and bubble. Raise the temperature to broil to crisp the top. When browned to your liking, remove and serve on a trivet. The dish will be hot so watch your hands. Here is how my most recent finished product appeared:

Notice the green plastic trivet, it worked really well, but use whatever you like, even folded towels will give a pretty rustic look to the presentation. I topped mine with chopped pimento. You can top with any manner of items such as chopped olives, chopped vinegar peppers, Calabrian chilis (for a heat kick), tomatoes for ideas. Serve with either little toasts as I have here or sturdy crackers, you are going to pull the cheese out of the bowl and eat it on the toast or cracker and you don’t want the cracker to break into the dish or pan. If the cheese starts to harden, just pop it back into the oven for a few minutes, it melts beautifully. Don’t have provolone? Try Mozzarella! Have fun with it and enjoy with a glass of wine!

BROCCOLI

Not just for steaming.

I was testing a recipe for pork spareribs for a Lunar New Year party that we are having in my building. I found the pork recipe I wanted, but as I was making the ribs for dinner, I needed a side veggie to go with the pork and rice. I had some fresh broccoli in the fridge, so that became my side and the inspiration for this post. The good thing about this prep is that the seasonings can be used for a roasted side or a steamed dish. And the ingredients are probably things you have, but I am including some two items that you may want to keep on hand for future use. Both of these items can be stored in the fridge for a bit, so it may make sense to add them to your everyday larder. Or not, you do you.

To prep the broccoli for either steaming or roasting, break down the florets into smaller pieces and peel the stems and cut them into coins. Here I have two small broccoli crowns; you can see the before and after.

If steaming, just add to your steamer and cook to your liking. If roasting, which I prefer, toss with a bit of neutral oil and add to roasting pan. Don’t crowd pan or your broccoli will not crisp up and I like my broccoli with crunchy edges. I set oven to a pretty high heat, 400-425 for about 15 minutes. After that, toss and keep an eye on the pan, burnt isn’t good. Roast to your preferred taste and remove.

To finish the dish, you are ready to season. Simply, toss with lemon juice and chili flakes, salt and pepper to taste. Or you can bougee the dish with these ingredients, and these make a big and tasty difference.

Notice the use by date on the peppers. Once you get accustomed to using these peppers, you will go through them long before the use by date. The preserved lemons are a pickle by another name and last for a long time as well. See sentence regarding peppers and repeat.

With both of these ingredients, a little goes a long way so taste as you go. The peppers have a bit of a kick and the lemons are salty. A scant 1/2 teaspoon of the peppers will suffice for the amount of broccoli shown if you want just a bit of heat. The lemons are soft, again I use scant 1/2 teaspoon to start and toss with chilis and broccoli and taste for seasoning. That’s it. Either dish can be served hot, at room temp, or chilled for a salad. If taking from fridge, remove about 10 minutes before serving to let the flavors come back to life.

Want another idea on how to use? Crostini. Toast some bread, rub with a clove of garlic, chop the broccoli a bit finer, and top the toast. Drizzle a bit of olive oil to complete the dish. Serve with a glass of red wine. Enjoy!

It’s Back!

After a bit of a hiatus, you know, Covid (blame everything on Covid), life, laziness, the usual, I am restarting my bitty blog about nibbles. Those of you who subscribe may be happy (I hope so), hopefully some new followers may appear. With a New Year and resolutions pushing at me, the time seems right. So without further ado, let’s get started

RED WINE MUSHROOM RAGOUT.

This will be an easy start. I made this mushroom ragout with an excess of what I purchased for my duxelles for Christmas Beef Wellington (another post). Fairly simple, but so delicious, I served it along with chicken cutlets coated with garlic breadcrumbs which were made with leftover bread for the same holiday. You can serve it on toasts, topped with an egg for a Sunday brunch , or toss in pasta. The world is your mushroom!

Back to the mushrooms. I had an assortment. In addition to chopped and shredded mushrooms, I minced a garlic clove and a scallion. You can use shallot or onion, I had some scallions left so I used them before I lost them. A sprig of rosemary or thyme A bit of chicken stock or just water and 1/2 cup red wine whatever you have. I had some Beaujolais and I used that. Salt and pepper to taste.

Heat skillet over medium high and then add some neutral oil along with some butter (you can use any fat, but add a bit of neutral oil like grapeseed or canola to raise the heating point). Toss in the mushrooms taking care not to crowd. If you can see some space between the shrooms, you are ok. Otherwise, they will steam and not brown (thank you Julia Child).

As soon as the mushrooms start to brown (about 5 minutes or so) add the garlic and scallion. Waiting after the cooking process has started will prevent the garlic from burning. Allow the scallion and garlic to soften and flavor the mushrooms. Toss in the chicken stock or water to deglaze and then add the red wine and the rosemary. It should look like this.

Let the red wine cook down until the sauce becomes a purple color and thickens the dish. Salt and pepper to taste and that’s it.

Not the best photo but you can see the purple hue of the finished product. The wine has cooked off and all you have is the flavor.

So there you have it. Nibbles and Bits.2 for 2025.

3 January 2025

Say Ciao To Summer Tomatoes? Not yet!

In my never-ending attempts to connect with my Italian roots, and in my continued efforts to be a good citizen and not waste anything, I have concocted this recipe after looking at several sites to come up something doable. It is a bit time consuming but read on, it will be so worth it, I promise. Besides, what else are you going to do? Binge watch yet another series on MHZ? Clean another closet? And the beauty of this project is that has a real Zen effect, for me anyway. When was the last time closet cleaning had that effect?

Back a bit ago (September 2018, I guess more than a bit), I did a post on making tomato sauce from scratch using the end of summer greenmarket bounty. This is a kind of an epilogue to that post. I have taken to removing the skins from the tomatoes before actually cooking them down to make the sauce because after doing the pureeing, there was a big mess of skin and seeds and it became sort of a PITA to clean up. The last few times I made sauce this summer, I sliced a cross in the end of the tomato and removed the core at the top and blanched them in boiling water for 10-15 seconds. After that time seconds, I removed the tomatoes and placed them in a bowl of ice water to cool. The skins came off without an iota of trouble, and my cleaning mess was halved.

But then I started thinking, there must be a use for those skins. So searched the web and found a myriad of ideas. This encapsulates all of them. After removing the skins, place them on a sheet pan covered either with parchment paper or a Silpat. Try to keep them as separated as possible. If you have blanched them right, the skins will come off in sheets and that will make it easier for you. Place the pan in a 250 degree oven and let them dry completely (the whole process will take 45 minutes to an hour (if you use a convection oven, slightly shorter). The skins will shrink, check them periodically so that they do not burn and rotate the pan occasionally (Some suggested to use the microwave, that procedure did not work for me). Make sure the skins are dried, think Cape Cod Kettle Chip dry. When completely dessicated, let them cool and put them into a food grinder, or use a mortar and pestle to grind. Add a touch of salt if you want. There you have it, powdered tomato topping. With the dregs of the tomato made by your own hands, and the satisfaction that comes from doing good for the earth. Plus the added benefit of sauce which you can freeze for those cold months to come.

Its uses? It is a seasoning. Sprinkle it atop of linguine with white clam sauce for a touch of color. Sprinkle atop sliced mozzarella with a bit of oil, cheater Caprese. Sprinkle in eggs to add zing to omelets.

Or……rim glasses for Bloody Mary’s. Your guests will thank you!