This is a great quick preparation for carnivores, pescatarians, vegetarians and vegans. Gluten free. Dairy free. And in the next month or so, they will be everywhere! Can go on toast, pasta, fish, meat, in eggs….getting the picture? 4 ingredients unless you really want to jazz it up. I bring you ZUCCHINI BUTTER. To make, you will need
Note. One of the ingredients is a piece of equipment. That everyone has. In some way, shape or form.
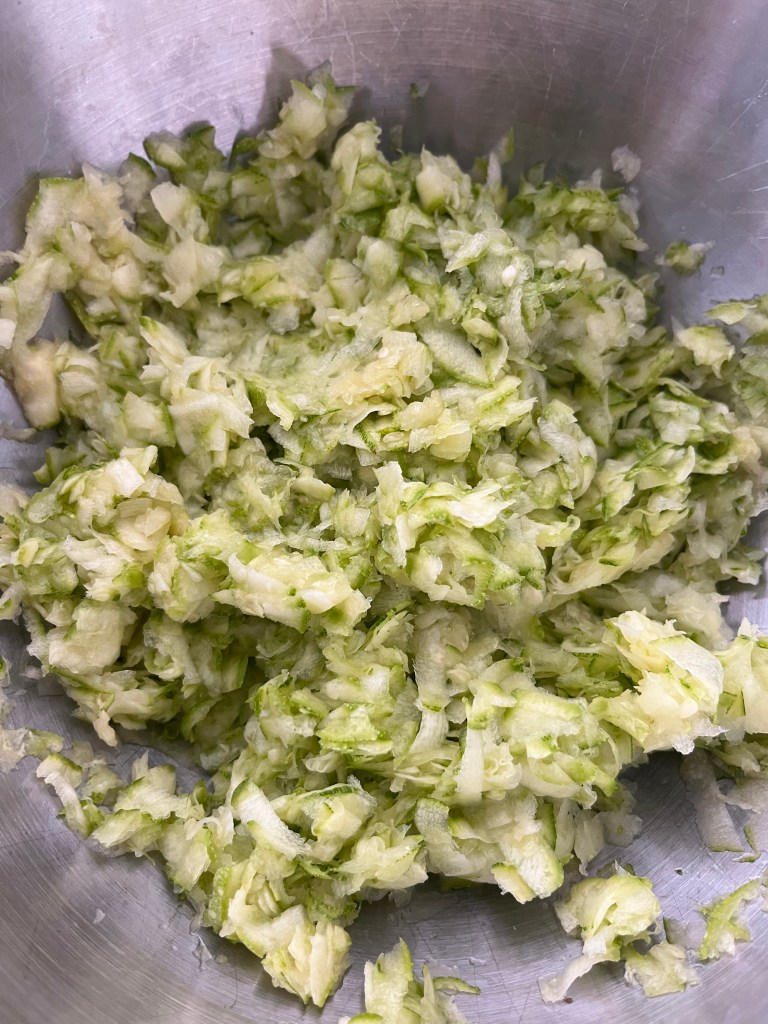
To make. Grate your zucchini on your box grater using the largest holes. If you want to break out the food processor, just pulse a few times to get the size shown below. Do not over process, you are not making soup, you are making butter. It should be mentioned that any color of zucchini or summer squash can be used. I think, as the product arrives at markets or in stores, the smaller varieties would be better because they are sweeter but do not let lack of small vegetables deter you from making this. Your grated product should look like this.
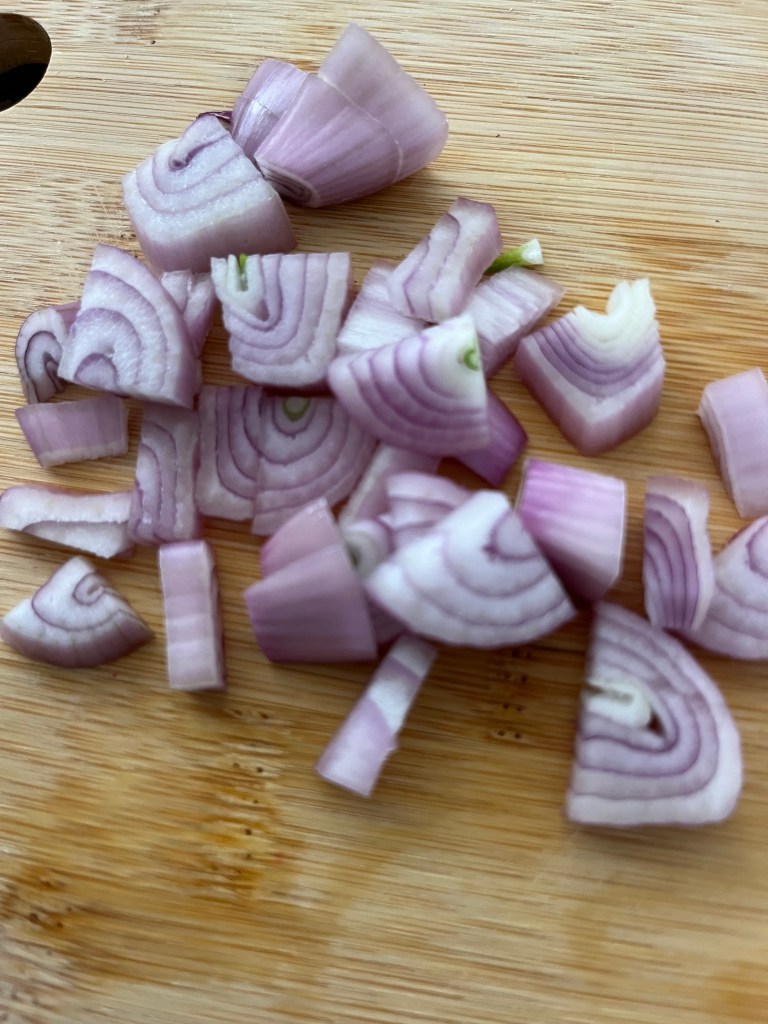
Chop shallot and add to zucchini bowl. No shallots? Use onion. Use scallion. Use garlic, but sparingly. You want to taste zucchini.
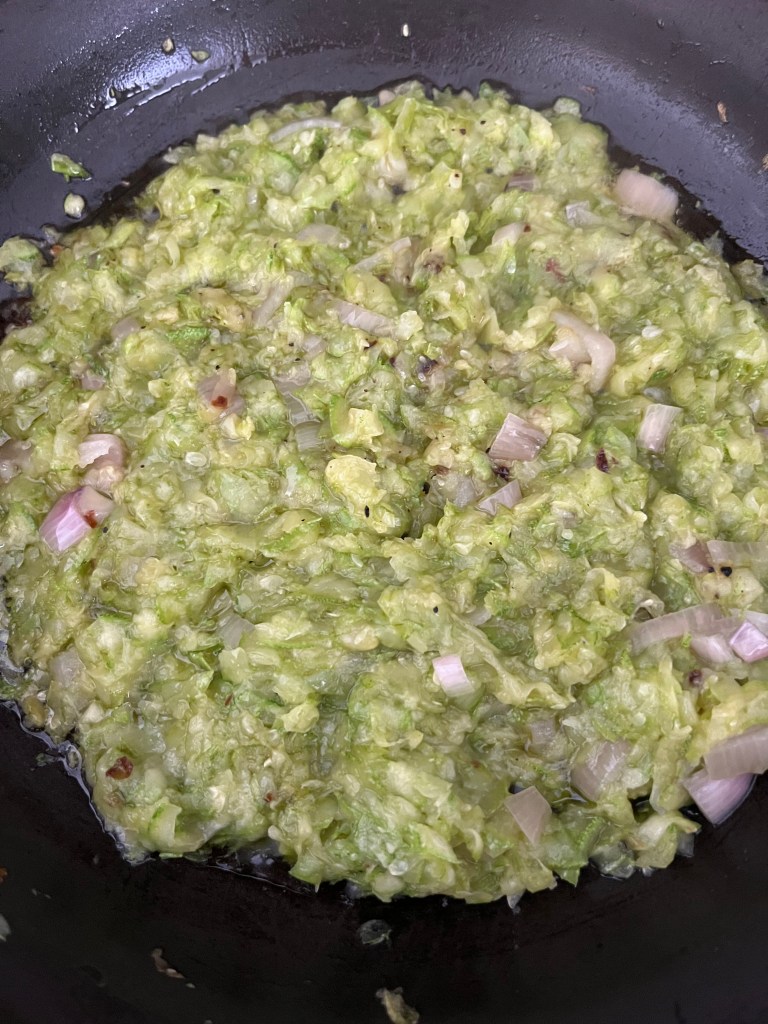
Heat your pan, and after heated, add olive oil. If you are using non stick, add olive oil and heat pan at the same time. Toss in zucchini and shallots, salt and pepper and let cook down. This is halfway through the process.
The water from the zucchini will cook out and the zucchini will soften. The edges may get a bit brown just continue to toss, the whole process will not take more than 15 minutes.
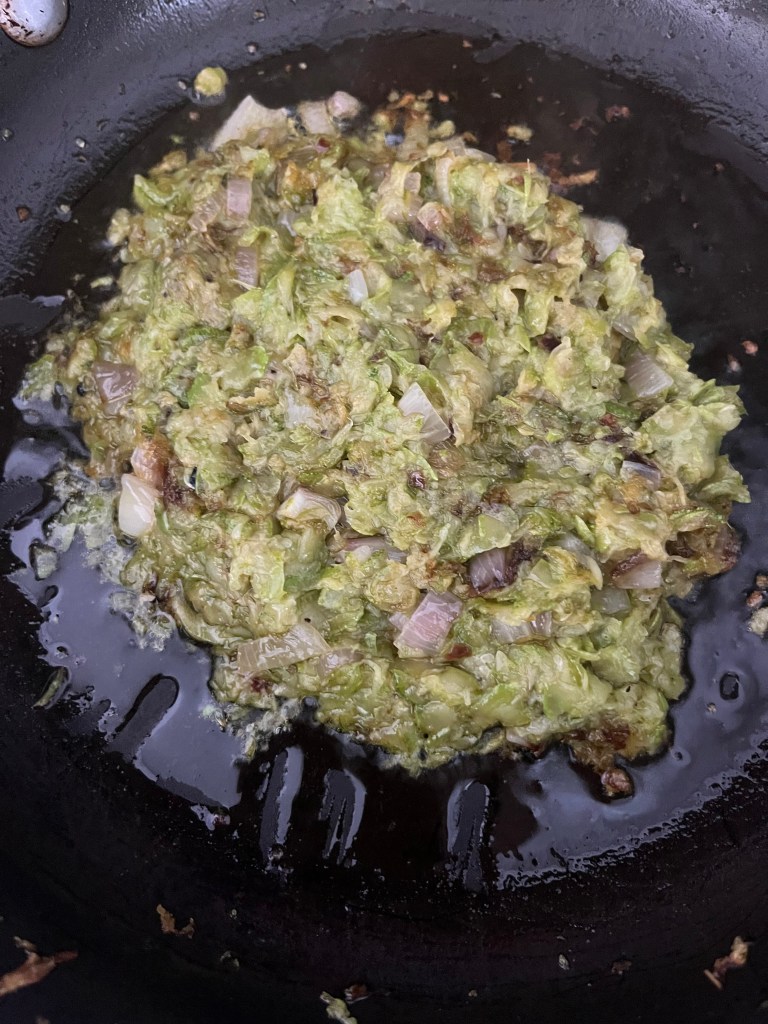
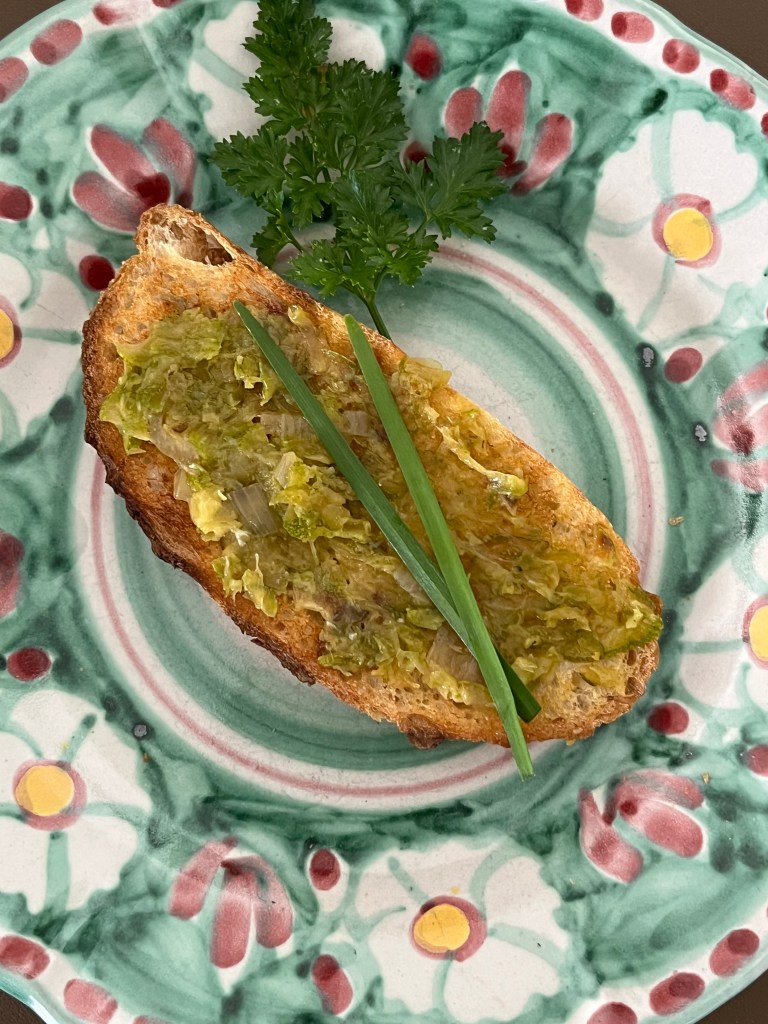
This is the finished product. Allow to cool and you will see that your zucchini has become spreadable, you get it, just like butter! And that’s all there is to it. If it needs more salt, add salt. If you like it a bit more fiery, add red pepper flakes or my favorite Calabrian Chili past. Want basil? Just throw it in. More acidic? A squeeze of lemon. The world is your zucchini!
Now what? Below is the simplest way to use. Toast a piece of bread and spread the butter. Eat.
I made breakfast with some leftover pasta and threw a bit of the butter in the eggs and I give you this.
And there you have it. Keep it in the fridge and remove just before spreading. I hope you enjoy it as much as I do!
I was going to sub out the main product of this nibble until I saw my most recent issue of Food and Wine where they showcased, wait for it, SPAM. Yup. Sizzle, Pork and MMMM. So I figured if it is good enough for Food and Wine, it is good enough for Nibbles and Bits. If SPAM isn’t your thing, I will have a few subs at the end of the post.
As funny aside, we had a LUAU party at my condo here in Florida and we purchased a case of SPAM to use as centerpieces along with pineapples and palm fronds. We told the guests that the pineapples and SPAM were party favors to anyone who wanted to take them. Guests were fighting over the SPAM. Pineapples went unloved. Go figure.
In Hawaii, where for some reason post WW11 the product became a staple of the diet, SPAM is treated with far more respect than it is here on the mainland. In fact, there is a dish, Musubi, where SPAM is the principal ingredient. And that is what I have for you here today. Here are your basic ingredients. Count ’em, 2.
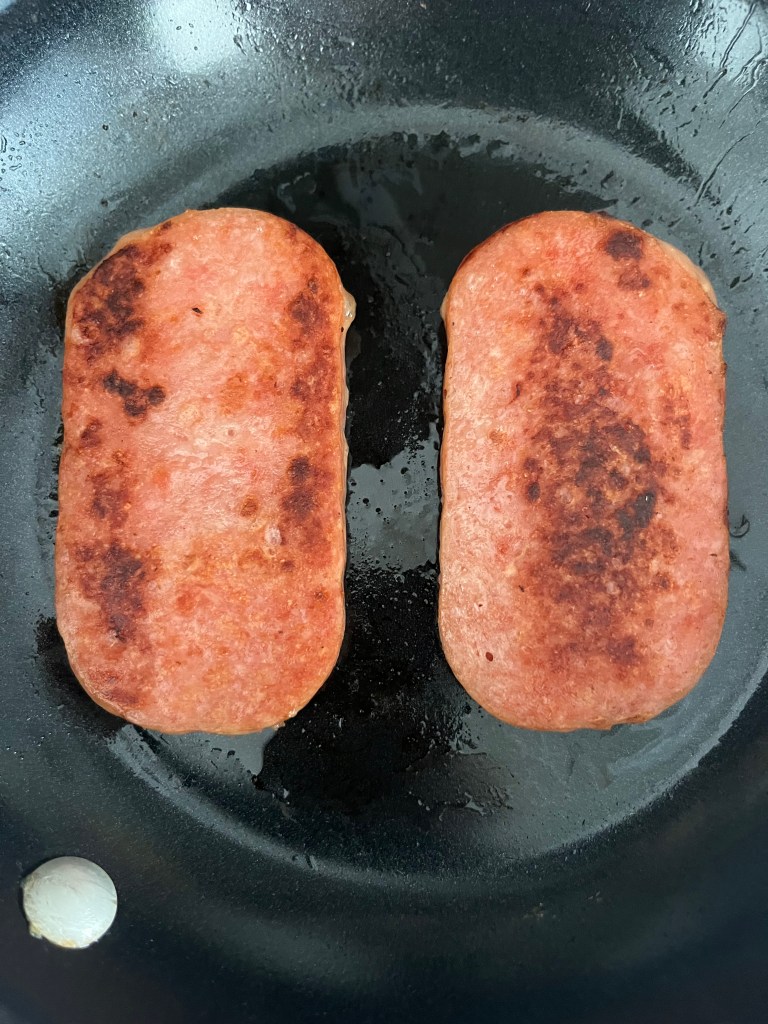
That’s it. And that 90 second rice can be replaced by more traditional 20 minute rice, but it works really well in this little nibble. Cook the rice according to package directions. Decan SPAM and slice. Brown, or as the commercial says, sizzle until your desired crispness.
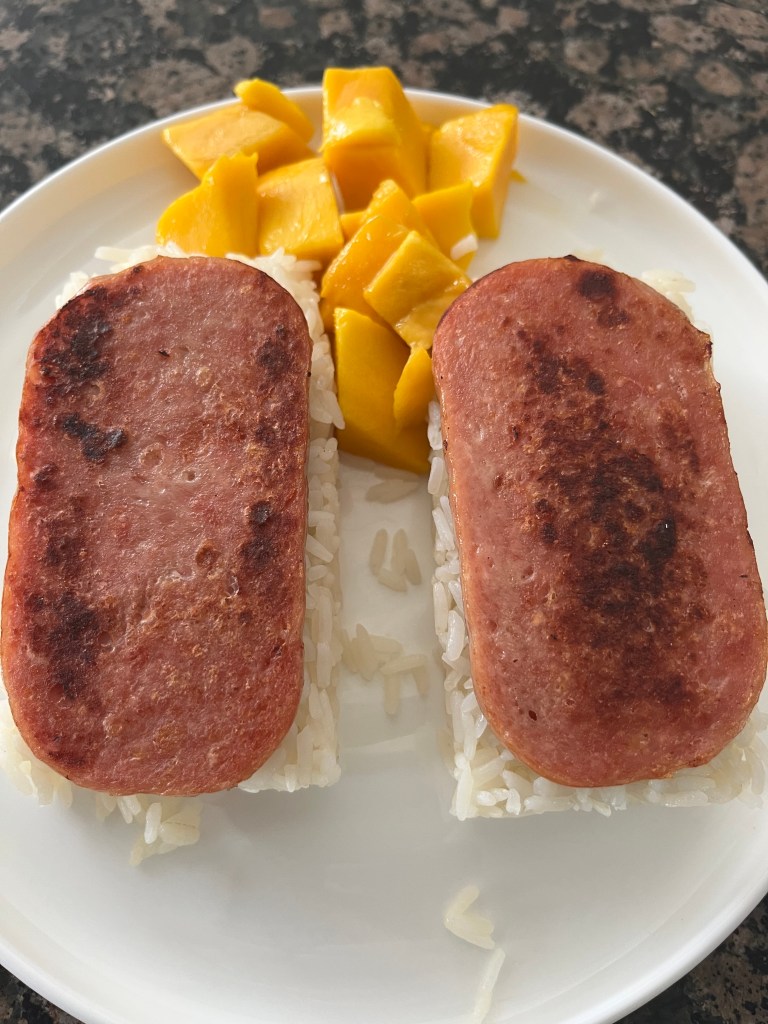
Mold the rice using whatever you have as a mold. I actually have a musubi mold because I am a kitchen toy junkie, one can be purchased on Amazon or at an Asian market for very little and can be used for dishes other than musubi when you want to mold something. Your finished dish will look like this.
I served it for breakfast with some fresh mango. In Hawaii, they wrap it with nori but I plated it just like this. If you like SPAM, it was delicious, but if you don’t, here are some options. Thick mortadella sliced across the diameter and browned and placed atop rice. If meat is not in your diet, you can use a thickly sliced king oyster mushroom or portabella mushroom browned the same way and placed on the rice. If you use the mushrooms or the mortadella, you can top that with a bit of balsamic vinegar that has been boiled down to a syrup. Don’t like mango? Use pineapple. Or thinly sliced apple. Think of what goes with pork and use that with the SPAM or any of the other subs. And there you have. Like the song says, everything old is new again. Enjoy!
It is a beautiful Saturday here in quarantined Brooklyn. Totally Spring. And in a sign that some normalcy is trying to return, my dry cleaner was opened so I was able to ransom garments that I dropped off a month ago, like having a new wardrobe. Our Greenmarket is open on Saturdays as well, so I walked up to see if anything was available. Lo and behold, green things are starting to appear as nature does its thing with or without face masks.
One of the vendors had beautiful bunches of broccoli rabe and for the first time in 6 weeks I had a craving for something that wasn’t a potato chip or a bottle of wine. This has to be the easiest, freshest, and tastiest thing to make on the spur of the moment.
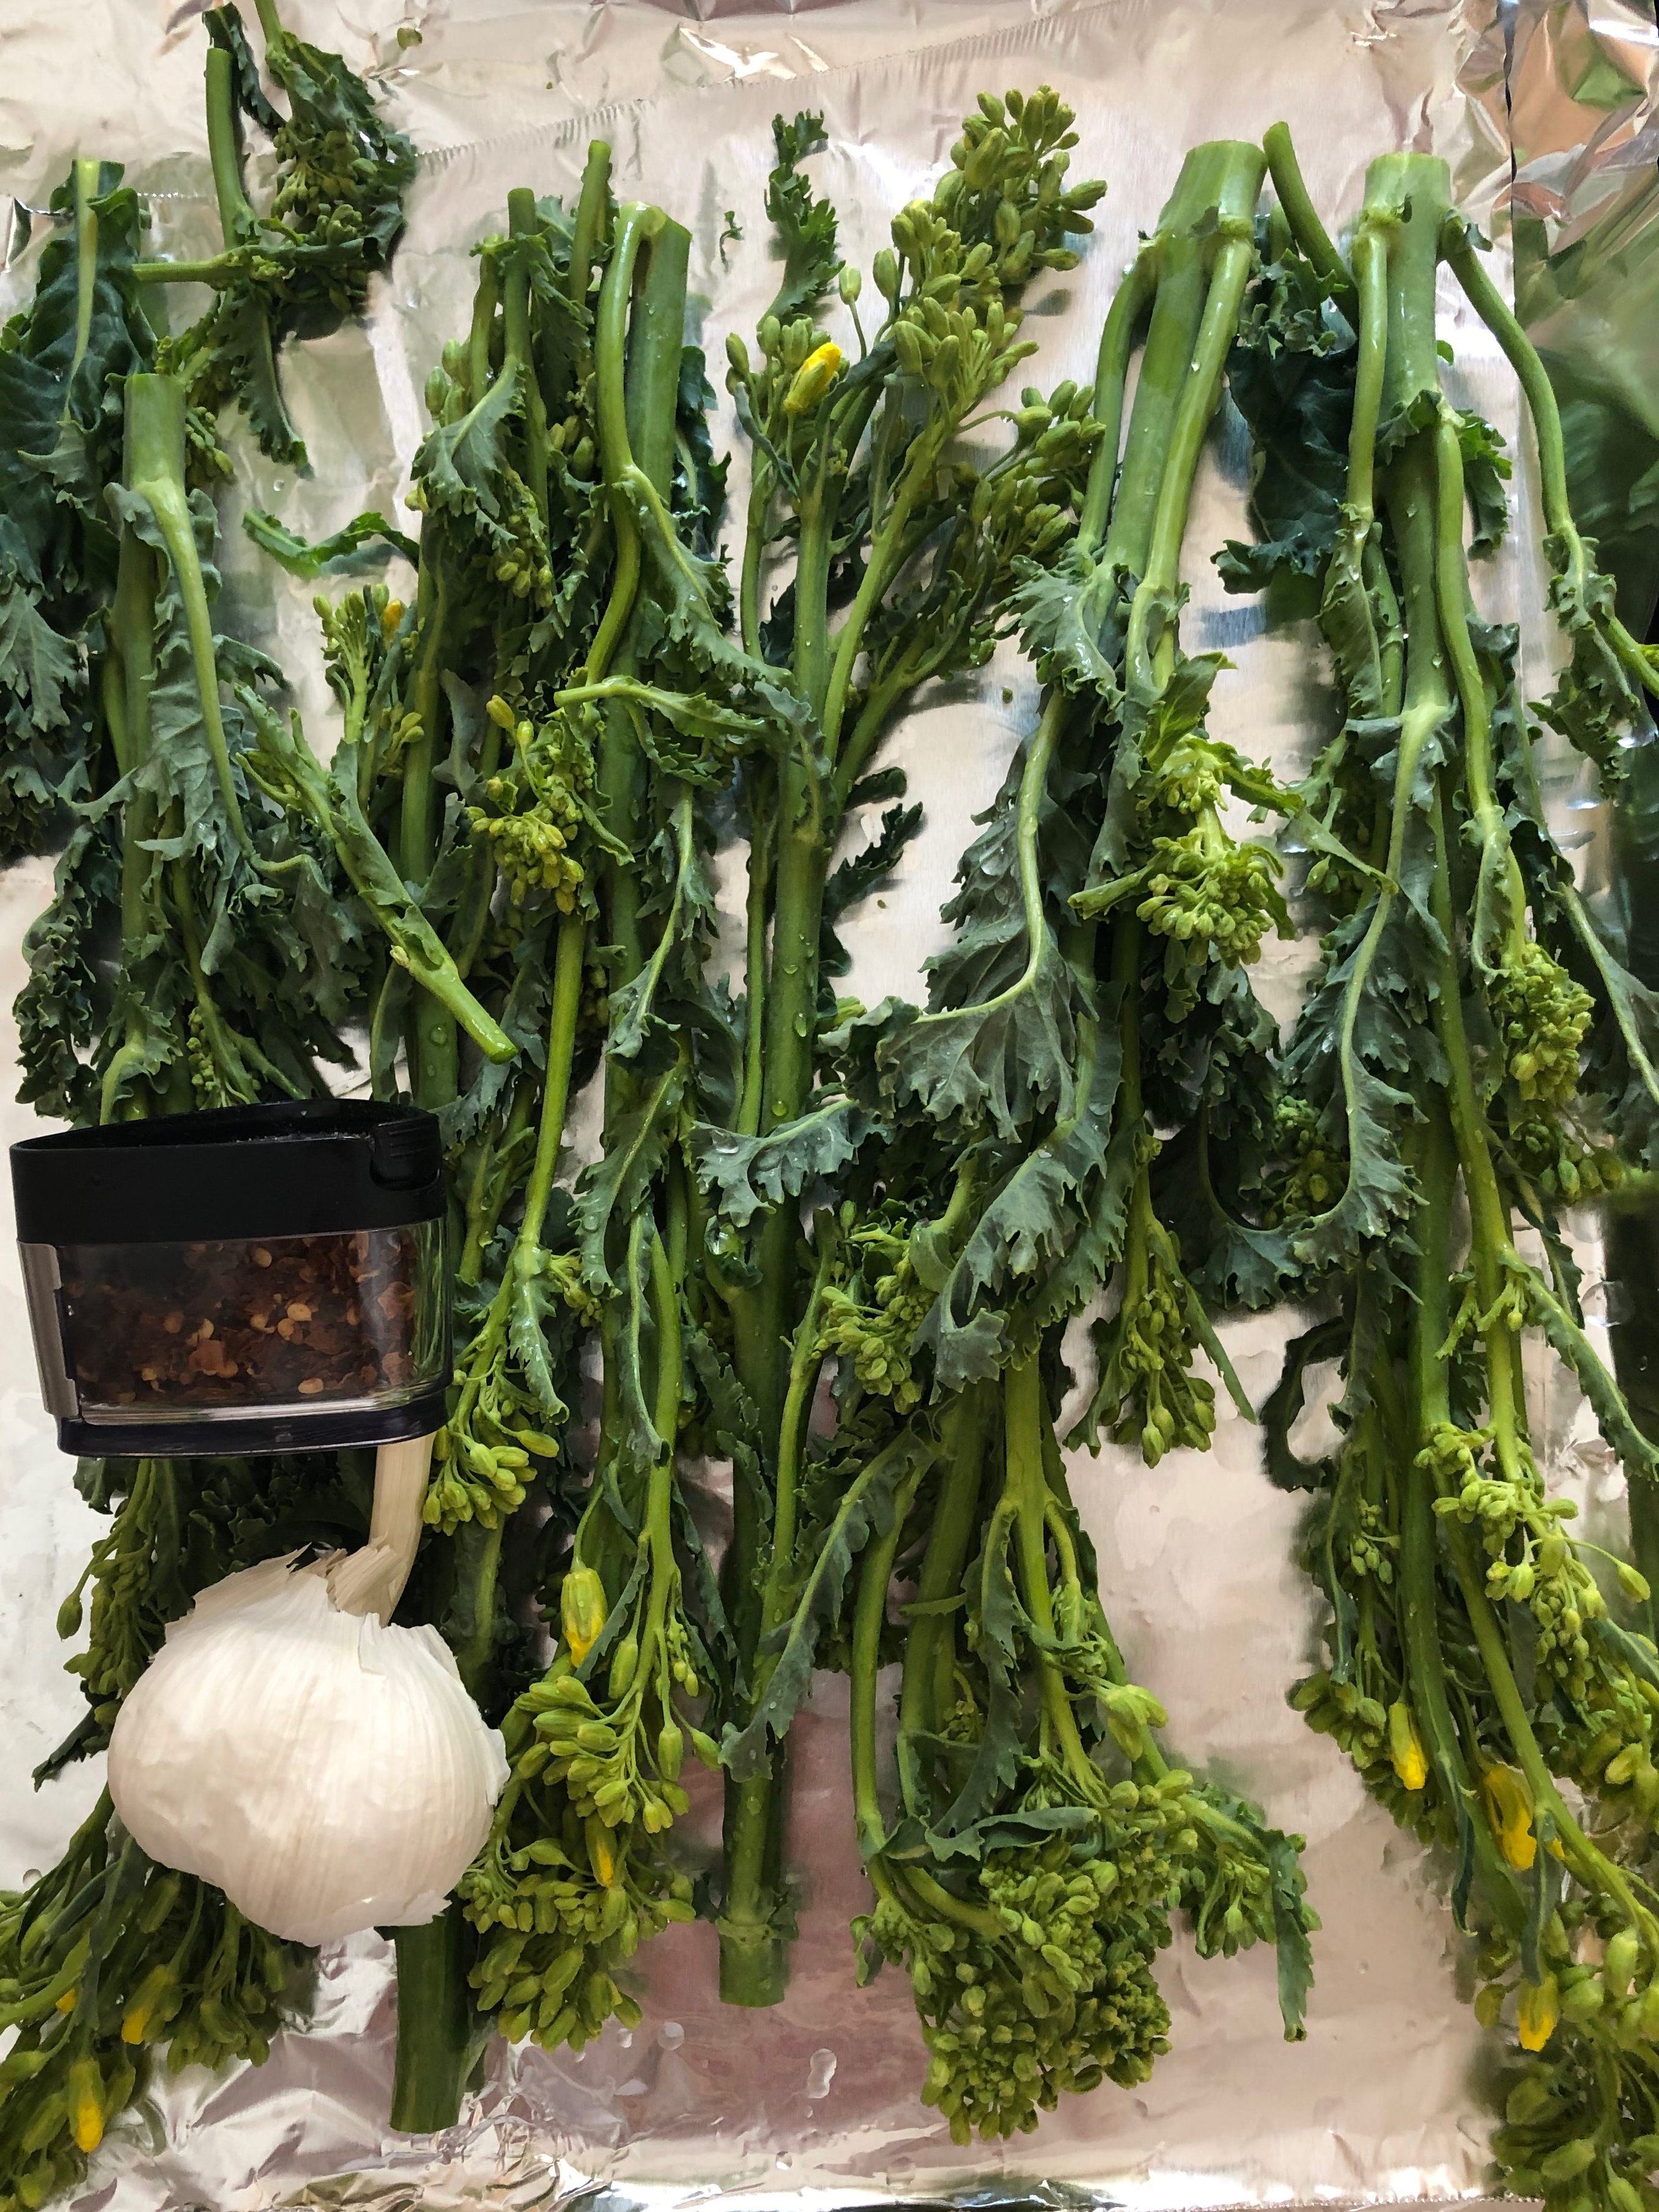
aren’t they beautiful?
So before you I have presented the ingredients. Rapini (or broccoli rabe), garlic, crushed red pepper. You will also need olive oil and flaky sea salt to taste. Everything is QB (quanta basta, or as much as you need or want). First blanch the rapini in boiling water for about 5 minutes. This will soften the stems. Refresh in ice water and drain. Heat oven to 400 degrees. While oven is heating, slice the garlic as thinly as you can. Cover a rimmed sheet pan with aluminum foil (read easy cleanup) and place the rapini on the pan alternating stems and tops for even cooking. If necessary, use two pans, you don’t want to crowd the pan. Add the olive oil, the shaved garlic, the crushed red pepper, salt to taste, and toss. Roast 10-15 minutes. That is all there is to it. If the stems are still tough, cut them from the tops, and place back into oven covered with some aluminum foil to finish. Add lemon juice if you want, or a splash of red wine vinegar. That’s the healthy part.
the healthy and the not so healthy
When I was growing up, my grandmother would make me a sandwich on our Sunday visits. Kaiser roll, some pork cracklings from the rendered fat back used to fry the meatballs for Sunday gravy, and some broccoli rabe. As I was roasting the rapini, I thought of that dish. I had some bacon in the fridge which I chopped down into small pieces and fried. Dipped a Martin’s potato roll into some of the bacon fat, added a few pieces of crispy bacon, a few slices of shaved pecorino cheese, some of the garlic slices from the rapini and toasted my grandmother. Not so healthy, but oh so delicious.
Other things you can do: chop it, add some of the cooking oil and bacon and toss with pasta; top with fried egg; serve at room temperature as a side or salad adding some lemon zest; chop and add to omelettes.
So grab your mask, go for a walk, enjoy the day, look for the rapini, and be grateful for another spring.
I actually forgot to post this piece. So I am posting it today. It isn’t Super Bowl Sunday, but the bread is still makable! Enjoy, albeit a bit late.
So tomorrow is Super Bowl Sunday (in addition to the hubster’s Big Big birthday and the 2 year anniversary of my retirement). I am having the usual suspects for the day and had planned on getting an large Italian hero (kind of like the hubster) as part of the menu. It just seemed like too much of too much which is something I am a star at doing, but then I remembered that my brother makes Prosciutto Bread at the drop of a hat so I consulted with him and between his (read mommy’s) recipe and my insistence of jazzing up every recipe I see, I decided to give it a try. After all, the ingredients can be found in any Italian deli and are generally added to every hero worthy of the name. Plus it has the added benefit of not having all the hams and such drop out of the sandwich with every bite. One more added benefit, if the meats are not your thing, just use the cheese, peppers and olives and give it your own spin! If you are still stumped on what to bring or serve at your Super Bowl gig, try this.
I am using a basic bread dough recipe that works for me, use whichever you are comfortable. In addition, you can certainly go to your local market and purchase pre made dough. However, your ingredients will not rise with the bread so keep that in mind when making. Just fold them in when you are ready to add. I have 1/4 pound prosciutto, 1/4 pound capicollo, 1/4 pound provolone, some homemade roasted peppers and some chopped green pimento stuffed olives. Understand that this is what I am using. If you want to change up the items, please do. More or less of one or the other is ok. Just don’t overload because too much of anything is overwhelming and also makes the bread very salty. Be mindful of using too much cheese as it may leak out and burn. For finishing, you will need an egg beaten with some water and some grated Parmigiano Reggiano to sprinkle on top. The egg will give gloss. The cheese will give crunch. You can also sprinkle, albeit very lightly, some flaky sea salt
ingredients
To start, chop the meats into small pieces. I used the food processor and pulsed a few times. If you have purchased the provolone in a piece, grate it, if in slices, do the same as the meats. Chop or process the olives and leave the peppers in slices but dry as much as possible. Set all aside. Assemble the bread ingredients according to your recipe. **Directions for store bought dough will be down the page.**
If using a machine with a dough hook, drop the meat, the cheese, and the olives along with the flour and knead all together until fully incorporated. If using a food processor, proceed the same way. If doing by hand, God bless you, just work all into the dough as you knead. DO NOT ADD THE PEPPERS. Set dough aside to proof according to your recipe (generally 1 1/2-2 hours). Trick on when dough ready-touch the side, if indention remains, dough proofed. Punch dough down, knead slightly, and set aside again for about an hour for a second rise.
after first rise
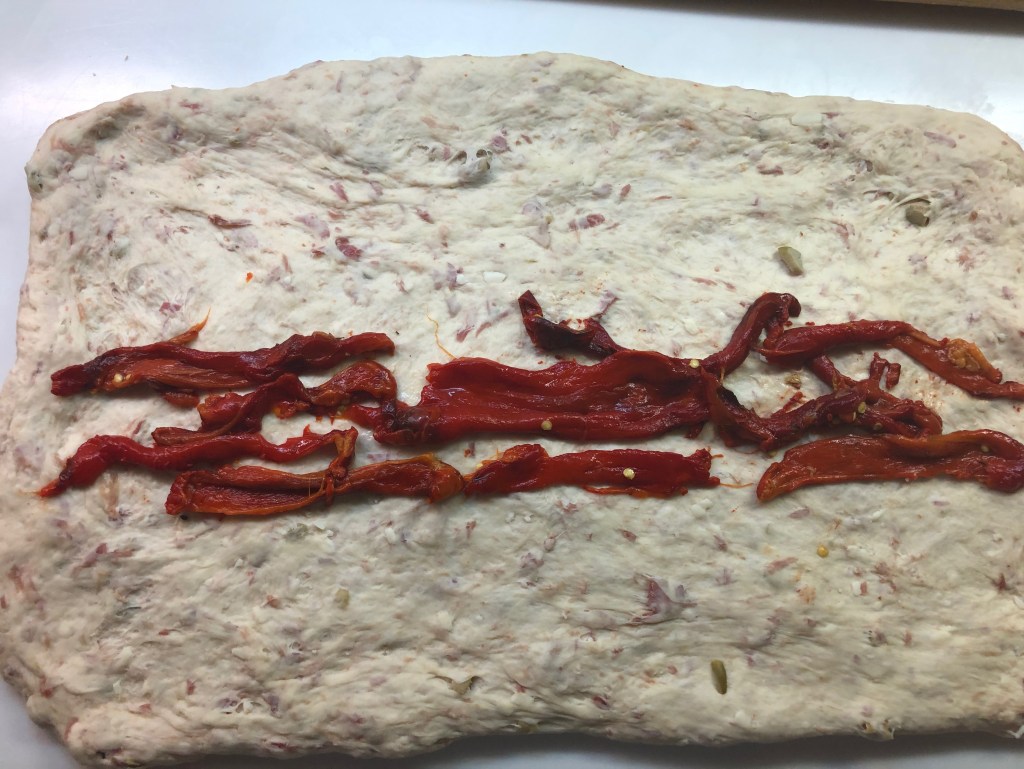
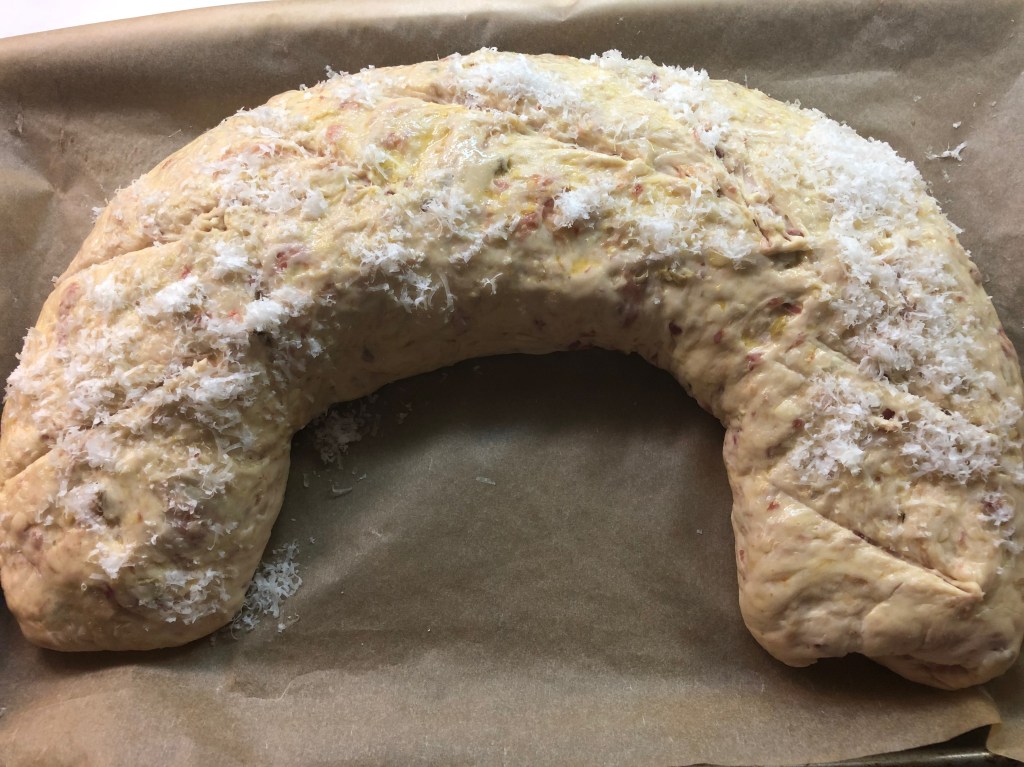
Now you are ready to form. You can either make a ring or just a loaf depending on what your mood is. **Flatten the dough into a rectangle. If you are using store bought dough, this is when you add your meats, cheese, olives and peppers. If you have made your dough, this is when you add your roasted peppers. With the long side of the dough facing you, place your peppers (meats, cheese,olives) along the middle of the dough piece. Fold the top third of the dough down towards the center and encase the ingredient(s) that you are adding. Then fold the bottom of the dough up covering all. Roll the loaf over so that the seam side is on the bottom. Now form into the shape you want. Place on a parchment or Silpat lined sheet pan, cover with a towel and allow to rest for 20 minutes.
peppers placed and bread dressed and ready for oven
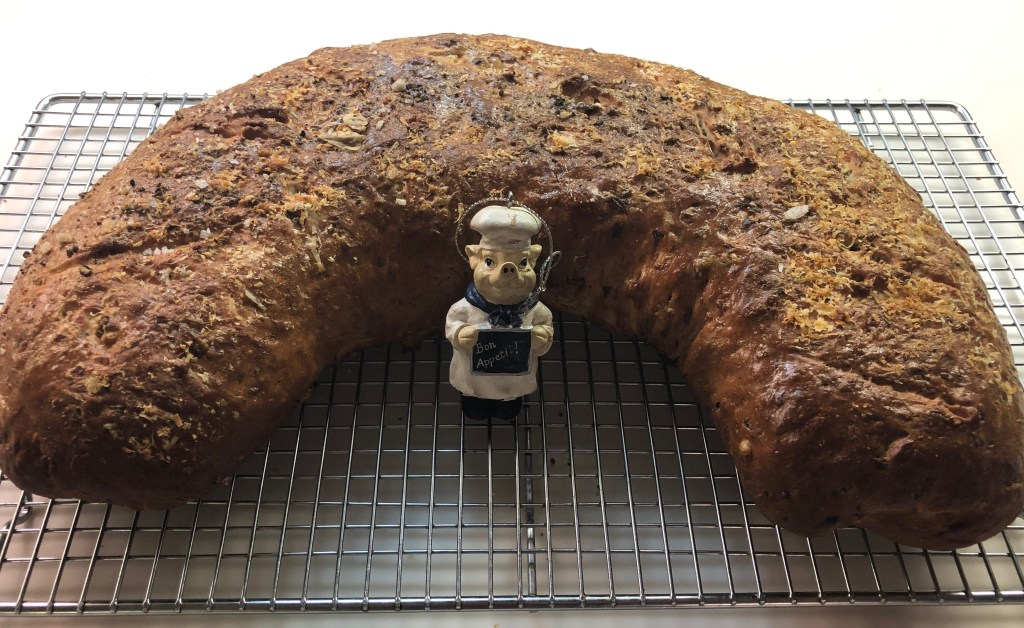
Preheat your oven to 400 degrees. Meanwhile, brush the top of the dough with egg wash and then sprinkle with grated Parmigiano Reggiano cheese. Make a slit along the top. Put into oven and bake for 35 minutes. Start checking after that, if loaf sounds hollow when tapped on the bottom, bread is done. Let cool on rack before serving. If serving next day, allow the bread to cool completely before encasing in plastic wrap.
Eat with your favorite Super Bowl beverage. Cross your fingers crossed that stupid numbers like 2 and 8 (yes, can you say safety?) in the pools come in. Leftovers can be frozen (but there probably won’t be any). Numbers like 2 and 8? There’s always next year.
I bought it for reasons I cannot give, but it sits in my cabinet and need some attention.
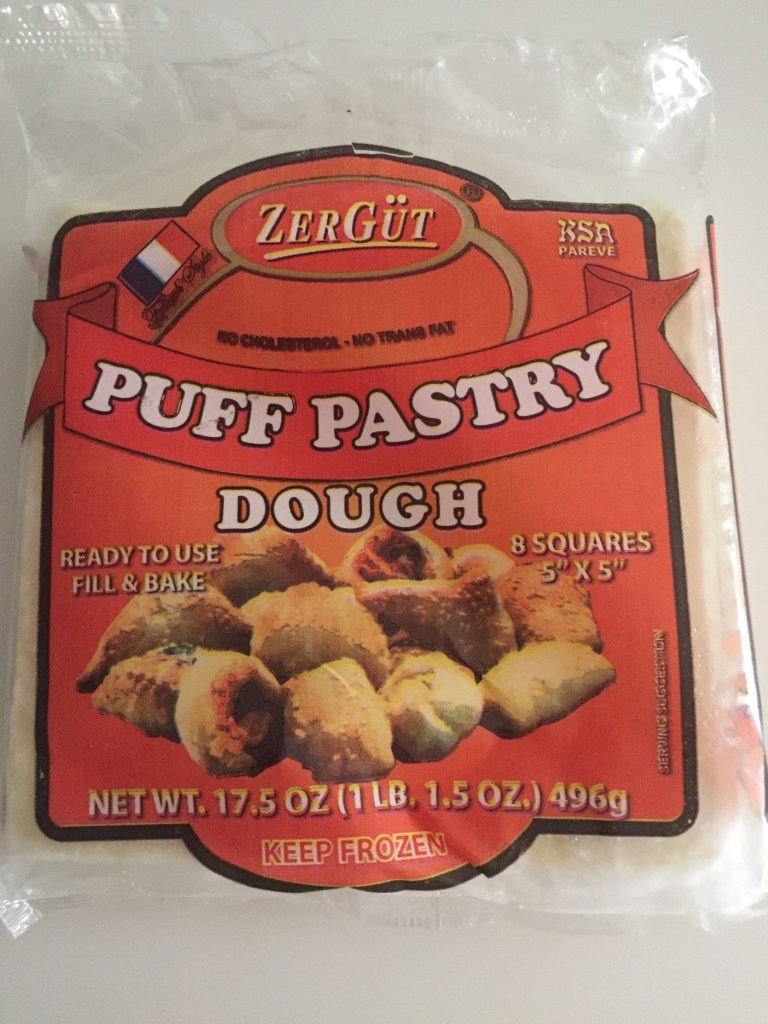
I also have always in my freezer (along with makings for fillings of chicken pot pies and soup dumplings), puff pastry squares which I use for the aforementioned pot pies and other goodies.
puff pastry squares
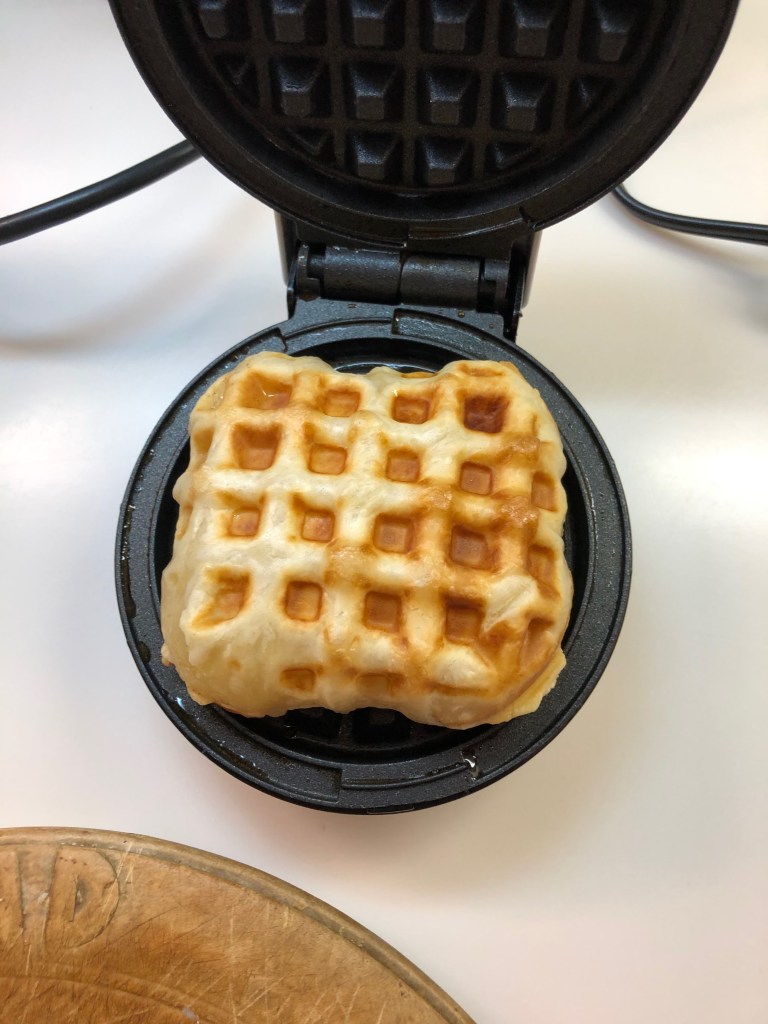
This morning, for giggles and other things, I decided to combine the two for breakfast. Lo and behold, I give you this!
after 3-5 minutes
The pastry had puffed and gave me, and therefore you, some ideas as I chewed on the crunchy crispy waffle topped with butter and honey.
crunchy crispy waffle topped with butter and honey
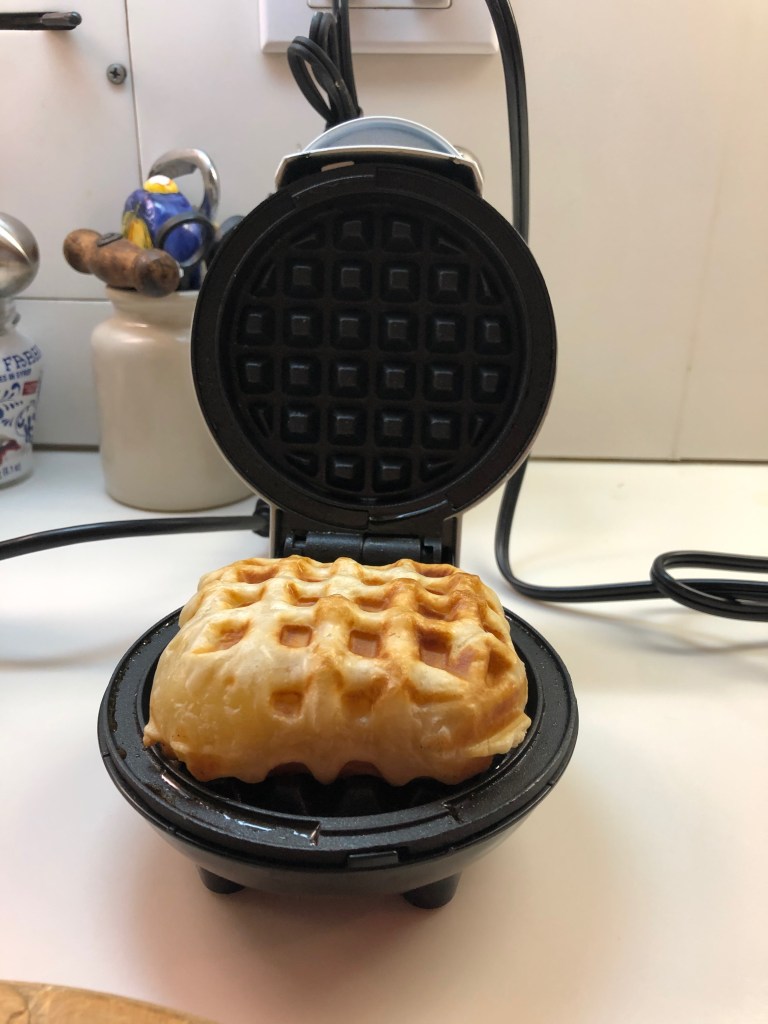
As you can see, the pastry poofs up and therefore is horizontally sliceable to give you two crunchy, crispy halves. Idea 1. Fill with whipped cream. Idea 2. Fill with ice cream. Idea 3. Fill with jam or preserved fruits. Idea 4. Do all of the above and serve as a wonderfully easy and beautiful dessert. Dust top with powdered sugar to gild the lily.
Idea 5 comes from my genius brother (had to share the photo of the waffle with him). For something savory for a brunch item, replace your biscuits and fried chicken and fill with sausage and gravy. Or creamed mushrooms.
You get the idea, the fillings are limited only by your imagination. And if you can’t be bothered or want something unique for morning coffee, feel free to butter and top with honey. It’s perfect just as it is.
Just in time for America’s favorite holiday, I bring you Red, White, and Blue Berry Salsa. This beautiful side is can be served in a multitude of ways with a multitude of savory or sweet items, is easy to make, doesn’t require a great deal of time to prepare, involves a minimal amount of chopping and no heat, and looks gorgeous on the plate! What more could you ask for in a party food? And how and what do you need to prepare it? Think your regular salsa ingredients: onion–use Vidalia, white, or the white part of scallions; pepper-use Fresno to keep the color theme, but if you can’t find them, Jalenpeno works fine, even a pinch of red pepper flakes in a pinch-you need some heat; a splash of Balsamic to keep the sweet, a splash of olive oil and coarse sea salt to keep the savory; finally, strawberries, raspberries, blueberries, even blackberries, whatever you like to keep the red and blue idea. Mix the ingredients together and let sit for about 1/2 hour to allow the flavors to marry. Serve along side grilled steak, hamburgers, or sausages. Serve atop vanilla ice cream. Leftovers? Serve the next day on some toast or yogurt for breakfast. See? Berries, they’re not just for whipped cream and scones, and certainly not boring! One more thing, as it is a celebration, don’t forget the champagne! Happy Birthday America!
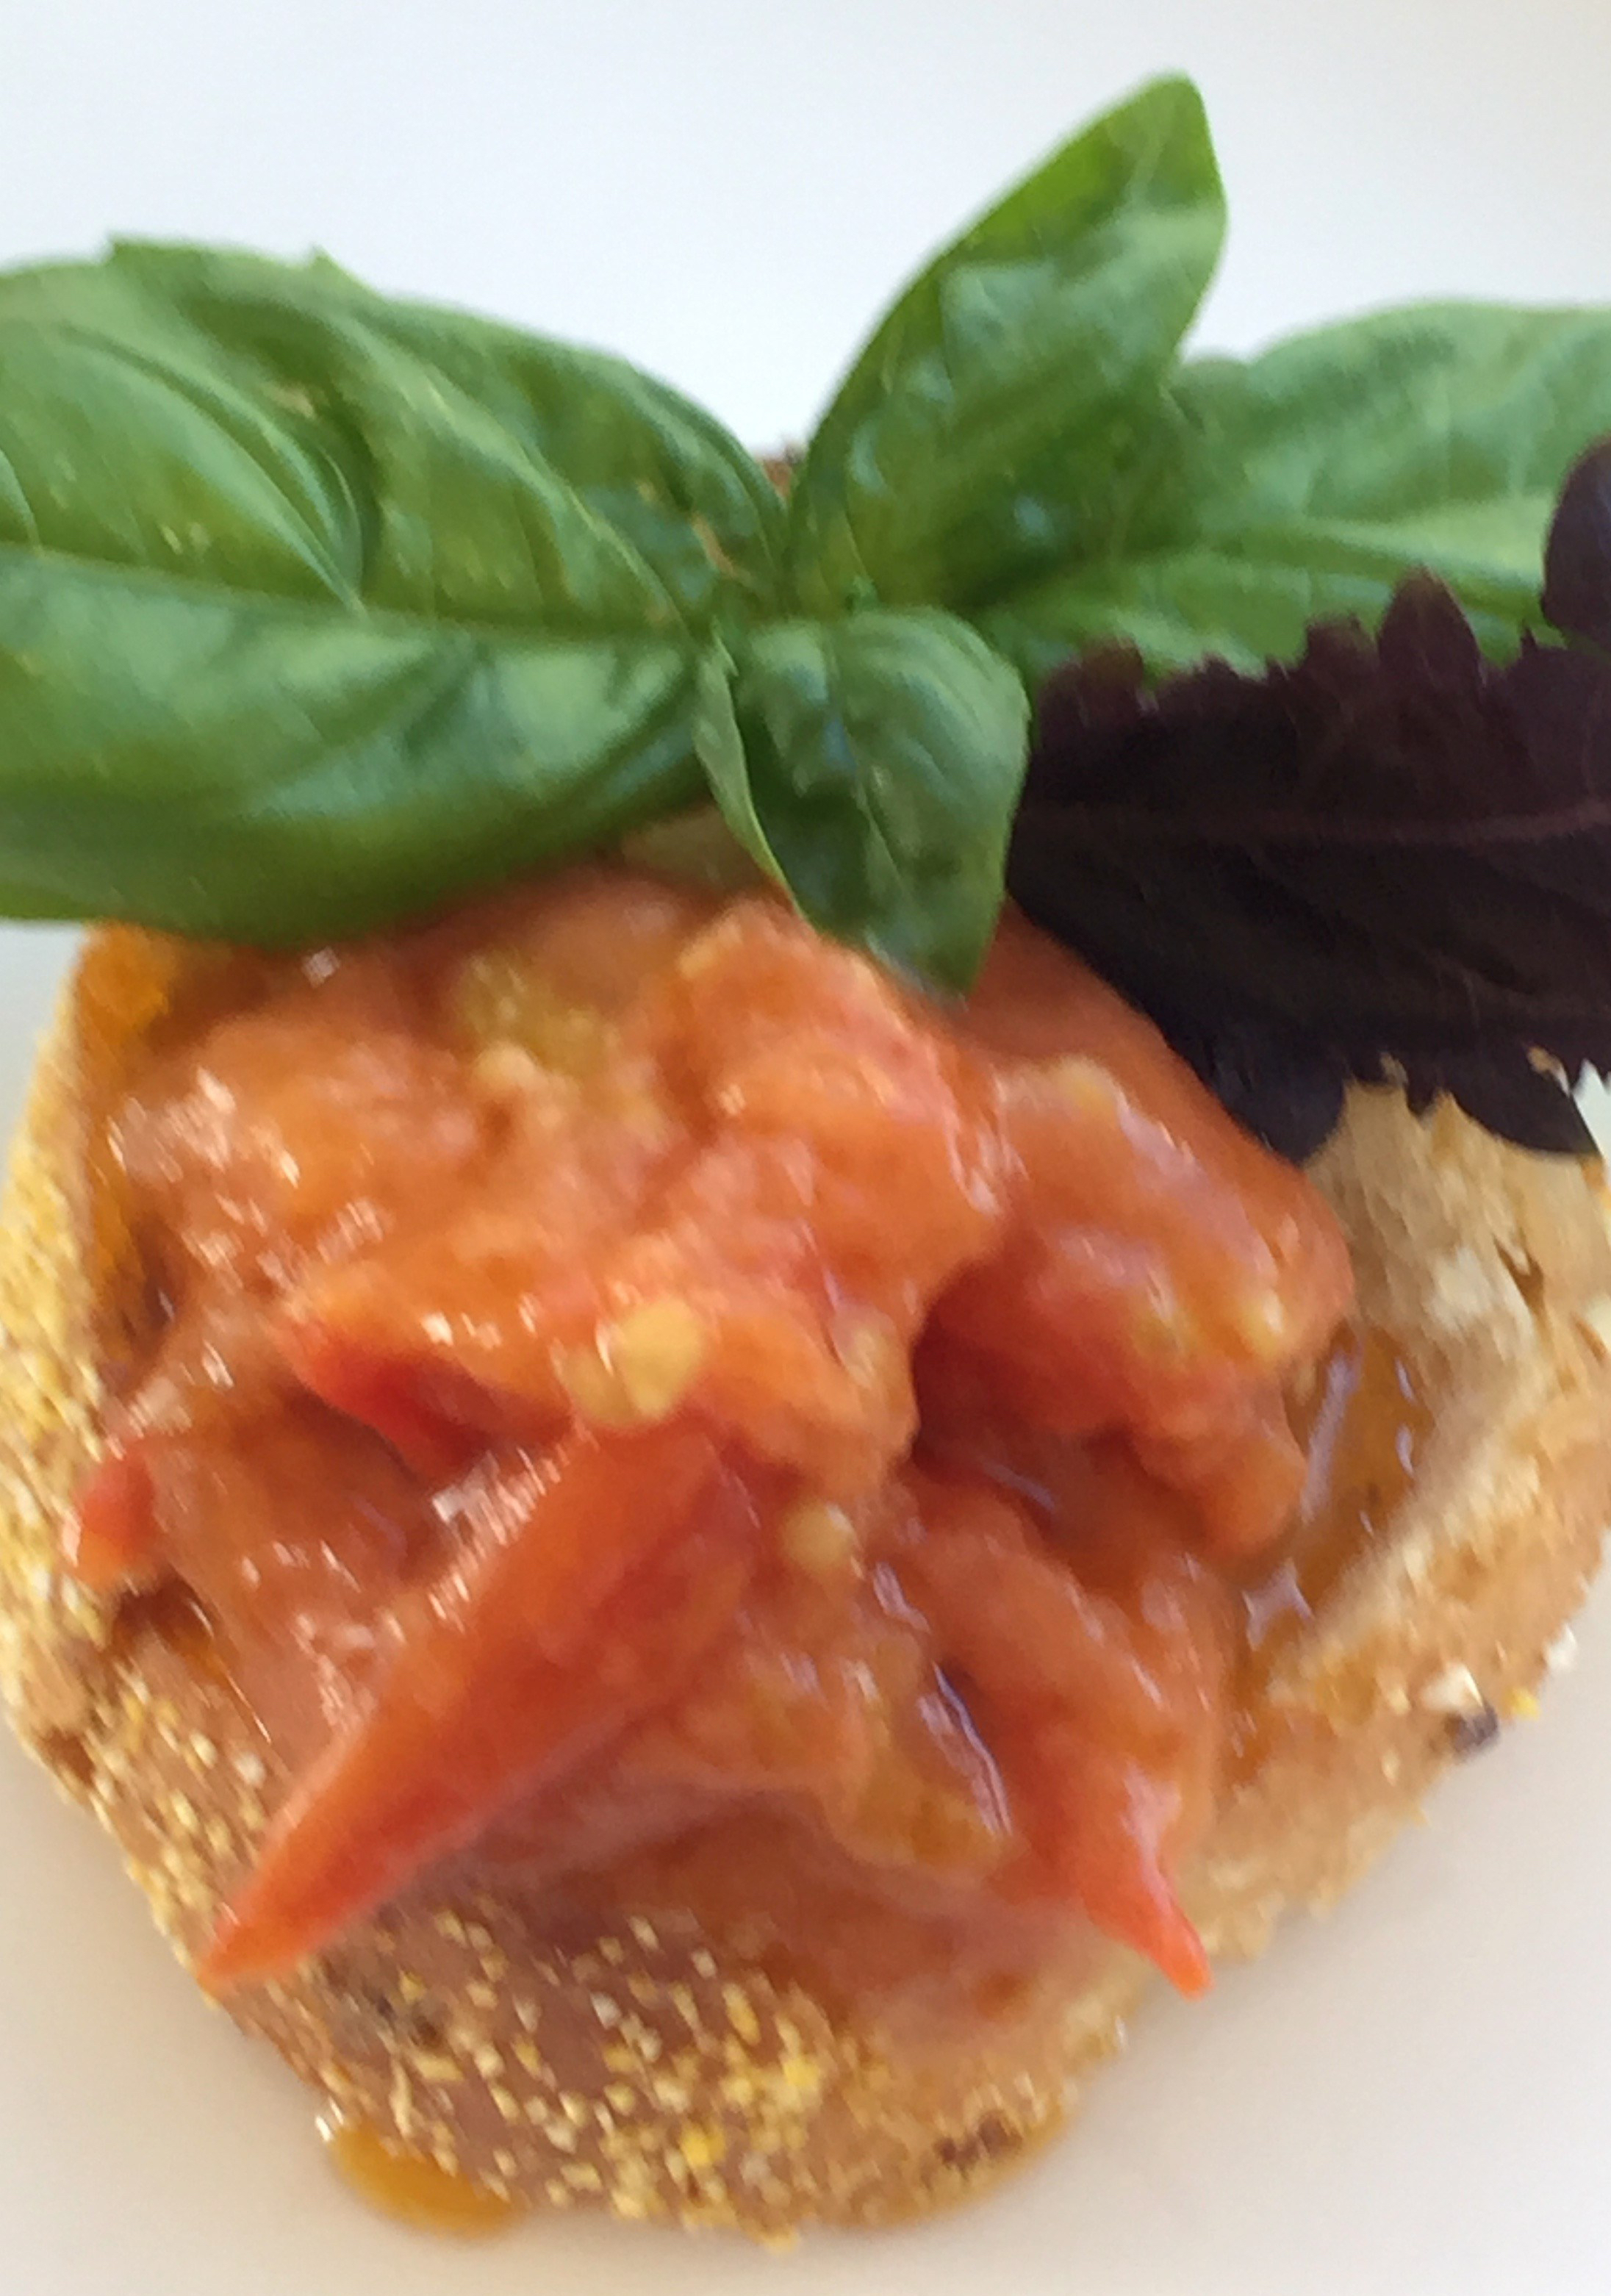
Did you know that tomatoes are called love apples in some circles? What better day for this great recipe that is a riff on something I saw in Milk Street Magazine, and it comes together in under an hour. It is perfect for your pre Valentine’s Day dinner aperitivi. It utilizes those pint sized containers of grape or cherry tomatoes that are always around and gives them an elevated status beyond a toss in for a salad. For one pint of tomatoes (a container), you will need 2 cloves of peeled and smashed garlic, 4 Tablespoons of olive oil, a pinch of salt, 1/4 teaspoon sugar, a bay leaf, and 1/2 cup of water. In a heavy duty pot, heat the olive oil over medium high heat and add the garlic. Cook until the garlic is golden, about a minute. Add the remainder of the ingredients and bring the mixture to a boil. Reduce the heat to medium and cook until all the tomatoes have burst, about 15-20 minutes. Stir occasionally to prevent the tomatoes from sticking. After all have burst, reduce heat and continue to cook another 15-20 minutes until the mixture resembles a thick sauce. The oil will come to the top and at that point the mixture is cooked. Set aside to cool. It will continue to thicken. Serve on a slice of good toasted bread for a take on bruschetta with a bit of basil and there you have it. Gluten Free? Just use your favorite gluten free loaf. Or add to an endive leaf. Don’t forget the champagne and a kiss. Happy Valentine’s Day!


")


